Unlock your wardrobe's full potential with the power of DIY clothing alterations! Tired of ill-fitting clothes gathering dust in your closet? Transforming your existing garments is not only a sustainable and cost-effective solution but also a rewarding creative outlet. With a few essential tools and a precise approach, you can easily tailor clothes to fit perfectly, giving new life to your favourite pieces and enhancing your personal style. From taking in a hem to completely reshaping a garment, the possibilities are endless.
This guide focuses on mastering the critical first steps: precise measurement and accurate cutting. Learning these fundamental skills ensures a successful alteration every time, avoiding costly mistakes and frustration. Let's dive into the step-by-step process that will equip you with the confidence to tackle any clothing alteration project, transforming your wardrobe one stitch at a time.
Preparation and Safety Guidelines
- Measuring Tape
- Scissors
- Fabric
- Possibly a pattern (implied)
- Always use sharp, high-quality scissors or a rotary cutter for clean cuts to prevent fraying and ensure accuracy. Dull tools can lead to uneven cuts and accidents.
- Pin your pattern pieces securely to the fabric before cutting to prevent shifting and ensure accurate placement. Use plenty of pins and check frequently.
- Double-check your measurements and markings before cutting. A single mistake can ruin your project. Take your time and measure twice, cut once.
Step-by-Step Instructions
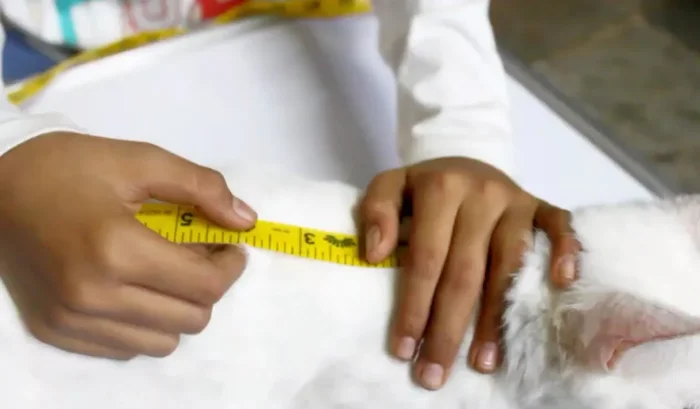
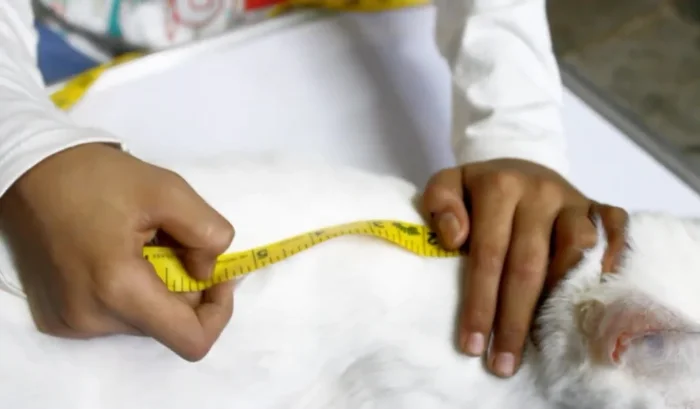
Taking Body Measurements
- Foot and Chest
- Foot Measurement (One or Two Inches)
- Chest Measurement

Taking Body Measurements Cutting the Fabric
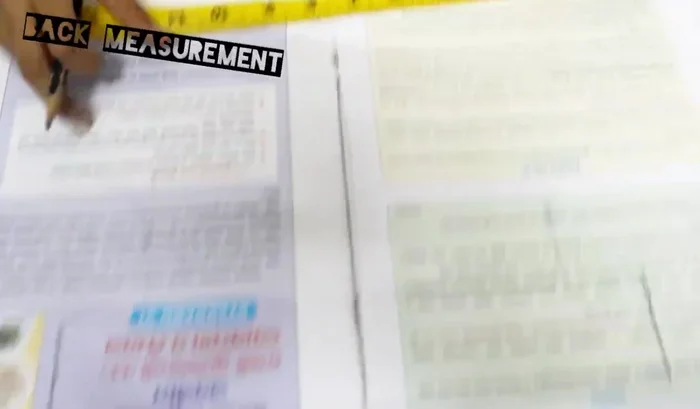
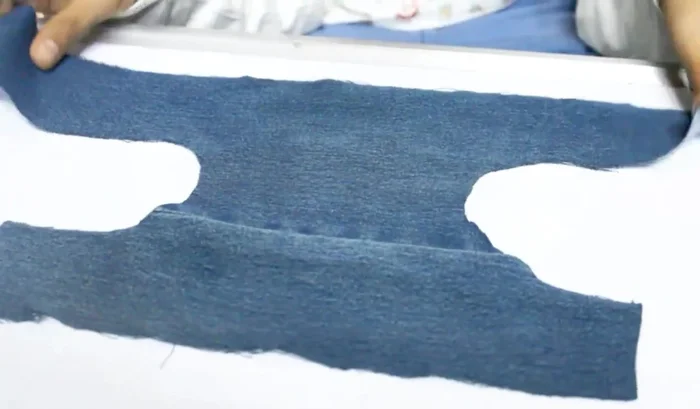
- Cutting the Fabric
- Addressing Curves (Inner Side)
- Finalizing the Cut
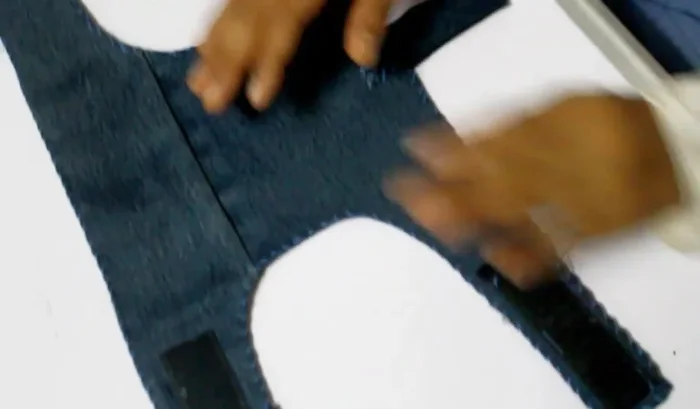
Cutting the Fabric Preparing for Sewing
- Preparation for Sewing (implied)
- Velcro Attachment (implied)
Preparing for Sewing

Read more: No-Sew DIY Pet Tank Top: Easy Leggings Upcycle!
Tips
- N/A