Cats love crinkly things! That satisfying rustle is irresistible to most felines, and store-bought crinkle toys can be surprisingly expensive. Why spend a fortune when you can craft your own adorable, and equally captivating, crinkle cat toy in mere minutes? This simple DIY project requires minimal materials and effort, perfect for a quick craft session or a last-minute gift for a cat-loving friend. Forget complicated sewing or intricate designs; we're focusing on speed and simplicity.
This guide unveils the quickest method for creating a charming crinkle toy or ornament, utilizing materials you likely already have at home. Whether you're aiming for a playful toy to keep your kitty entertained or a cute holiday ornament, this technique delivers fantastic results in a fraction of the time. Ready to get started? Let's dive into the step-by-step instructions to create your own DIY crinkle cat toy masterpiece.
Preparation and Safety Guidelines
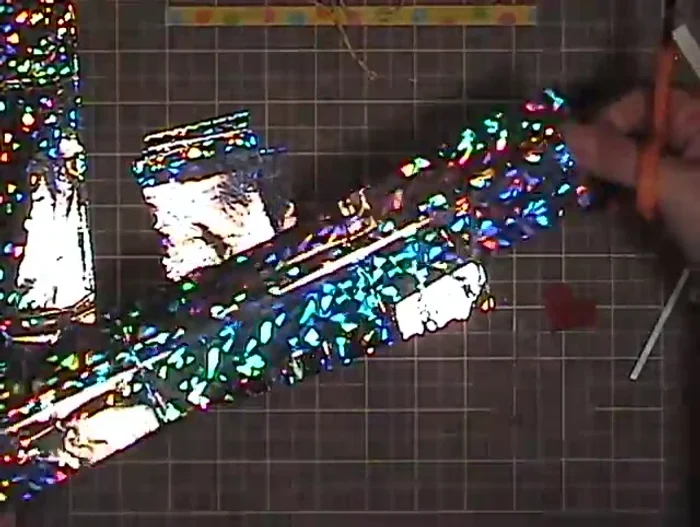
- Crinkle paper (12 inches x 2 inches strips)
- String
- Always supervise your cat when playing with the crinkle toy to prevent ingestion of small parts or choking hazards.
- Use non-toxic materials only. Avoid materials that could be harmful if chewed or ingested by your cat.
- Ensure the crinkle toy is securely sewn or fastened to prevent unraveling and potential ingestion of loose threads or filling.
Step-by-Step Instructions
Prepare Crinkle Paper Strips
- Prepare four 12-inch by 2-inch strips of crinkle paper.

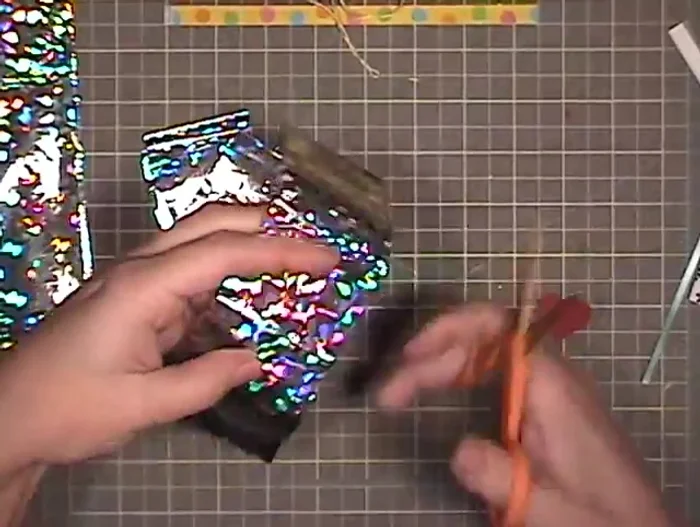
Prepare Crinkle Paper Strips Cut into Squares
- Cut each strip into thirds, creating roughly 2x2 inch squares.
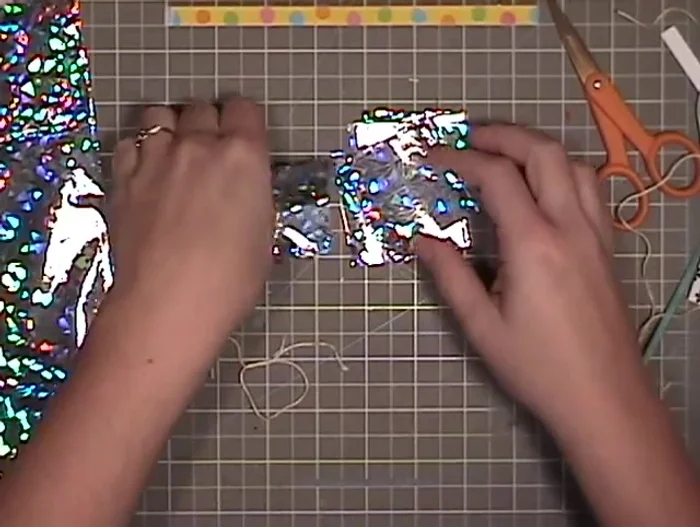
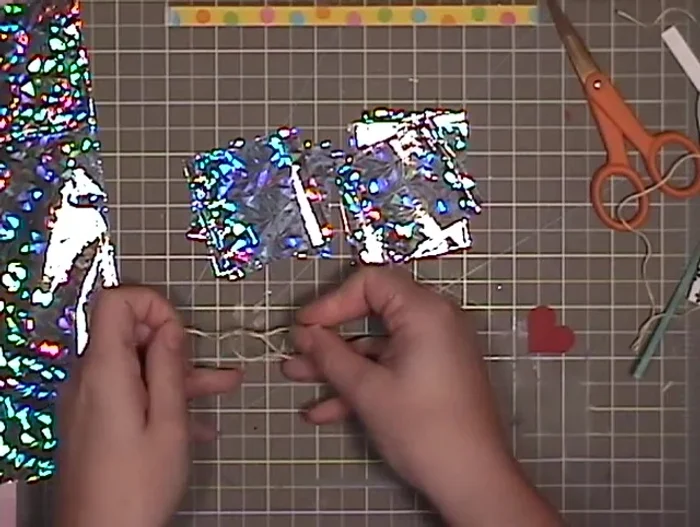
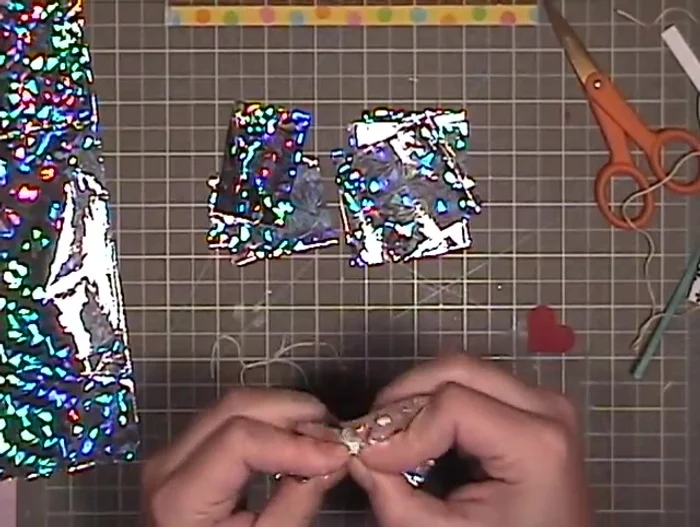
Cut into Squares Bunch and Tie
- Bunch all the squares together, pinching them in the center.
- Prepare a length of string and tie a knot around the bunched squares.
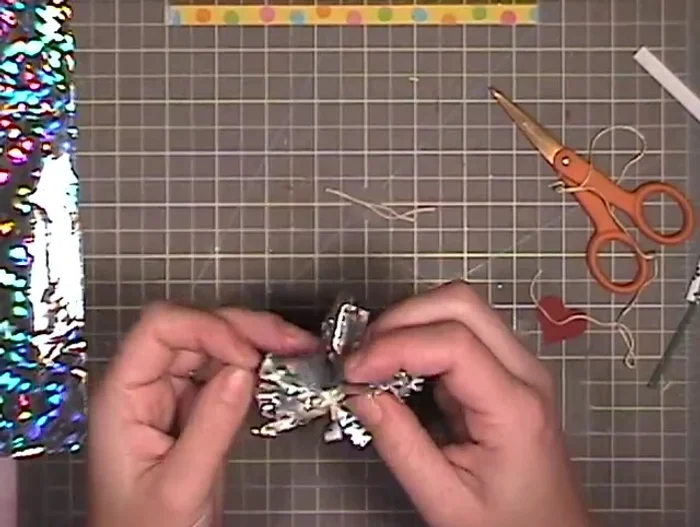
Bunch and Tie Secure and Shape
- Pull the string tightly to secure the squares into a ball shape.
Secure and Shape Trim Excess
- Trim any excess string.
Trim Excess
Read more: No-Sew Sock Cat Tutorial: Adorable DIY Project
Tips
- The crinkle paper's texture is key – cats love it!
- You can make this into a Christmas ornament by extending the string and adding a loop for hanging.
- Rubber bands might provide a stronger hold than string.