Does your canine companion deserve a truly unique and healthy treat? Look no further than dehydrated shark! While it might sound unconventional, shark cartilage is a surprisingly nutritious and palatable option for dogs, offering a rich source of glucosamine and chondroitin, beneficial for joint health. Many commercially available dog treats are packed with fillers and artificial ingredients, leading many pet owners to seek out healthier, homemade alternatives. Dehydrating shark cartilage at home allows you to control the ingredients, ensuring your furry friend receives only the best. This natural treat is a fantastic way to spoil your dog without compromising their well-being.
This step-by-step guide will walk you through the process of creating delicious and healthy DIY dehydrated shark treats for your beloved pet. From sourcing the right shark cartilage to achieving perfectly dehydrated chews, we’ll cover everything you need to know to make these rewarding snacks at home. Get ready to embark on this exciting and rewarding DIY adventure with your pup!
Preparation and Safety Guidelines
- Dehydrator
- Knife
- Ziploc bag
- Silica gel packets (optional)
- **Source your shark responsibly:** Only use shark sourced from sustainable and reputable fisheries. Avoid shark cartilage or parts that may contain high levels of mercury or other toxins.
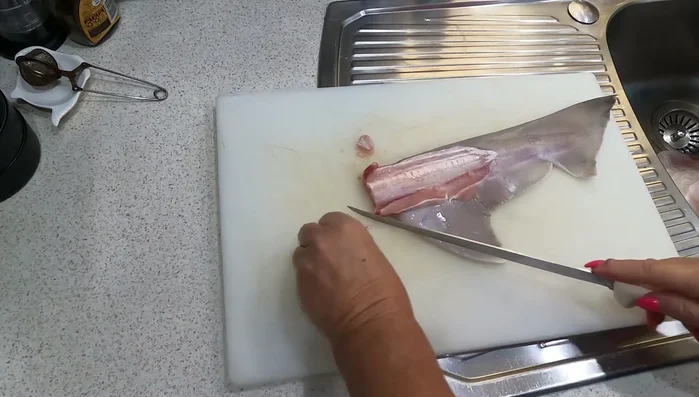
- **Thorough cleaning and preparation are crucial:** Improperly cleaned shark can harbor harmful bacteria. Ensure the shark meat is thoroughly cleaned, rinsed, and trimmed of any unwanted parts before dehydrating.
- **Monitor your dog for any adverse reactions:** Introduce dehydrated shark treats gradually to your dog’s diet. Watch for signs of allergies or digestive upset. If any issues arise, discontinue use and consult your veterinarian.
Step-by-Step Instructions
Prepare Shark Offcuts
- Remove excess meat from larger pieces like fins to speed up dehydration. Cut larger pieces into smaller, dog-sized portions.
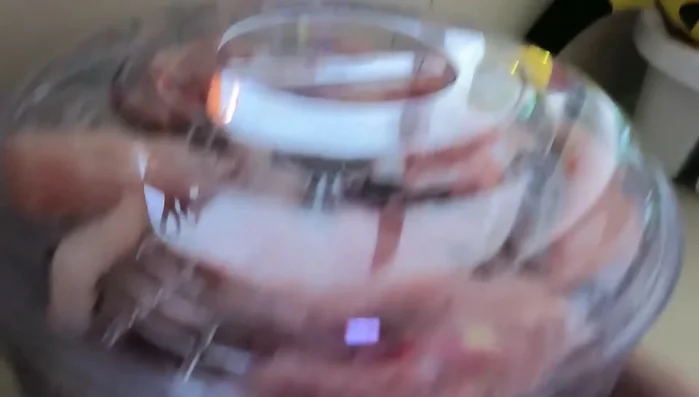
Arrange on Dehydrator Trays
- Arrange the pieces on the dehydrator trays. Ensure they don't overlap.

Arrange on Dehydrator Trays Set Up Dehydrator
- Place the dehydrator in a well-ventilated area (like a laundry room with the window open) to reduce odor during the dehydration process.
Set Up Dehydrator Dehydrate the Treats
- Dehydrate for 10-12 hours (or until completely dry).
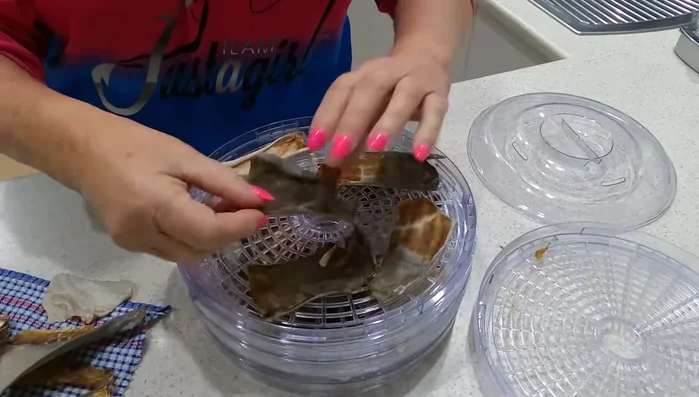
Dehydrate the Treats Cool and Store Treats
- Remove the dehydrated treats from the dehydrator and let them cool.
- Store the treats in an airtight container (Ziploc bag) with silica gel packets to absorb moisture and prevent spoilage.
Cool and Store Treats

Read more: Homemade Chicken Broth for Healthy Cats: Boost Immunity & Recovery
Tips
- Removing excess meat from larger pieces shortens dehydration time and prevents overly tough treats.
- Avoid overlapping the fish pieces on the dehydrator trays for even drying.
- Dehydrating in a well-ventilated area minimizes odor.
- Add silica gel packets to the storage container to maintain dryness and prevent mold growth.
- Tuna belly is too oily and doesn't dehydrate well.