Looking for a unique and adorable addition to your wedding ceremony? Forget the traditional ring bearer pillow – consider a charming, four-legged friend sporting a handcrafted DIY dog bow tie! This project is perfect for pet owners wanting to incorporate their beloved canine companion into their special day in a stylish and memorable way. It's a heartwarming alternative that's sure to capture guests' hearts and create lasting wedding photographs. Beyond the cuteness factor, making your own dog bow tie is surprisingly simple and affordable, requiring only a few basic materials readily available at most craft stores.
This easy-to-follow tutorial provides a step-by-step guide to crafting the perfect bow tie for your furry ring bearer, ensuring a comfortable and stylish fit. From selecting the right fabric and measuring your dog to assembling the final product, we’ll walk you through each stage with clear instructions and helpful images. Let's get started and create a truly unforgettable moment for your wedding!
Preparation and Safety Guidelines
- Fabric
- Wadding
- Needle
- Thread
- Scissors
- Pins
- Glue
- Iron
- Knitting Needles
- Press Studs
- Pliers
- Ring Holders (optional)
- Always supervise your dog during the ceremony and photos. The bow tie and ring pillow could be a choking hazard if chewed or ingested.
- Ensure the ring pillow is securely attached to the bow tie and that the ring is safely fastened to prevent loss or accidental swallowing.
- Choose materials that are non-toxic and dog-friendly. Avoid anything that could irritate your dog's skin or cause an allergic reaction.
Step-by-Step Instructions
Prepare Bow Tie Fabric
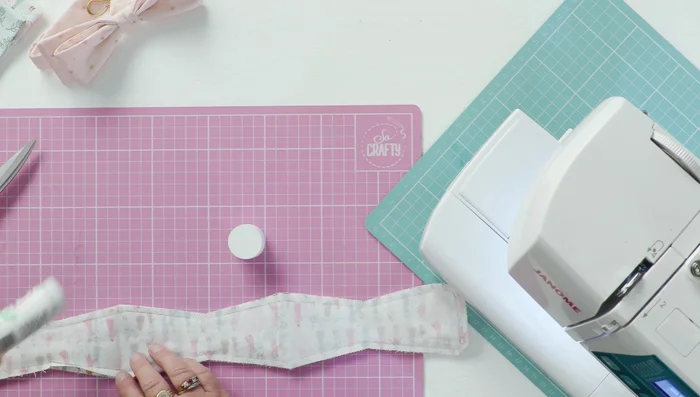
- Cut out two pieces of fabric (right sides together) and a layer of wadding using the provided pattern.
- Stitch around the edge of the fabric pieces and wadding, leaving a turning gap.
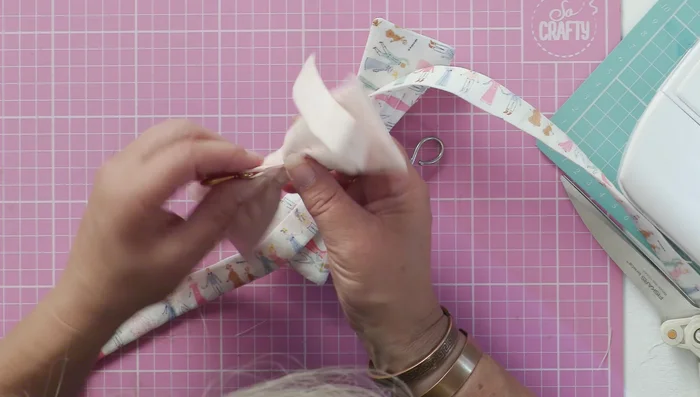
- Clip the corners, cut into the internal angles, and turn right side out.
- Apply glue to the edges of the turning gap to prevent distortion while turning.

Prepare Bow Tie Fabric - Use knitting needles to push out the corners and give the bow shape.
- Press the bow with an iron.
Shape the Bow
- Create the center of the bow by bringing one-third of the fabric up and tacking it in place. Repeat on the other side.
Shape the Bow Prepare Collar
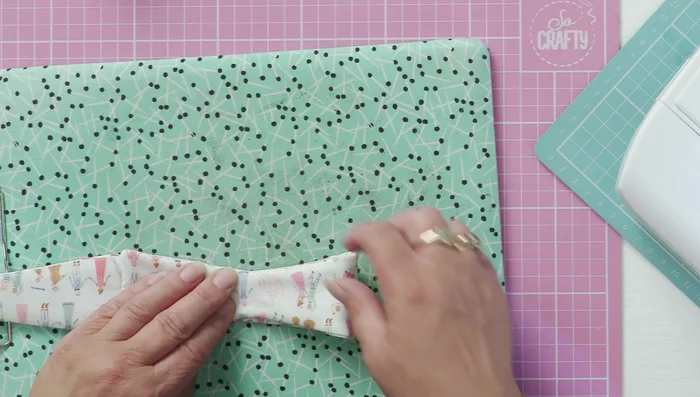
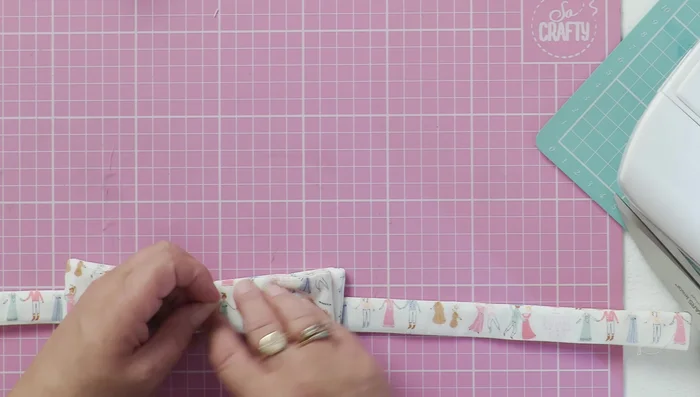
- Cut a strip of fabric (5.5 cm wide, approximately 55 cm long), fold in half (right sides together) and pin it to a narrow strip of wadding.
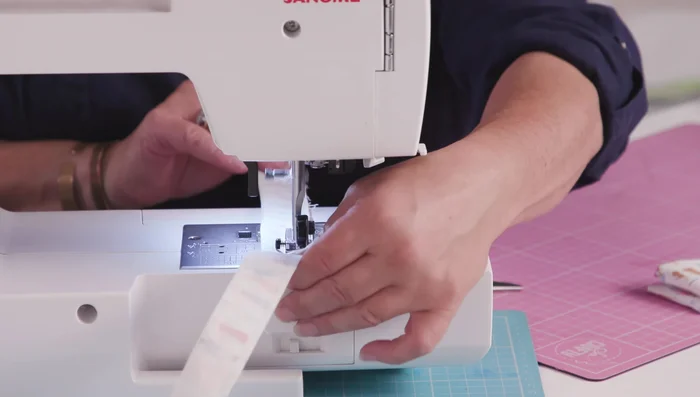
- Stitch down the sides and bottom, from the middle outwards, leaving a turning gap.
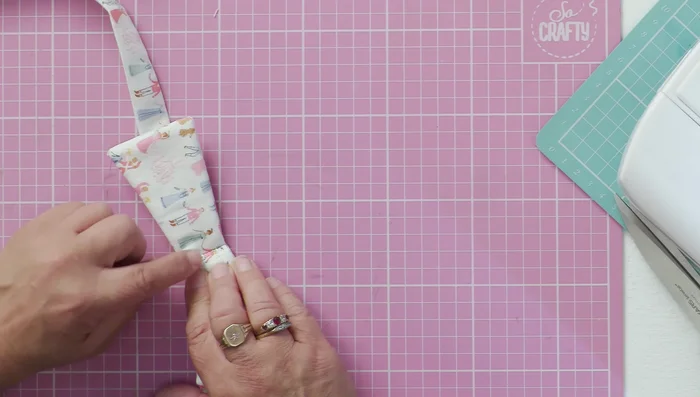
- Turn the collar right side out, using knitting needles to push out the corners, and press with an iron.
- Hand stitch the turning gap on the collar closed.
Prepare Collar Assemble Bow and Collar
- Tack the bow onto the center of the collar.
- Stitch the back of the bow to the collar, ensuring it lays flat.
Assemble Bow and Collar Create and Attach Center Band
- Cut a central band (19 cm x 5 cm), stitch halfway down one long edge, leaving a turning gap. Turn right side out, and press.
- Attach the central band to the back of the collar, hiding the seam.
Create and Attach Center Band Add Finishing Touches
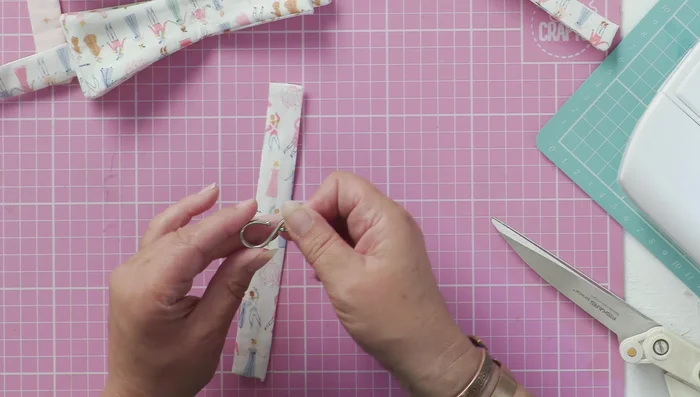
- Attach ring holders (optional) to the collar.
- Attach press studs to the collar for extra security.
Add Finishing Touches


Read more: DIY Studded Dog Collar with Reflective Piping: A Comprehensive Guide
Tips
- Use a piping turner to make turning the collar and central band easier.
- Ensure the fabric pattern is oriented correctly before attaching the bow to the collar.