Are you ready to unleash your inner crafter and create a truly paw-some accessory? This tutorial will guide you through the simple yet charming process of making a DIY magic bracelet featuring an adorable dog charm. Whether you're a seasoned jewelry maker or a complete beginner, this project is perfect for adding a touch of playful personality to your wrist or for creating a thoughtful, handmade gift for a fellow dog lover. Imagine the satisfaction of wearing a bracelet you crafted yourself, showcasing a miniature version of your furry best friend! The unique design allows for easy customization, letting you tailor the charm and bracelet colors to perfectly match your style.
This delightful project combines the fun of crafting with the heartwarming connection to our canine companions. Get ready to dive into the step-by-step instructions and learn how to create this adorable and personalized bracelet. Let's get started on creating your own DIY Magic Bracelet with a charming dog charm!
Preparation and Safety Guidelines
- loom
- rubber bands in three colors (e.g., white, caramel, dark brown)
- c-clip
- Adult supervision is required, especially for younger crafters using small parts like jump rings or charms which pose a choking hazard.
- Always use pliers designed for jewelry making to avoid damaging or bending the wire or findings.
- Ensure all components are securely fastened to prevent accidental detachment and potential choking hazards, particularly if the bracelet will be worn by a child or pet.
Step-by-Step Instructions
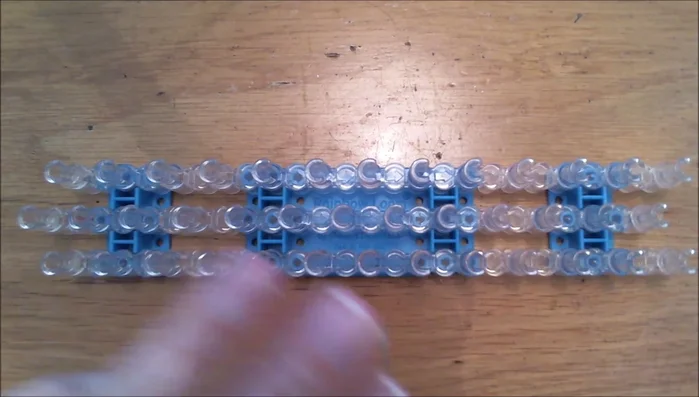
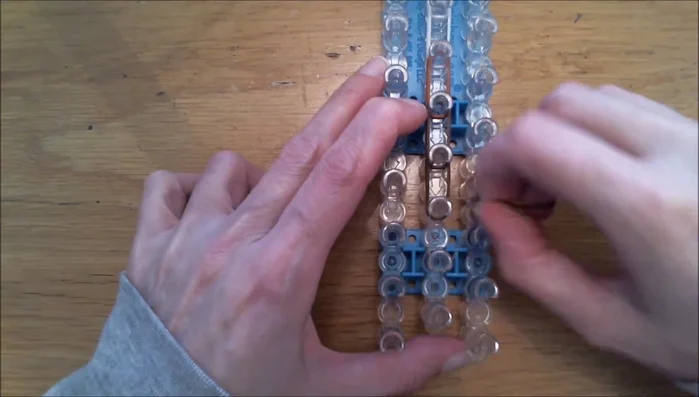
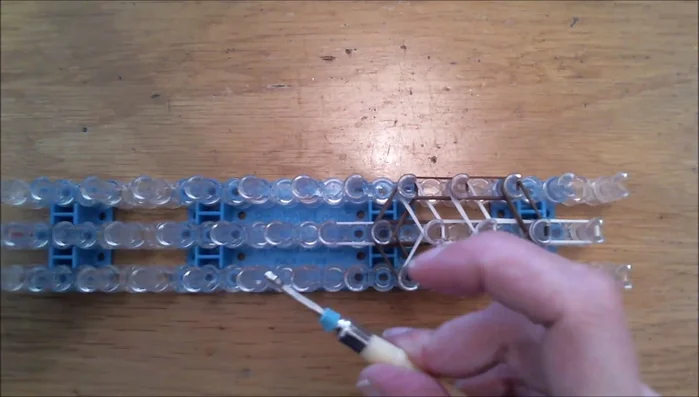
Creating the Bracelet Base
- Start with three white bands, then two from the remaining white bands.
- Add two white bands, followed by three caramel bands and two more white bands.
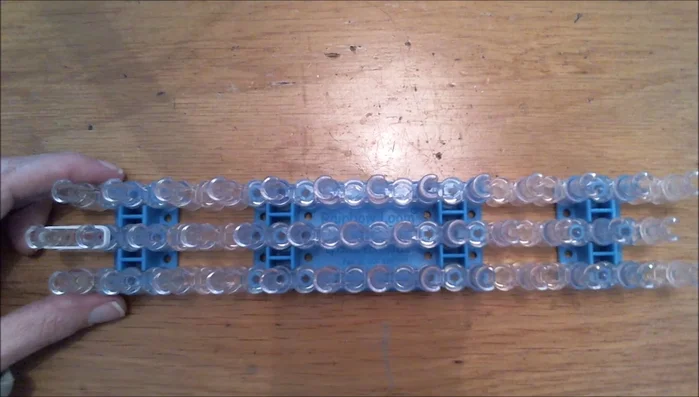
- Continue with two white bands, two caramel bands, and three dark brown bands.
- Use double loops for the remaining bands, starting with a single dark brown band.

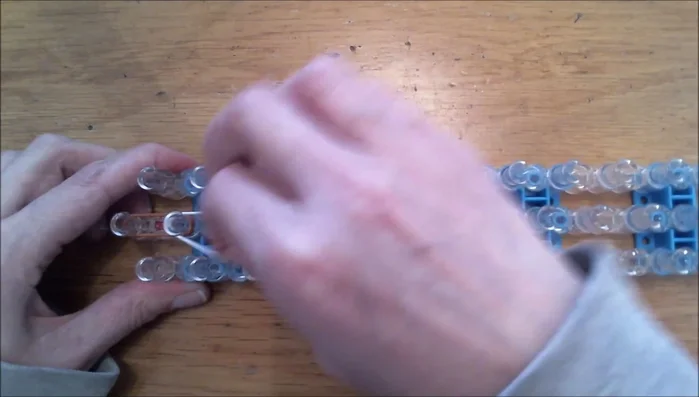
Creating the Bracelet Base - Continue with double loops until you reach the top of your loom.
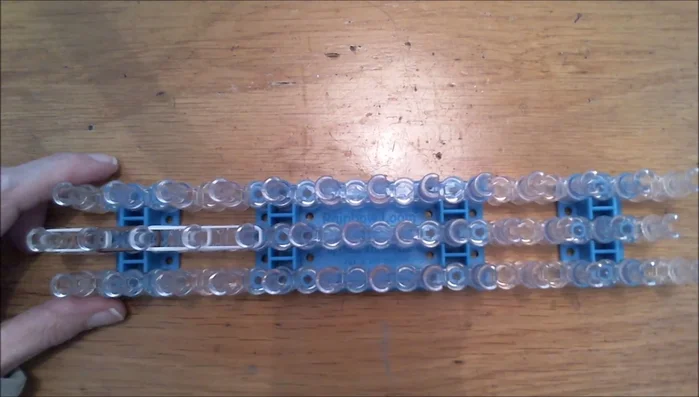
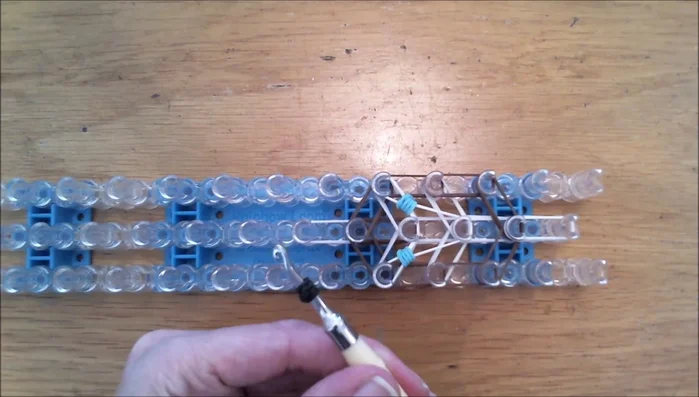
Creating the Bracelet Base Creating the Bracelet Body
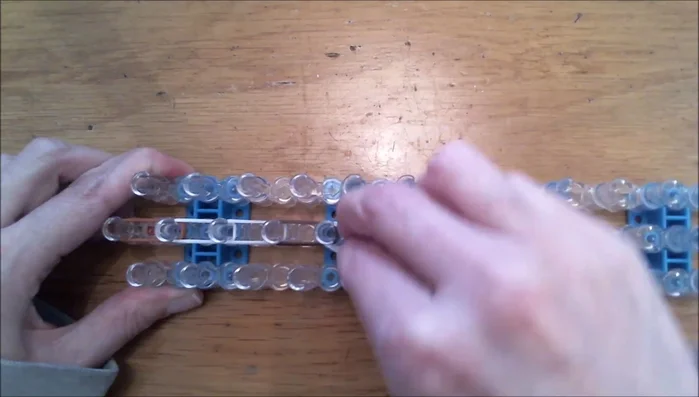
- Start the second part of the bracelet with three turquoise bands, followed by two white bands and three white bands.
- Add two dark brown bands and three white bands.
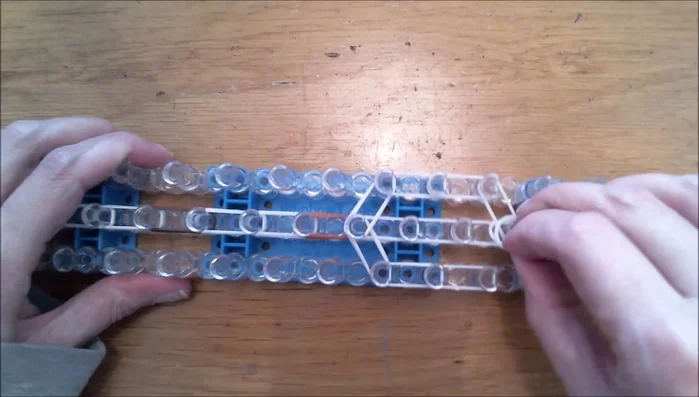
- Continue with three caramel bands. Then create the body using two white bands repeatedly, going down each side and in the center.
- Close the figure with two white bands.
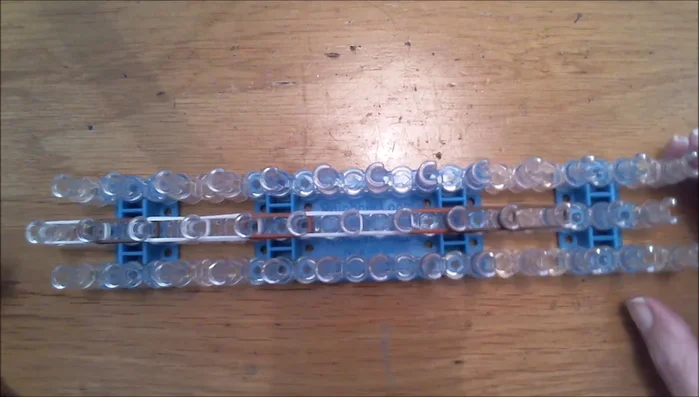
Creating the Bracelet Body Creating the Dog's Head
- Create the dog's head by adding bands according to the instructions in the video (dark brown, white, etc.)
Creating the Dog's Head Creating the Dog's Ears
- Create the ears using dark brown bands and a white band.
Creating the Dog's Ears Creating the Dog's Eyes
- Create the eyes using turquoise bands and white bands.
Creating the Dog's Eyes Creating the Dog's Nose and Snout
- Create the nose and snout using dark brown and white bands.
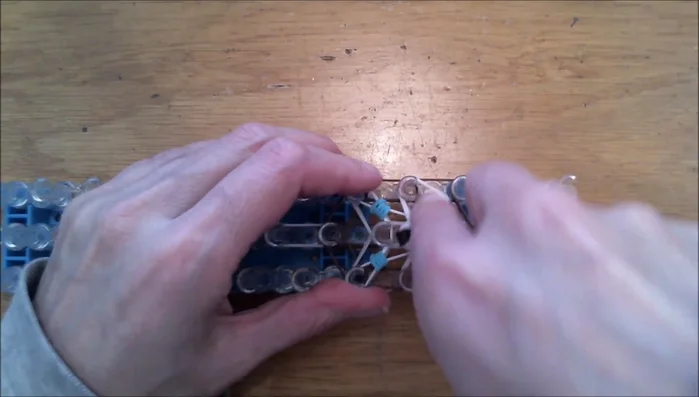
Creating the Dog's Nose and Snout Assembling the Dog Charm
- Assemble the dog's face by attaching the ears, eyes, nose, and snout.
Assembling the Dog Charm Finishing the Bracelet
- Finish the bracelet by tying off the bands and attaching a c-clip.


Read more: DIY Studded Dog Collar with Reflective Piping: A Comprehensive Guide
Tips
- Fast forward to the end of the video to see the finished bracelet.
- You can change the colors of the rubber bands to any color you like.
- The bracelet can be transformed into a cute tiny animal.
- This is a good beginner project.
- Materials can be found in the description below.