Tired of overpriced, mass-produced dog collars that lack personality? Do you dream of a unique accessory that perfectly complements your furry friend's style and your own creative flair? Then you've come to the right place! This tutorial will guide you through the simple and rewarding process of crafting a DIY dog collar, tailored to your dog's size and your personal aesthetic preferences. Forget generic designs and embrace the opportunity to create something truly special. You'll be amazed at how easy it is to transform readily available materials into a stylish and functional collar.
Making your own dog collar isn't just cost-effective; it's a fun and engaging project that allows for endless customization. You can choose from a variety of fabrics, buckles, and embellishments to create a collar that perfectly reflects your dog's unique personality. Ready to unleash your creativity and get started? Let's dive into the step-by-step instructions and transform your vision into a beautiful, handcrafted dog collar.
Preparation and Safety Guidelines
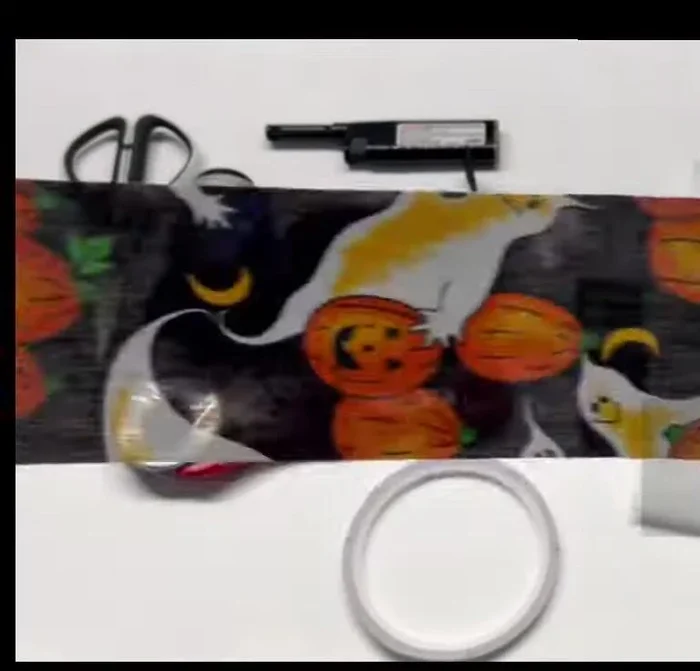
- Cotton fabric scraps (at least 3 inches wide)
- Interfacing
- 1-inch nylon webbing (or seatbelt webbing)
- D-ring
- Parachute clip
- Adjustable strap slider
- Double-sided tape (1/8 inch)
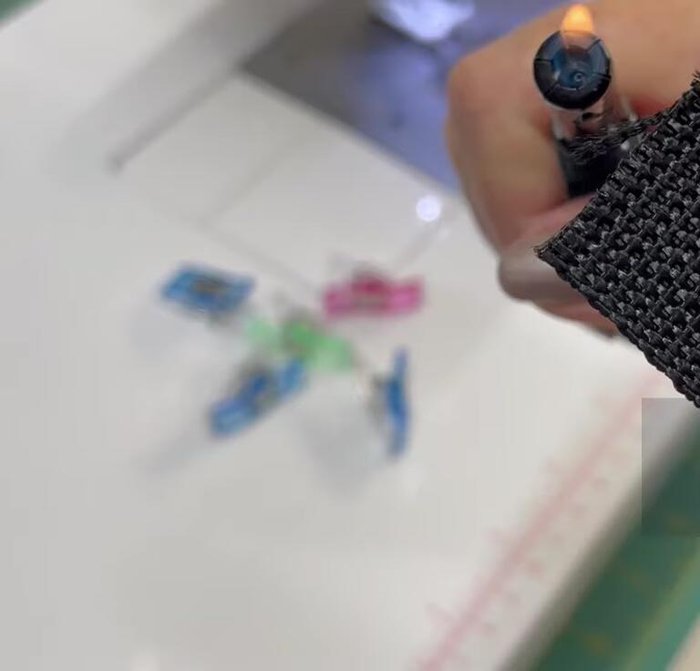
- Lighter
- Seam ripper
- Scissors
- Rotary cutter (optional)
- Tex 45 thread (or similar)
- Iron
- Always supervise your dog while wearing a new collar to ensure a proper fit and prevent accidental strangulation or injury. Adjust the collar regularly as your dog grows.
- Use strong, durable materials that can withstand your dog's chewing and pulling. Avoid using materials that could easily break or pose a choking hazard.
- Ensure all hardware, such as buckles and rings, are securely fastened and free from sharp edges or burrs that could injure your dog's skin.
Step-by-Step Instructions
Prepare Materials
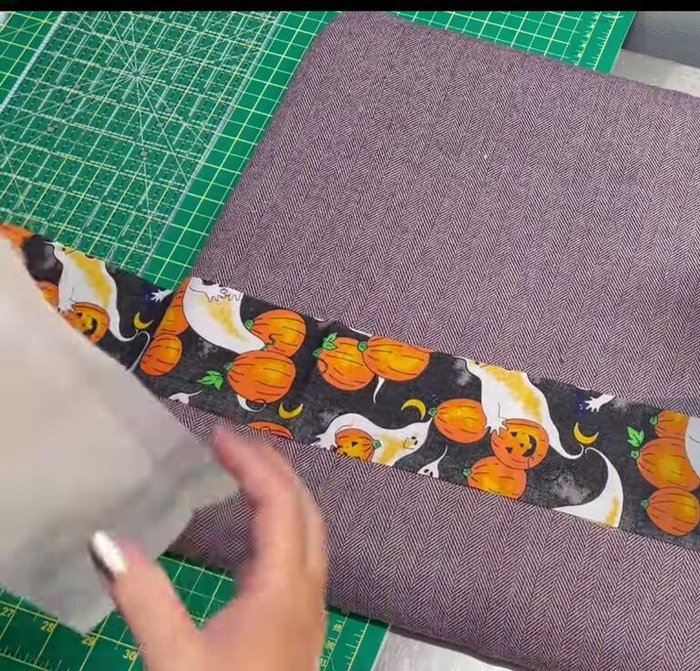
- Cut fabric 3 inches by 28 inches. Cut interfacing slightly smaller (approximately 2 7/8 inches by 26 inches).

Prepare Materials Fuse Interfacing
- Iron interfacing onto the wrong side of the fabric, leaving a 1-inch border on each end.
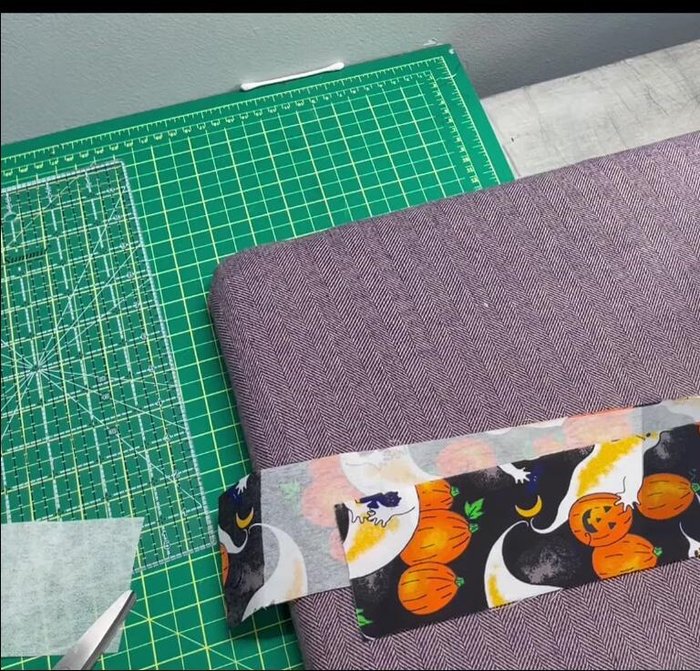
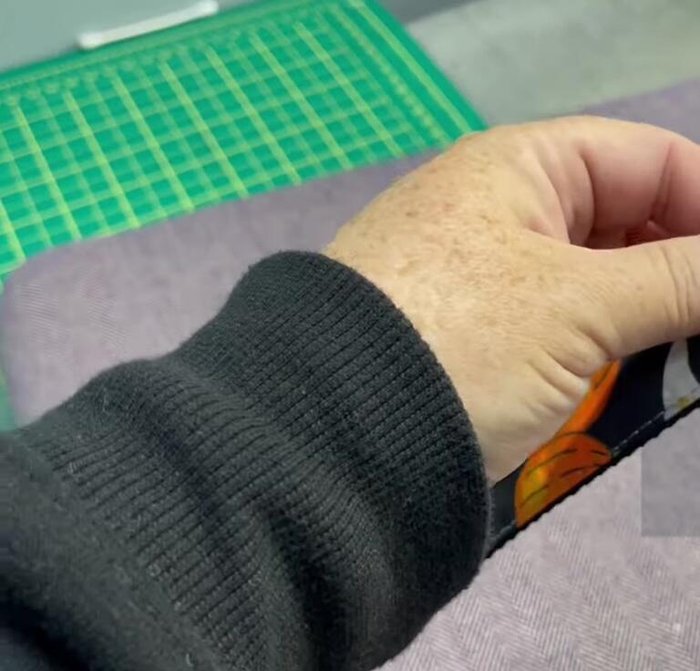
Fuse Interfacing Press and Prepare Fabric Edges
- Fold one edge of the fabric (about 7/8 inch) and press. Repeat on the other side, using double-sided tape to secure the raw edges.
Press and Prepare Fabric Edges Attach Webbing
- Place the folded fabric onto the webbing, leaving a 1-inch overhang on each end. Clip to hold in place.
Attach Webbing Sew Fabric to Webbing
- Stitch along both edges of the fabric, attaching it to the webbing with a 1/8-inch seam allowance.
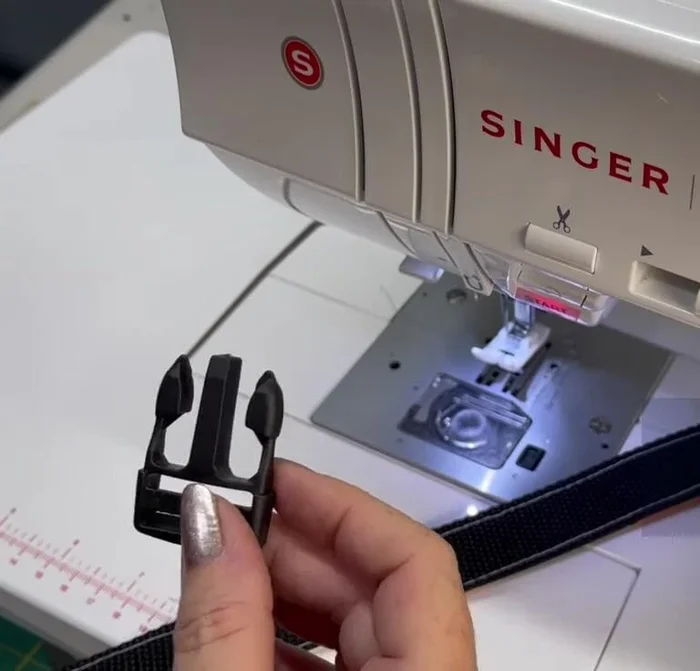
Attach Strap Slider
- Thread one end of the webbing through the strap slider and fold over, creating a box shape. Sew to secure.
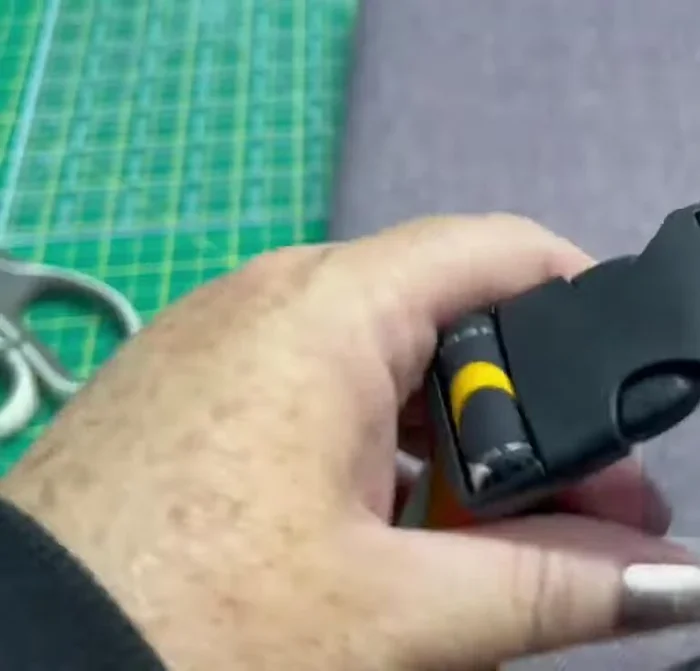
Attach Strap Slider Attach Hardware
- Thread the other end of the webbing through the parachute clip, secure with strap slider. Add D-ring, fold and sew the edges of the fabric and webbing.
Attach Hardware Finishing Touches
- Trim any excess fabric and webbing. Securely sew all hardware components to prevent shifting and fraying.
Finishing Touches
Read more: DIY Studded Dog Collar with Reflective Piping: A Comprehensive Guide
Tips
- Use a hot iron and press firmly to ensure interfacing adheres correctly.
- Avoid stretching fabric while ironing or handling it to maintain shape.
- Use a lighter to burn the ends of the webbing to prevent fraying.
- Backstitch frequently to ensure seams are secure, particularly around the hardware.
- When installing the hardware, take your time to ensure that the components are placed correctly and secured tightly to prevent shifting or loosening during use.