Taking your canine companion on adventures just got a whole lot easier (and cuter!) with a DIY dog harness backpack. Forget overpriced, mass-produced options; this guide empowers you to create a custom-fitted, comfortable, and stylish backpack for your furry friend, all while saving money and having fun in the process. Imagine the possibilities: carrying water bottles on long hikes, packing treats for training sessions, or even incorporating a fun, personalized design that perfectly reflects your dog's unique personality. With readily available materials and simple techniques, crafting your own dog harness backpack is a surprisingly achievable project.
This project is perfect for anyone with basic sewing skills and a desire to personalize their dog's gear. From choosing the right materials to securing the final stitches, we'll guide you through each step of the process with clear instructions and helpful illustrations. Ready to embark on this rewarding DIY journey? Let's dive into the step-by-step guide to creating the perfect dog harness backpack for your beloved pet.
Preparation and Safety Guidelines
- Thick fabric (old jeans used in example)
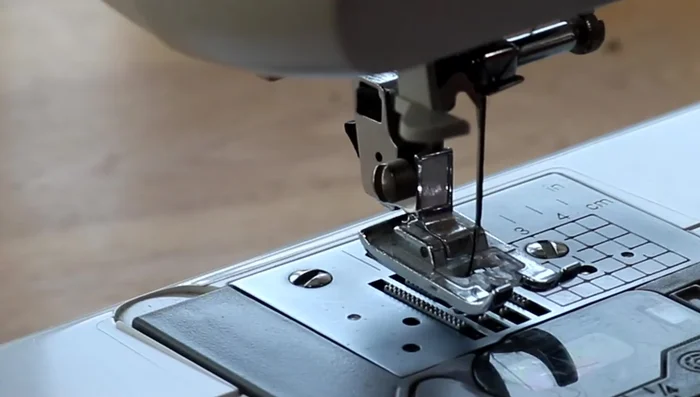
- Sewing machine
- Tailor's chalk
- Ruler
- Iron or steamer
- Velcro
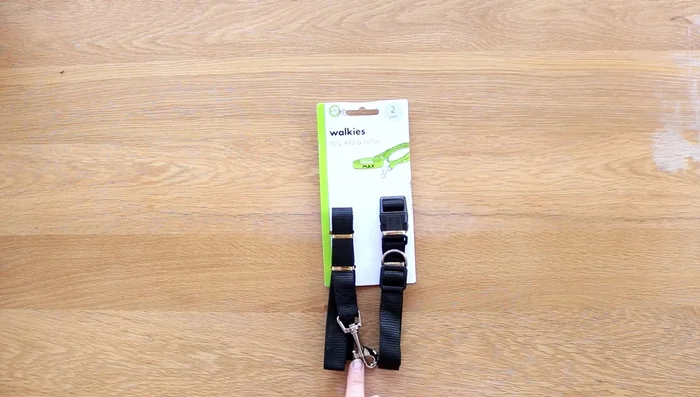
- Dog lead with clip
- Pinking shears
- Keyring (optional)
- Always ensure the harness fits your dog snugly but comfortably. Too loose and it could slip off; too tight and it could restrict breathing or movement. Test the harness before adding weight.
- Never overload the backpack. Only pack lightweight items and distribute the weight evenly. Too much weight can strain your dog's back and cause injury.
- Monitor your dog closely while wearing the backpack. Observe for signs of discomfort, fatigue, or difficulty breathing. Remove the backpack immediately if you notice any issues.
Step-by-Step Instructions
Prepare the Fabric
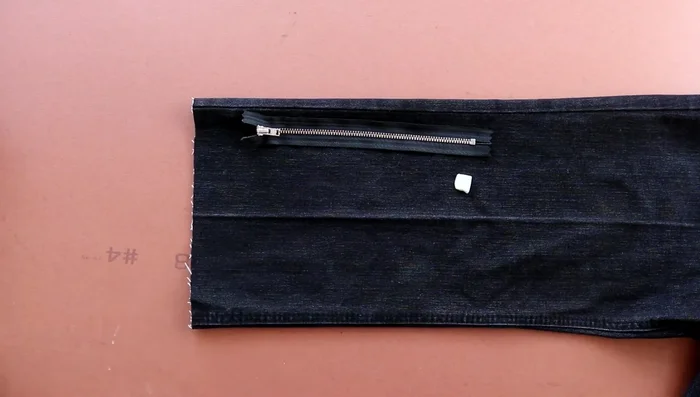
- Cut a 20cm long piece from one leg of old jeans.
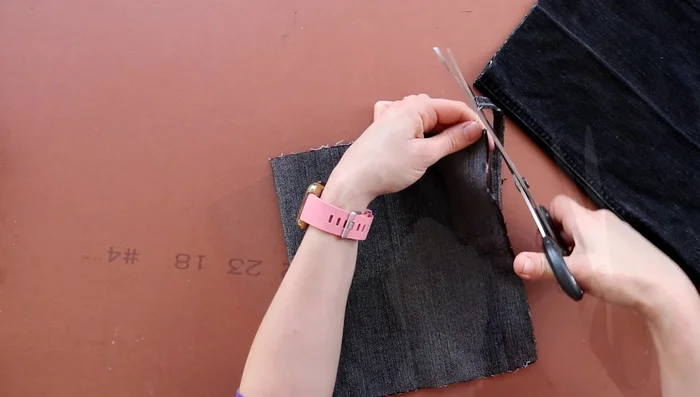
- Cut off the lumpy part of the hem, being careful of fraying.
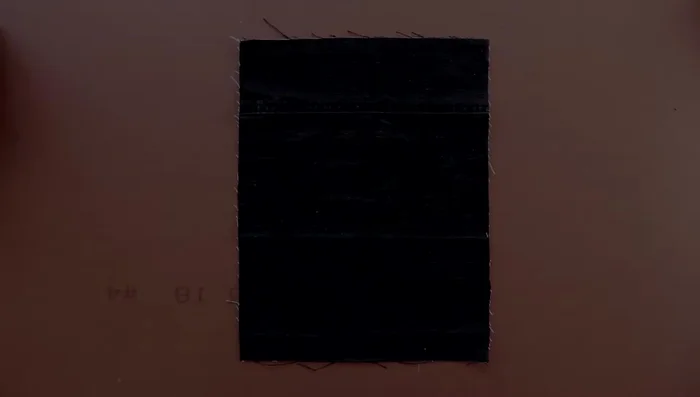
- Cut the fabric to an 8-inch by 12-inch piece.

Prepare the Fabric Attach the First Zip
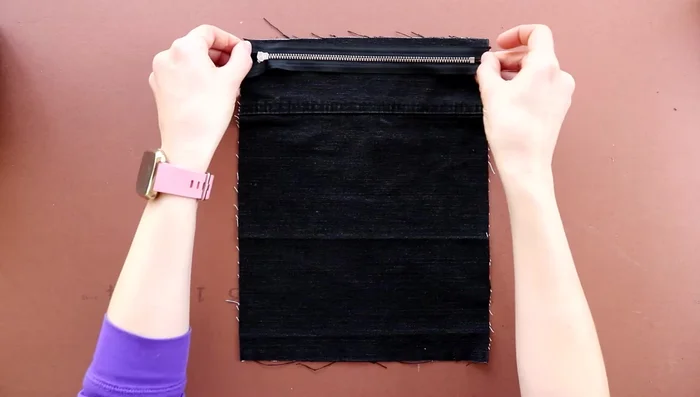
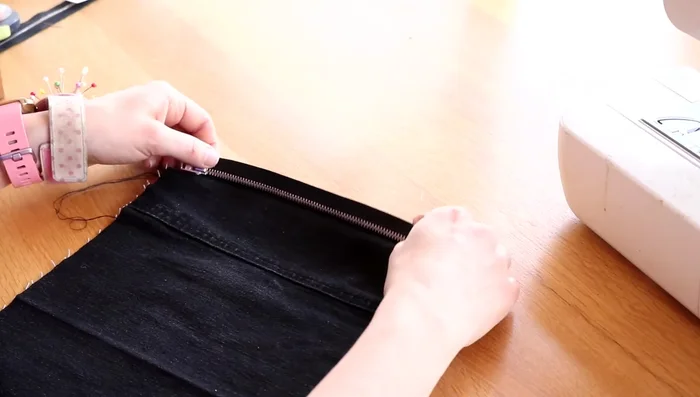
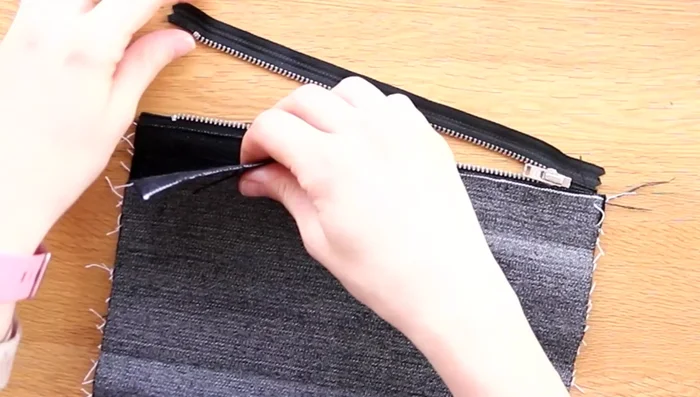
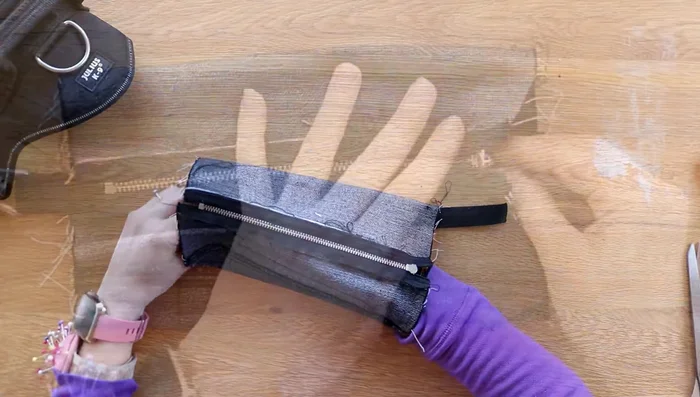
- Line the front of a zip with the right side of the fabric and pin the top half.
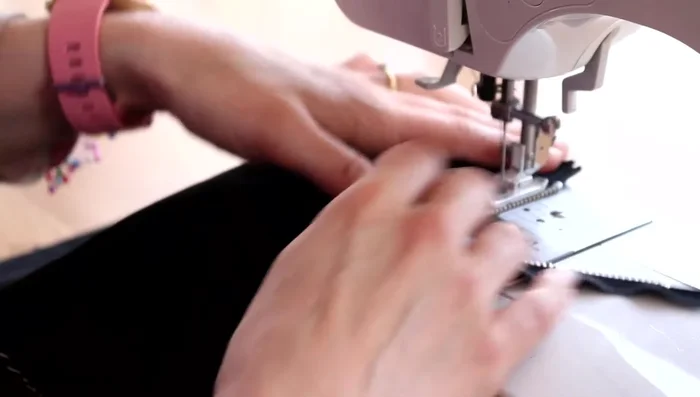
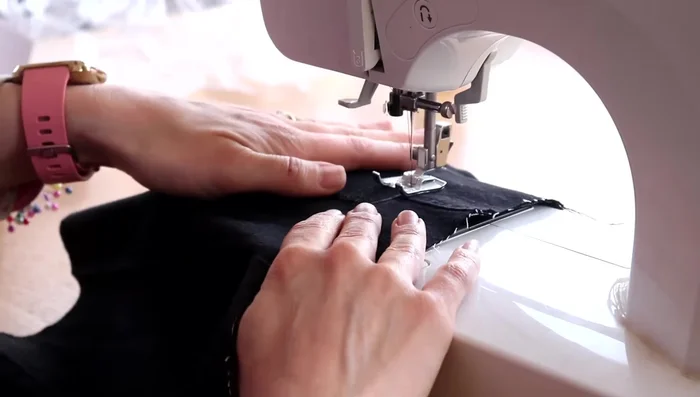
- Sew the top half of the zip to the fabric using a basic running stitch, close to the zip.
- Straighten the zip, flip it out, and press down to create a crease.
- Sew down the fold, close to the zip.
Attach the First Zip Attach Velcro to the First Pouch
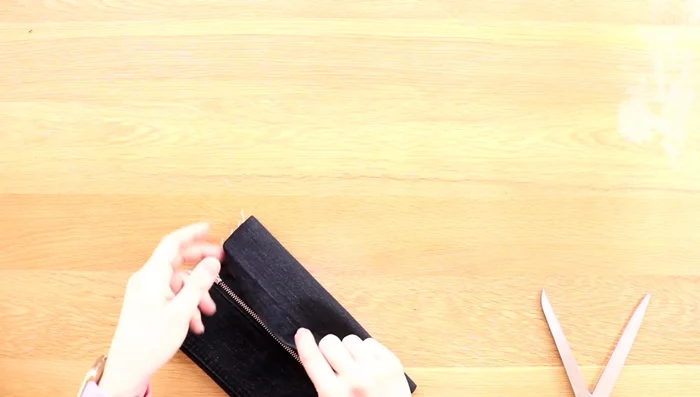
- Fold the fabric to the zip and mark the halfway points for velcro placement.
- Attach the velcro and sew around it on the inside.
Attach Velcro to the First Pouch Attach the Second Zip
- Repeat steps 4-5 for the other half of the zip.
Attach the Second Zip Prepare and Attach the Dog Lead
- Measure and cut a dog lead to 12 inches (adjust for harness size).
- Temporarily attach the patch to the harness, attach the dog lead, and gauge length.
- Pin and sew the dog lead to the center, leaving an inch overhang.
Prepare and Attach the Dog Lead Create the Second Pouch
- Repeat for the second pouch, ensuring zips face the same way.
Create the Second Pouch Finish the Pouches
- Create a box shape by marking 4cm on each side of the corners and sewing.
- Trim excess fabric with pinking shears.
Finish the Pouches Attach Harness to Backpack (implied)
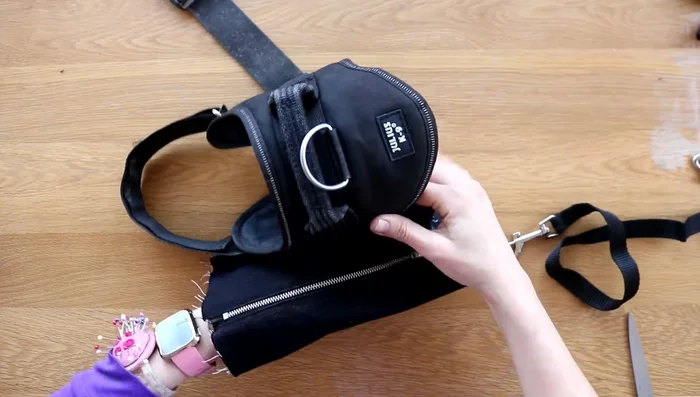
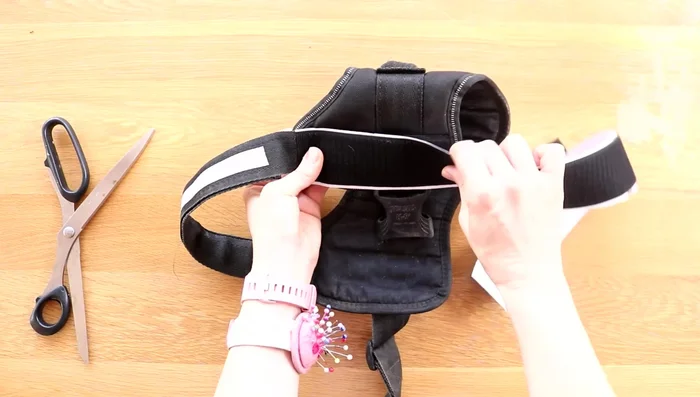
- Attach self-adhesive velcro to the harness.
Attach Harness to Backpack (implied)


Read more: DIY Studded Dog Collar with Reflective Piping: A Comprehensive Guide
Tips
- Work slowly when sewing near the zip to avoid breaking it.
- Use a similar thread color to the fabric for invisible stitching.
- Make sure the zips face the same way on both pouches.
- Consider adding reflective strips for safety.