Is your dog tired of their ill-fitting or boring harness? Are you looking for a way to personalize your pet's accessories while saving money? Then crafting your own DIY dog harness is the perfect solution! This simple and customizable guide provides everything you need to create a comfortable and stylish harness tailored precisely to your furry friend's measurements and preferences. Forget expensive store-bought options that may not offer the perfect fit or desired features.
This project allows you to choose your favorite materials, from sturdy webbing to soft padding, ensuring maximum comfort and durability for your canine companion. Whether you're a seasoned crafter or a complete beginner, you'll find our easy-to-follow instructions incredibly manageable. Ready to get started on your personalized pup-perfect harness? Let's dive into the step-by-step process!
Preparation and Safety Guidelines
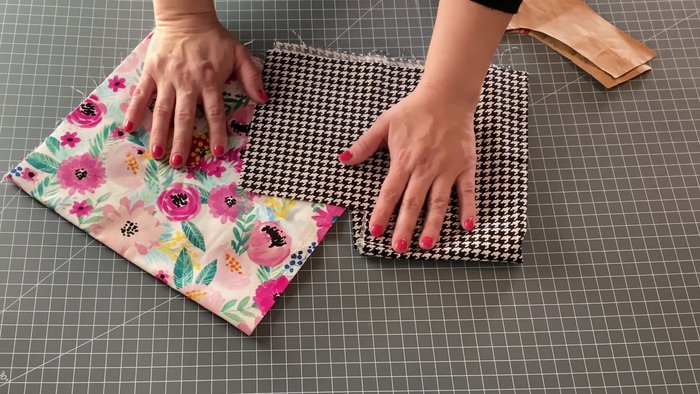
- Fabric (two types)
- Scissors
- Pins
- Sewing machine
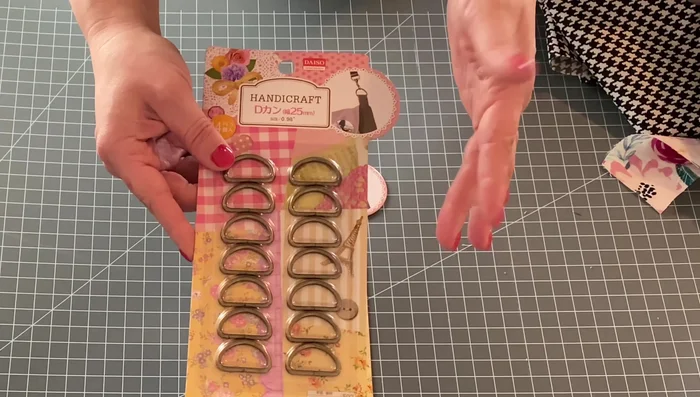
- D-ring
- Velcro
- Measuring tape
- Iron (optional)
- Needle and thread (optional)
- Embellishments (bow, etc., optional)
- Always double-check the harness fit. It should be snug but not restrictive, allowing for comfortable breathing and movement. Too loose and your dog could slip out; too tight and it could cause injury.
- Use strong, durable materials that can withstand pulling. Avoid fabrics that easily tear or fray. Prioritize safety over aesthetics.
- Thoroughly inspect the finished harness before each use. Check for any damage, loose stitching, or broken buckles that could compromise your dog's safety.
Step-by-Step Instructions
Prepare Fabric
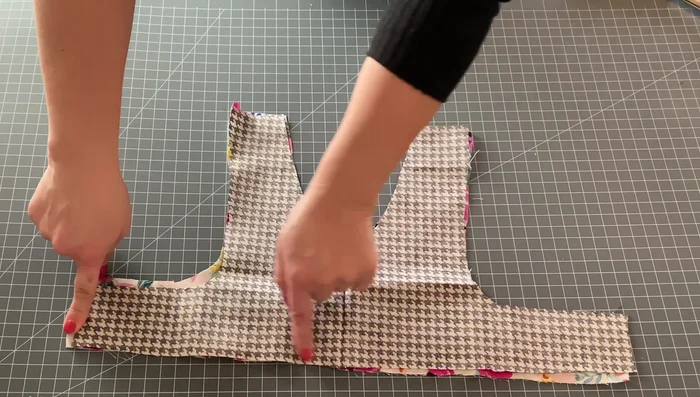
- Choose and cut your fabric pieces. Use a pre-existing pattern (like a dress pattern, using only the bodice portion) for the harness's main shape. Cut out two identical bodice pieces.

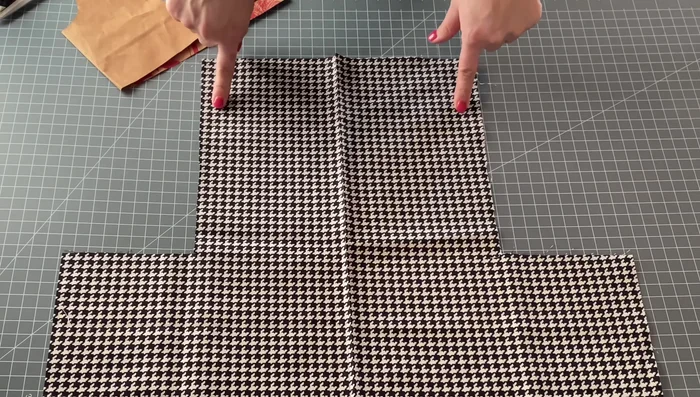
Prepare Fabric Prepare Back Piece
- Pin and cut the back piece. Adjust the back piece (if irregularly shaped) to fit the bodice pattern.
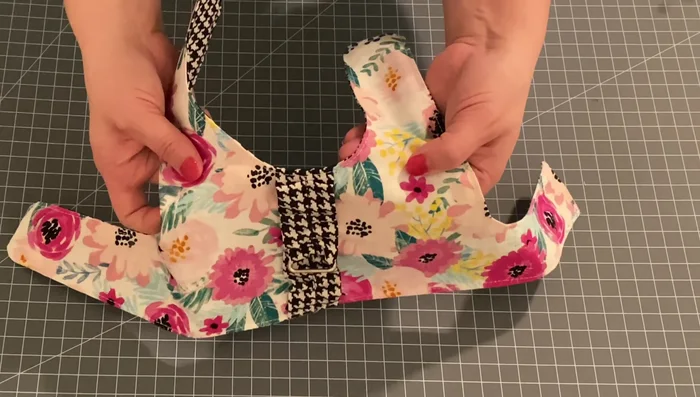
Prepare Back Piece Create Decorative Strip
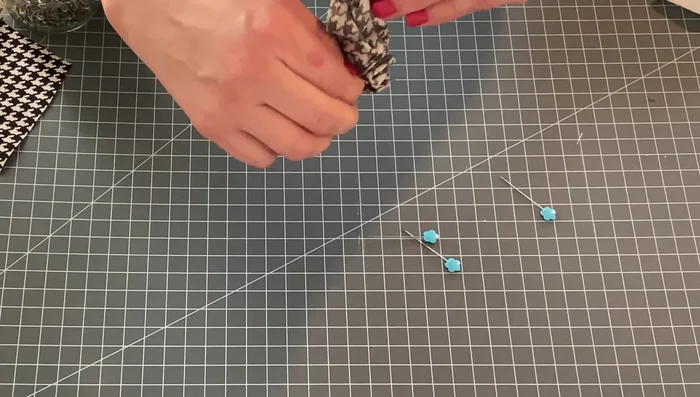
- Prepare the decorative strip. Measure and cut a strip of contrasting fabric (approximately 1.5 inches wide and 7 inches long). Fold it in half lengthwise, sew along the long edge, then turn right side out.
Create Decorative Strip Attach D-ring and Decorative Strip
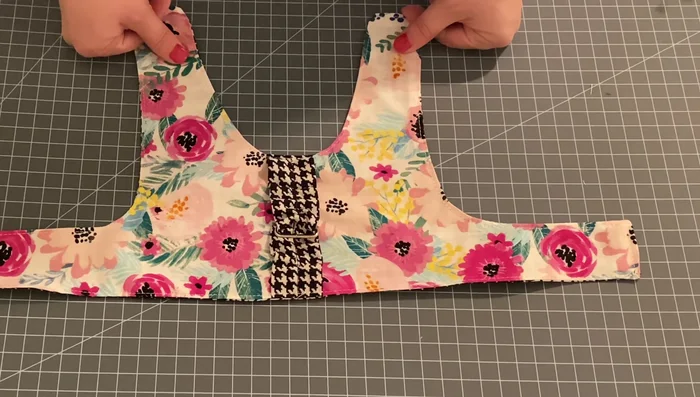
- Attach the D-ring. Position the decorative fabric strip, gather and attach it to the top center of the front bodice piece, incorporating the D-ring.
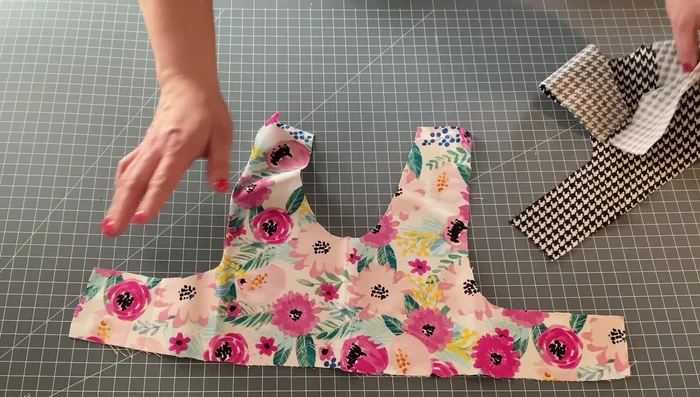
Attach D-ring and Decorative Strip Sew Bodice Pieces
- Sew the bodice pieces together. Place the two bodice pieces with right sides together. Sew along the edges, leaving the bottom edge open.
Sew Bodice Pieces Turn and Finish Bodice
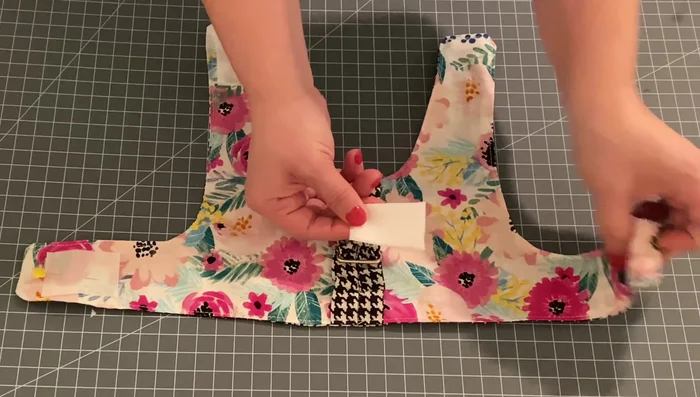
- Turn right side out. Turn the sewn bodice right side out through the open bottom. Trim and notch the corners for a neat finish.
Turn and Finish Bodice Attach Velcro
- Attach the Velcro. Pin and sew the Velcro closures to the edges of the harness, ensuring they align properly when the harness is fastened.
Attach Velcro Add Embellishments
- Add embellishments (optional). Hand-stitch a decorative bow or other embellishment above the D-ring.
Add Embellishments Final Steps
- Final Stitching. Sew the open bottom edge closed, optionally add top-stitching around the entire bodice for a professional finish.
Final Steps
Read more: DIY Studded Dog Collar with Reflective Piping: A Comprehensive Guide
Tips
- Use inexpensive fabric for the back/underside of the harness.
- Leave a larger opening (at the bottom) when sewing the bodice together for easier turning.
- Use strong velcro for dogs that pull a lot.
- Place the scratchy side of the Velcro on the inside of the harness to prevent rubbing against the dog's fur.