Are you tired of flimsy dog leashes that snap at the worst possible moment? Do you dream of a leash that's as strong and durable as your adventurous canine companion? Then look no further! This guide will show you how to craft a DIY dog leash that's not only incredibly robust but also surprisingly easy to make, using materials readily available at most craft stores or even around your home. Forget about expensive, mass-produced leashes that lack personality; you'll be able to personalize your creation to perfectly match your dog's style and your own.
Making a custom dog leash is a rewarding project that combines practicality with creativity. You'll gain the satisfaction of knowing exactly what went into your dog's leash, ensuring superior quality and longevity. This DIY project is perfect for both seasoned crafters and beginners alike, offering a manageable and satisfying experience. Ready to get started? Let's dive into the step-by-step instructions to build your own strong, sturdy, and personalized dog leash.
Preparation and Safety Guidelines
- Latigo leather strip (approx. 1 inch wide)
- Rivets
- Swivel snap
- Hole punch
- Rivet setter
- Leather working tools (optional: heat gun, branding iron)
- Always supervise your dog while using a homemade leash. Regularly inspect for wear and tear and replace immediately if damaged to prevent potential injury.
- Ensure all knots and connections are secure and strong enough to hold your dog's weight, especially for powerful breeds. A poorly constructed leash can snap, leading to escape or injury.
- Choose materials appropriate for your dog's size and strength. Avoid using materials that could easily fray, break, or cause harm to your dog (e.g., sharp edges).
Step-by-Step Instructions
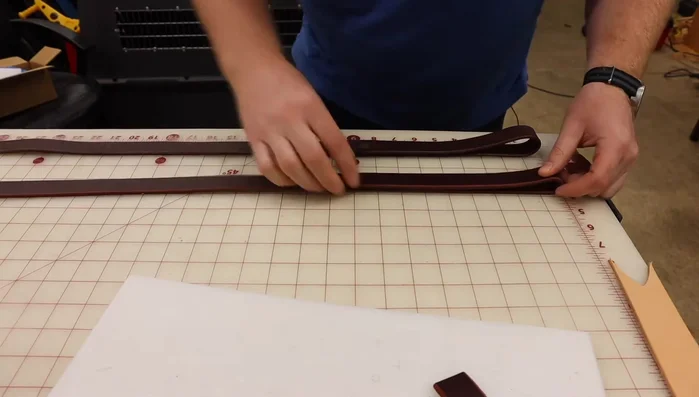
Cut and Prepare Leather
- Cut the latigo leather to your desired length (approximately 56 inches for a standard leash). Round off the ends.

Cut and Prepare Leather Position Traffic Handle
- Determine the placement of the traffic handle (forward grip). The example leash uses a length that feels comfortable for the hand.
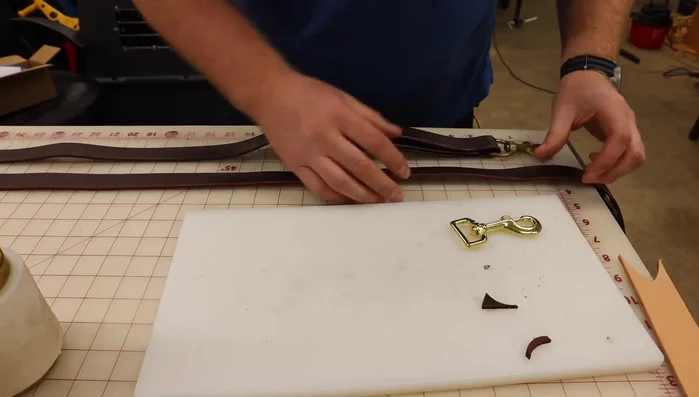
Position Traffic Handle Construct Traffic Handle
- Create the traffic handle by folding the leather to form a loop. Ensure the leather butts up against the swivel snap for a secure fit. Rivet the handle to secure it in place.
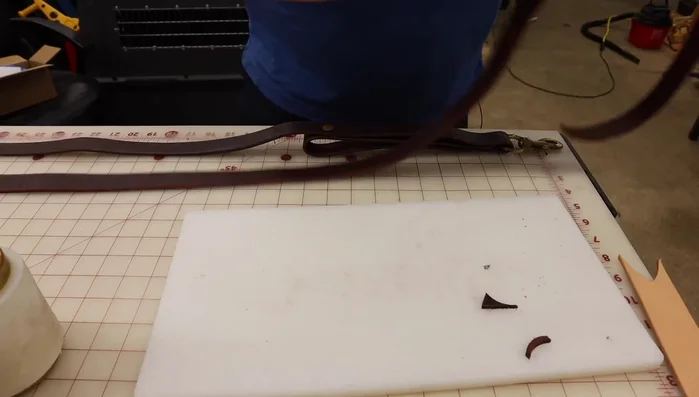
Construct Traffic Handle Attach Traffic Handle to Leash
- Align the handle with the main leash and fold the leather over the handle. Punch holes through the three layers (leash and handle) to accommodate the rivets.
Attach Traffic Handle to Leash Set Rivets for Traffic Handle
- Set the rivets using a rivet setter. Smooth any rough edges.
Set Rivets for Traffic Handle Create and Attach Hand Loop
- Create the standard hand loop by folding the remaining leather to form a loop at the opposite end of the leash. Rivet the loop in place.

Read more: DIY Studded Dog Collar with Reflective Piping: A Comprehensive Guide
Tips
- There's no strict rule for leash length. If making it for someone else, use their measurements. This example uses a 56-inch leash.
- Use a comfortable size for the traffic handle. This is a personal preference.
- Riveting the traffic handle prevents it from flopping around during use.
- For a more secure rivet placement, use a multi-faceted approach when setting the rivets. This helps create a smoother dome and makes the process easier.
- Copper rivets are easier to work with and dome over than brass rivets.