Tired of the limited selection and often overpriced dog leashes at pet stores? Wish you could create a truly unique and durable leash perfectly tailored to your furry friend's needs and your personal style? Then get ready to unleash your creativity! This easy-to-follow sewing tutorial will guide you through the process of crafting your own custom dog leash, saving you money and ensuring a perfectly fitting, long-lasting accessory for your canine companion. You'll learn how to choose the right materials, assemble the leash securely, and add personal touches that reflect your dog's personality.
Forget flimsy, mass-produced leashes prone to breaking; we'll show you how to create a robust and stylish leash that will stand up to even the most energetic walks. From selecting strong, comfortable webbing to adding reinforced stitching, we'll cover every detail. Ready to start creating? Let's dive into the step-by-step instructions and begin crafting your perfect DIY dog leash!
Preparation and Safety Guidelines
- Nylon webbing strap
- Metal bolt snap
- Fabric
- Lighter
- Sewing machine
- Heavy duty thread
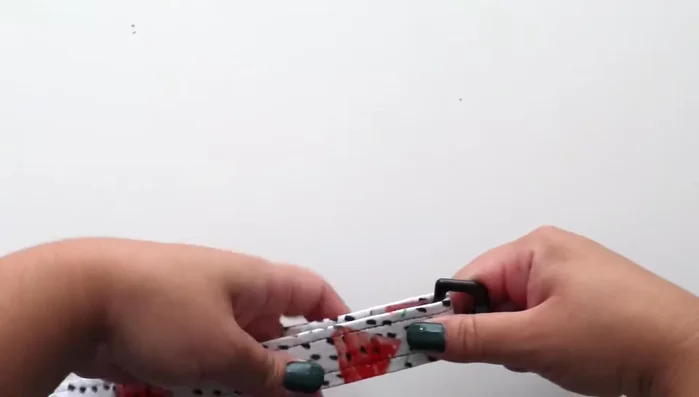
- Binder clips
- Always supervise your dog when using the leash. Never leave your dog unattended while attached to a homemade leash.
- Regularly inspect the leash for wear and tear. Replace it immediately if you notice any fraying, weakening, or damage to the stitching. A broken leash could lead to your dog escaping and getting lost or injured.
- Choose strong, durable materials specifically designed for dog leashes. Avoid using materials that could easily break or become hazardous if chewed by your dog (e.g., thin ribbons, fraying fabrics).
Step-by-Step Instructions
Prepare the Webbing
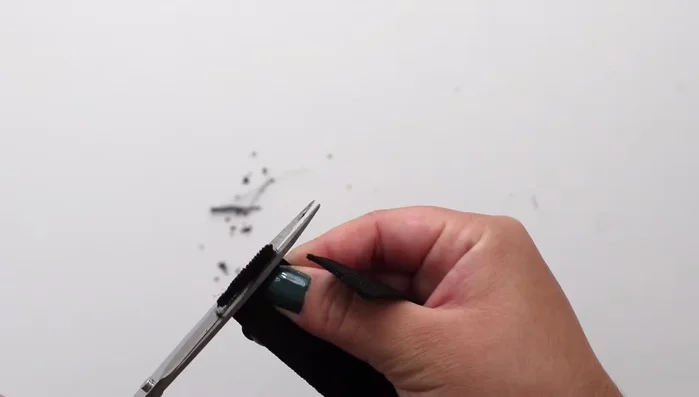
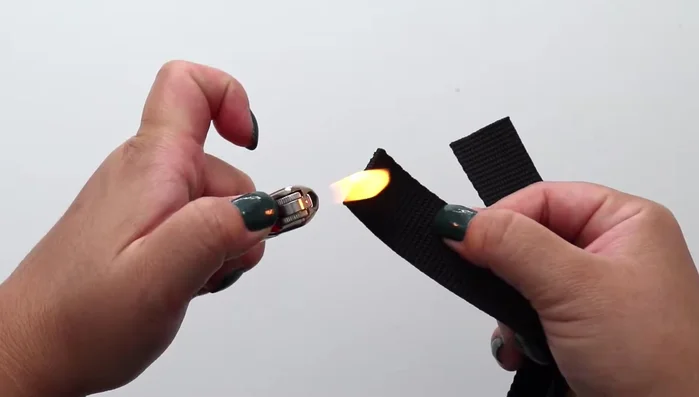
- Cut the nylon webbing strap to your desired length (approx. 53.5 inches).
- Burn the edges of the strap with a lighter to prevent fraying.

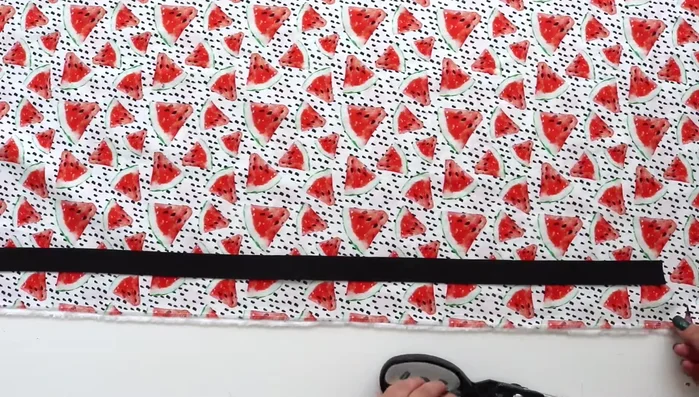
Prepare the Webbing Prepare the Fabric Covering
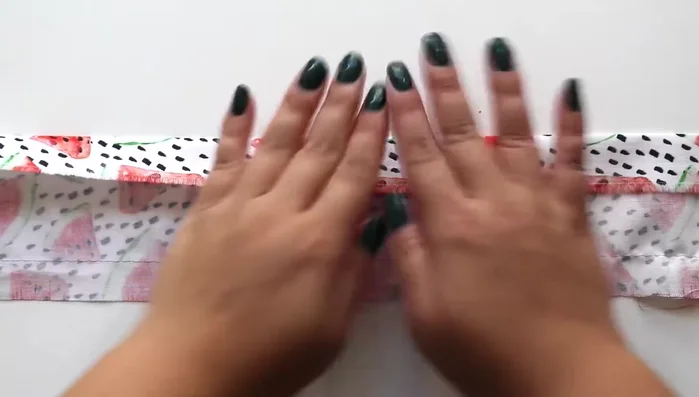
- Cut fabric (3.75 inches wide) long enough to cover the strap.
- Press a 1-inch fold on one end of the fabric. Sew a basting stitch 2 inches from the hem (or just use an iron to press this guide).
- Flip the fabric, press along the basting stitch towards the fold, and remove the basting stitch.
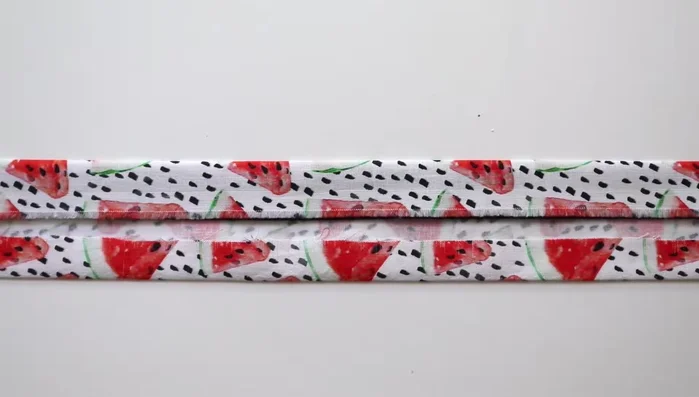
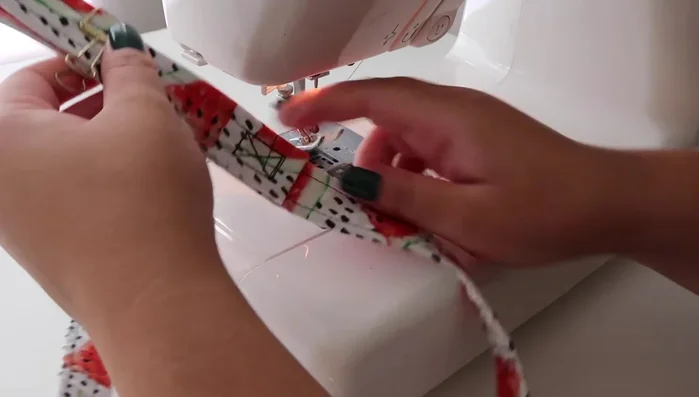
Prepare the Fabric Covering Encase the Webbing in Fabric
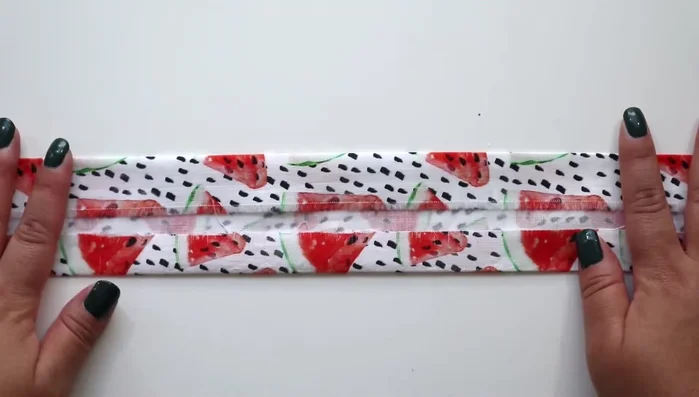
- Tuck the nylon strap under the 1-inch fold. Fold the other side of the fabric over the strap, ensuring the strap is fully covered.
- Use binder clips to hold the fabric and strap together. Sew around the entire piece, tucking in the edges at both ends, creating a long rectangle.
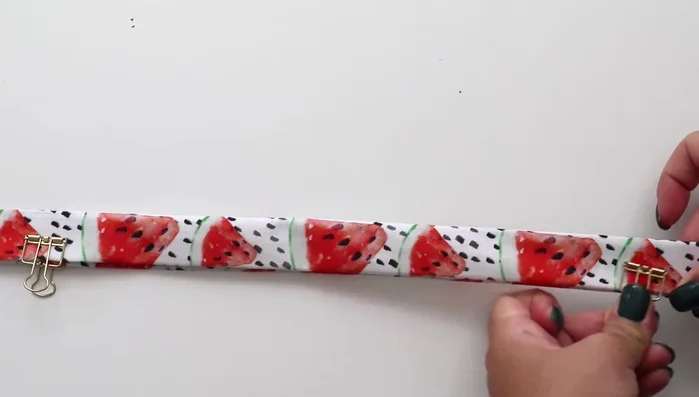
Encase the Webbing in Fabric Attach the Bolt Snap
- Attach the bolt snap to one end, pulling the strap through about two inches. Sew the strap together to secure the bolt snap, using multiple seams and a cross-stitch for added strength.
Attach the Bolt Snap Create the Handle
- Fold over the other end of the strap (approx. 8 inches) to create a handle. Secure with a rectangular stitch near the end.
Create the Handle
Read more: DIY Studded Dog Collar with Reflective Piping: A Comprehensive Guide
Tips
- Use heavy-duty thread and multiple seams for extra durability.
- Use binder clips instead of pins to hold the fabric and strap together while sewing.