Tired of overflowing bins and expensive store-bought dog toys that barely last a week? Then get ready to unleash your inner crafting genius and create a fun, durable, and completely free dog toy! This guide shows you how to upcycle old materials into a captivating snake toy your canine companion will adore. We’ll be transforming discarded fabrics, old t-shirts, or even those lonely socks lurking in the back of your drawer into a stimulating, interactive plaything that's both environmentally friendly and budget-conscious. Saying goodbye to guilt-inducing waste and hello to happy playtime has never been easier.
This no-waste DIY project is perfect for those looking to reduce their environmental impact while providing their furry friend with hours of entertainment. Forget the pricey squeaky toys and flimsy ropes; this durable snake is built to withstand even the most enthusiastic chewers. Ready to get started and create this fantastic toy? Let’s dive into the step-by-step instructions below.
Preparation and Safety Guidelines
- Fabric scraps
- Squeakers
- Stuffing (batting)
- Sewing machine
- Needle
- Thread (black and regular)
- Scissors
- Pencil
- Supervise your dog while playing with any homemade toy. Remove the toy if it becomes damaged or parts are chewed off to prevent choking hazards.
- Avoid using materials that could be toxic if ingested, such as rubber bands, buttons with paint, or fabrics treated with harsh chemicals. Only use clean, non-toxic materials.
- Ensure all seams and edges are securely stitched or knotted to prevent your dog from swallowing small pieces.
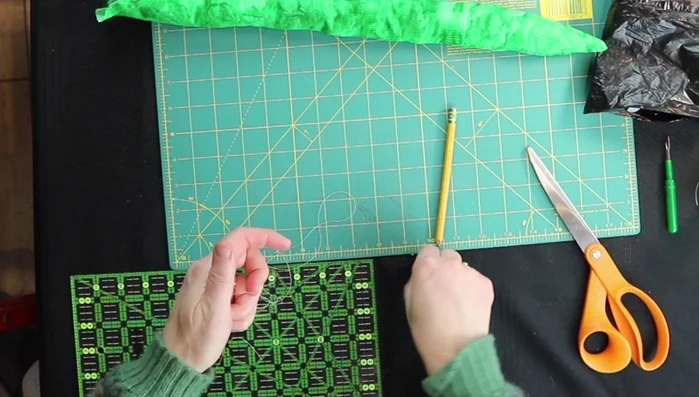
Step-by-Step Instructions
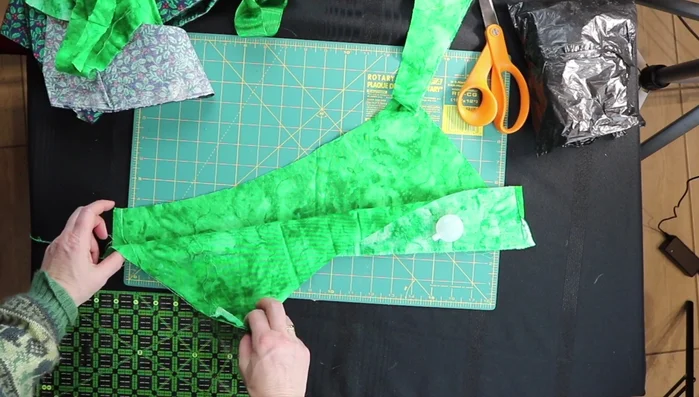
Prepare the Fabric
- Sew the two good sides of the fabric together, leaving a gap for stuffing.

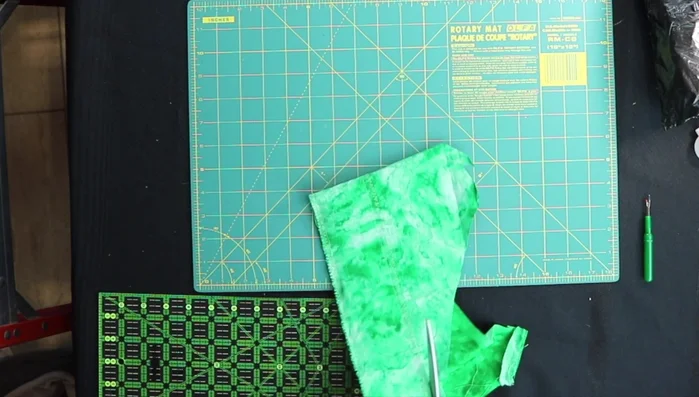
Prepare the Fabric Trim and Turn
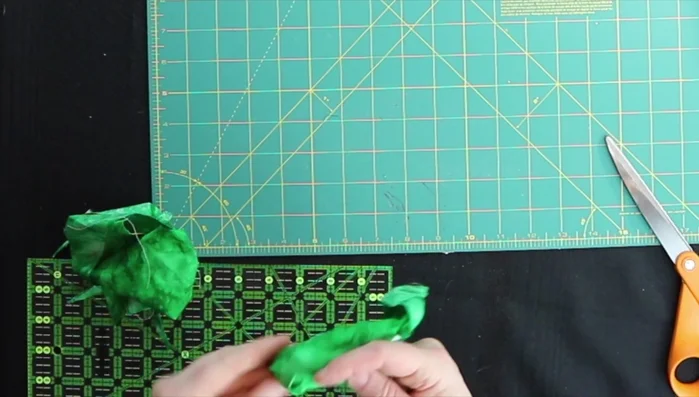
- Trim the excess fabric around the sewn snake shape, leaving a gap for stuffing and turning.
- Turn the fabric inside out, using fingers or a pokey tool if needed.
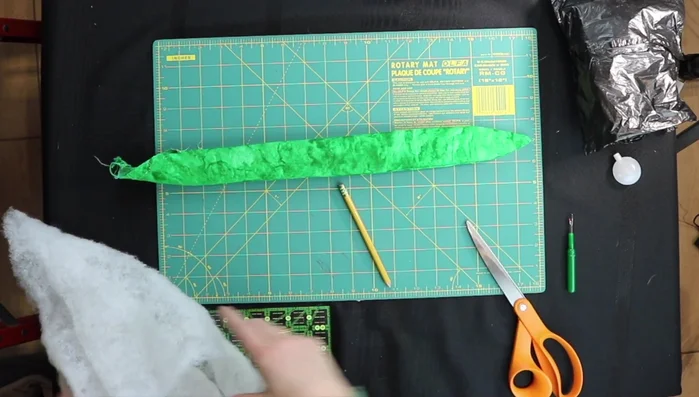
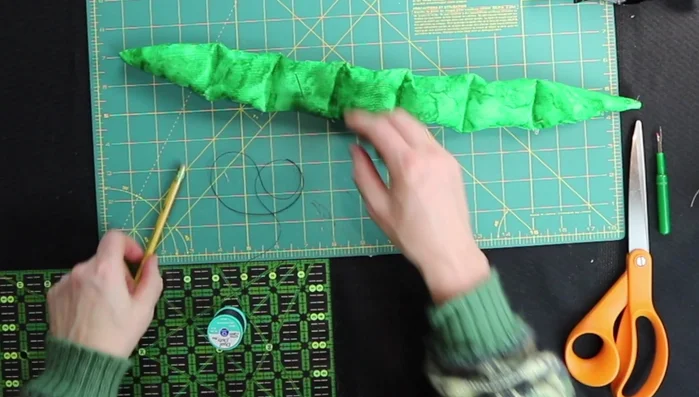
Trim and Turn Stuff and Add Squeakers
- Stuff the snake with batting, and insert squeakers at intervals. Use scissors to help push the stuffing and squeakers into place.
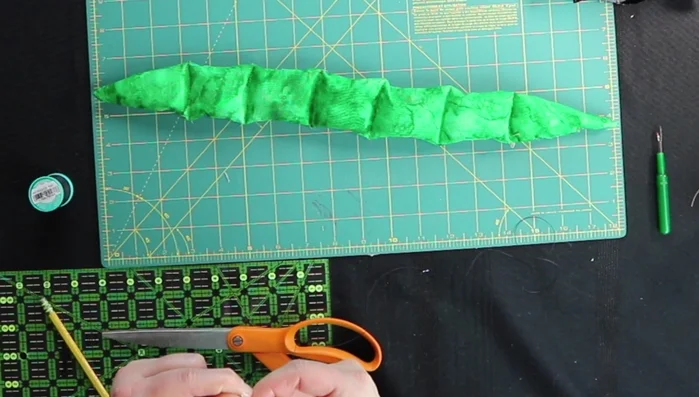
Stuff and Add Squeakers Close the Opening
- Use a strong thread to securely close the opening using a ladder stitch, pinching the fabric slightly.
Close the Opening Reinforce Squeakers
- Use the sewing machine to create separation between squeakers, preventing them from shifting.
Reinforce Squeakers Add Eyes
- Sew on black thread eyes for safety; avoid buttons or plastic eyes.
Add Eyes
Read more: How to Make a Tiny Loom Band Animal Toy (Rainbow Dog Tutorial)
Tips
- Order squeakers in bulk for affordability.
- Use scissors (carefully!) instead of a pencil for stuffing; they're more effective.
- Wrap squeakers in batting before inserting for better distribution and preventing shifting.
- Double up the thread for strength when closing the seam and adding eyes.
- Use a ladder stitch for a secure and neat closure.