Tired of constantly replacing chewed-up dog toys that cost a fortune? Your dog deserves the best, and your wallet deserves a break! This guide reveals the secret to crafting incredibly durable, and surprisingly affordable, dog toys using a material you likely already have: old jeans! We'll transform those discarded denim scraps into the ultimate chew toy, designed to withstand even the most enthusiastic chewer. Forget flimsy store-bought toys that disintegrate after a single play session; these DIY masterpieces are built to last. The strong, tightly woven fabric of denim provides exceptional resilience, satisfying your dog's gnawing instincts without the constant worry of dangerous pieces breaking off.
Forget pricey replacements and expensive vet bills from swallowed toy fragments! This simple project uses readily available materials and requires minimal sewing skills, making it perfect for anyone, regardless of crafting experience. Ready to unleash your creativity and give your furry friend the gift of endless playtime? Let's dive into the step-by-step instructions to create your own DIY super durable dog toys from old jeans!
Preparation and Safety Guidelines
- Old jeans
- Scissors
- Rubber bands
- Always supervise your dog with any new toy, especially homemade ones. Remove the toy if it shows significant wear and tear to prevent ingestion of fabric pieces.
- Avoid using jeans with metal rivets, buttons, or zippers that could detach and become choking hazards. Remove all hardware before construction.
- Choose sturdy, thick denim. Thin or damaged denim will not hold up to aggressive chewers and could easily be torn apart and ingested.
Step-by-Step Instructions
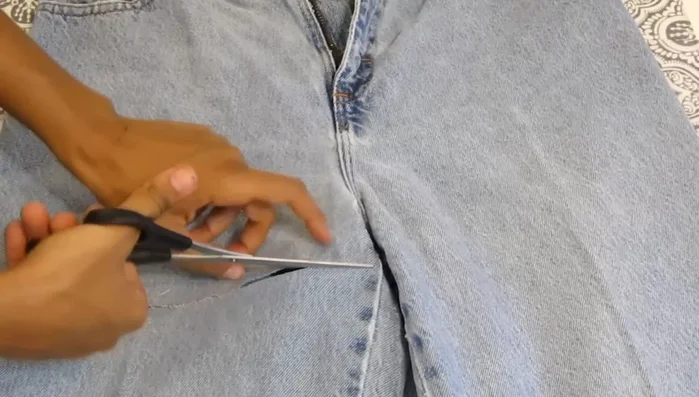
Prepare the First Pant Leg
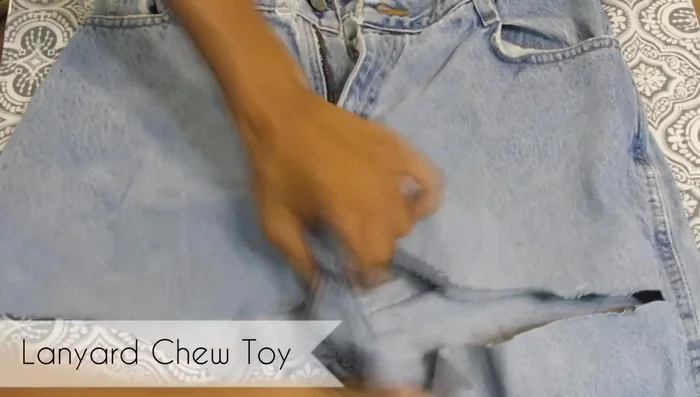
- Cut off one pant leg, above the knee.
- Cut down the side seam and cut 9 strips from the fabric.
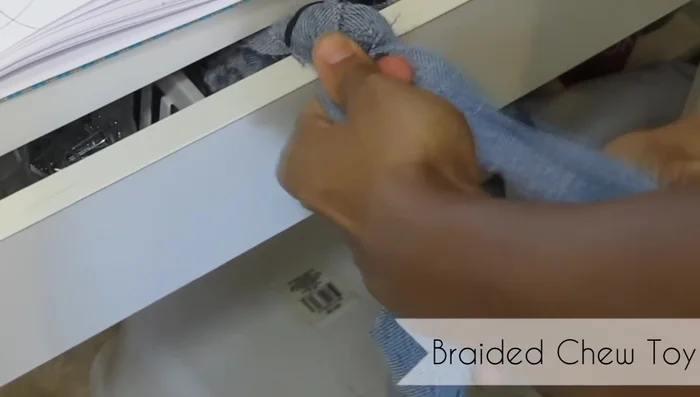
- Set aside the strips. Bunch, twist, and knot the remaining larger piece of fabric to create a strong, durable core for the toy.

Prepare the First Pant Leg Braid the First Set of Strips
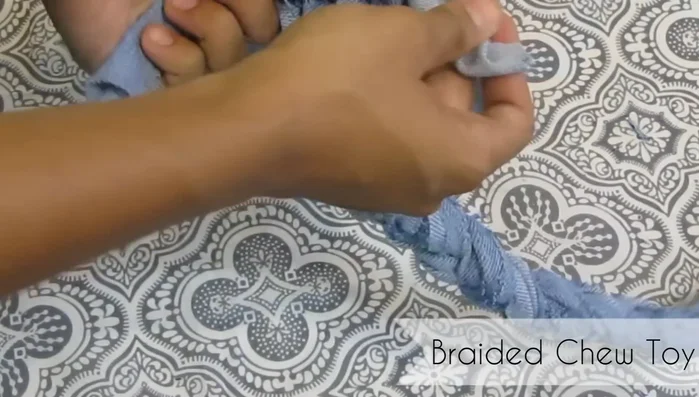
- Tie the nine strips together with a rubber band.
- Braid the nine strips.
- Remove the rubber band. Tie two strands at one end, wrap them around the core, and tie a knot. Repeat at the other end.
Braid the First Set of Strips Prepare the Second Pant Leg
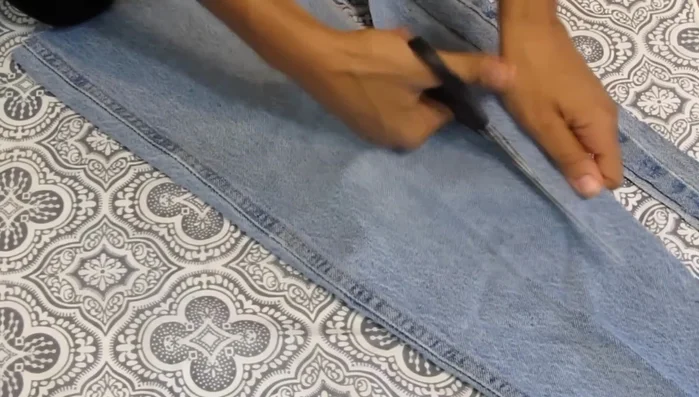
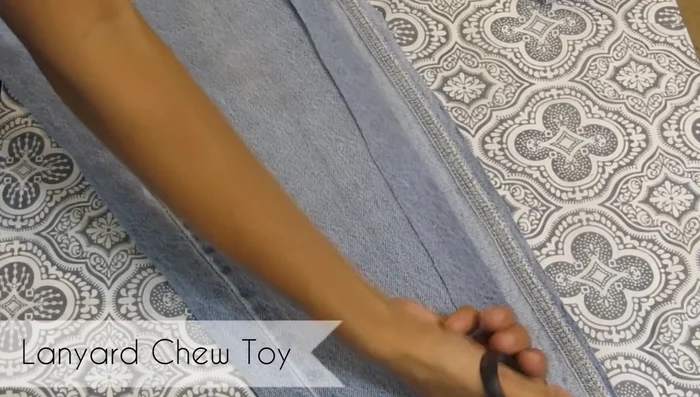
- Cut off the other pant leg and cut it down the seam. Cut out four strands.
- Tie the four strands together with a rubber band. Flip it over and separate the strands.
Prepare the Second Pant Leg Braid the Second Set of Strips
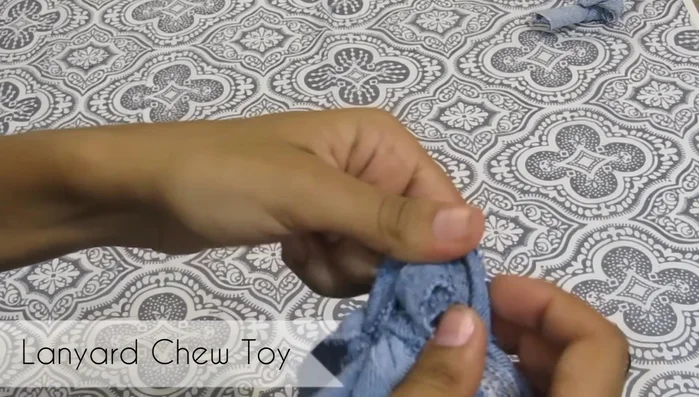
- Create a simple braid using an overhand knot technique.
- Remove the rubber band and tie off the end. Repeat until you have a desired length of braided fabric.
Braid the Second Set of Strips


Read more: How to Make a Tiny Loom Band Animal Toy (Rainbow Dog Tutorial)
Tips
- Use denim for extra durability, but other fabrics like old t-shirts work too.