Tired of toys strewn across your living room floor? Messy art supplies taking over the kitchen table? The constant battle against childhood clutter can feel overwhelming, but there's a simple, fun solution: a DIY drawstring bag! These versatile bags are perfect for corralling everything from building blocks and stuffed animals to crayons and coloring books, keeping your home tidy and your sanity intact. Plus, making them is a fantastic activity you can even do with your children, transforming a chore into a creative bonding experience.
Creating your own personalized drawstring bags is surprisingly easy, requiring minimal sewing skills and readily available materials. Forget expensive store-bought organizers – let's dive into a simple step-by-step guide that will have you crafting these helpful cleanup helpers in no time. Follow along as we show you exactly how to make these adorable and practical drawstring bags, perfect for keeping your little ones’ belongings organized and easily accessible.
Preparation and Safety Guidelines
- 15 feet of rope
- Fabric scissors
- Tape measure
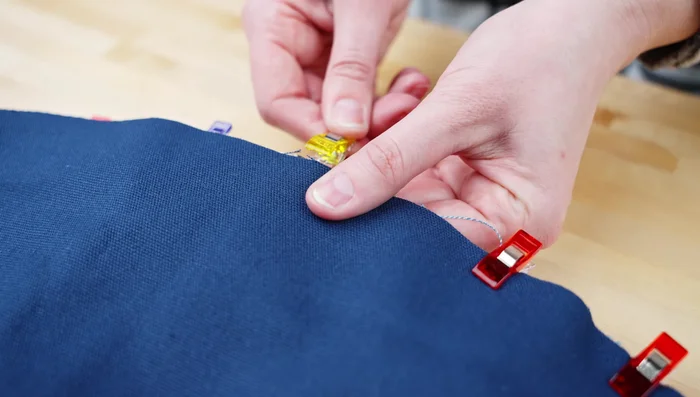
- Pins or clips
- 3 feet of 1-2 inch wide webbing
- Flexible curve marking tool
- 20-inch metal ruler
- One yard each of two fabrics
- Sewing machine
- Adult supervision is required, especially when using scissors and needles (if applicable). Young children should not handle sharp objects unsupervised.
- Choose fabric appropriate for its intended use. Avoid fabrics that are easily flammable or pose a choking hazard (e.g., small loose pieces).
- Ensure the drawstring is securely fastened to prevent accidental strangulation. Use a knot at the end of the drawstring and consider using a safety knot inside the bag if needed.
Step-by-Step Instructions
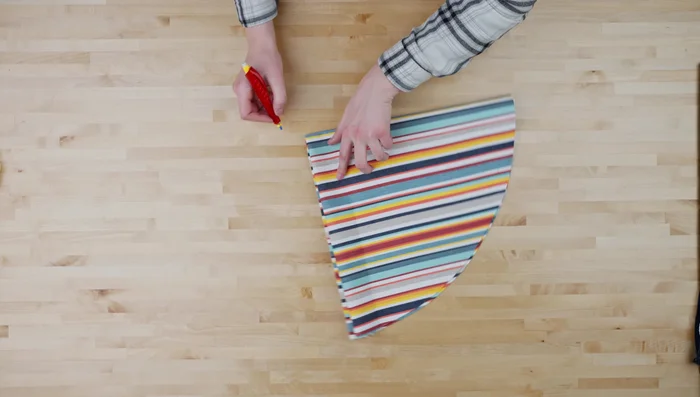
Prepare Fabric Circles
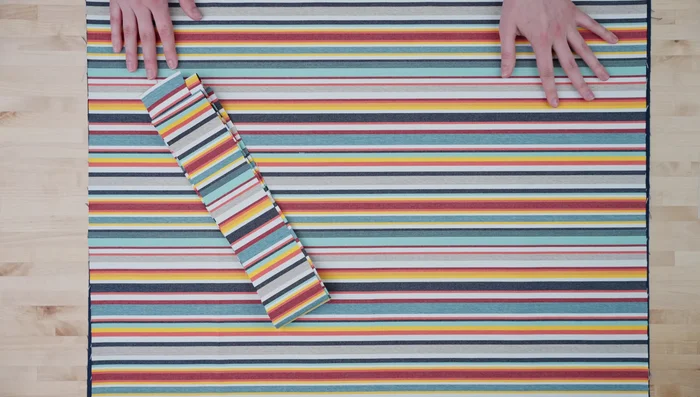
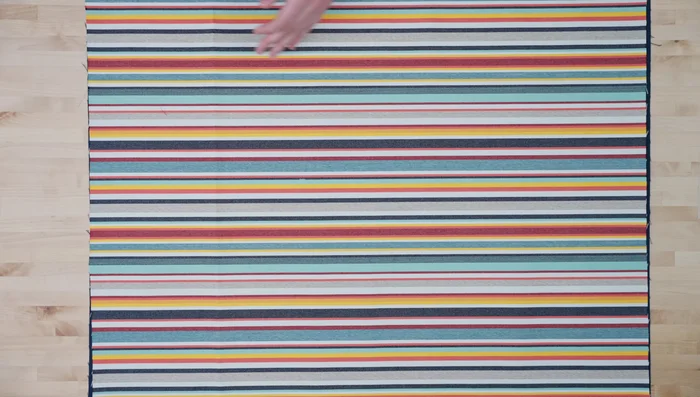
- Cut two 30-inch fabric squares.
- Layer squares, fold in half twice.
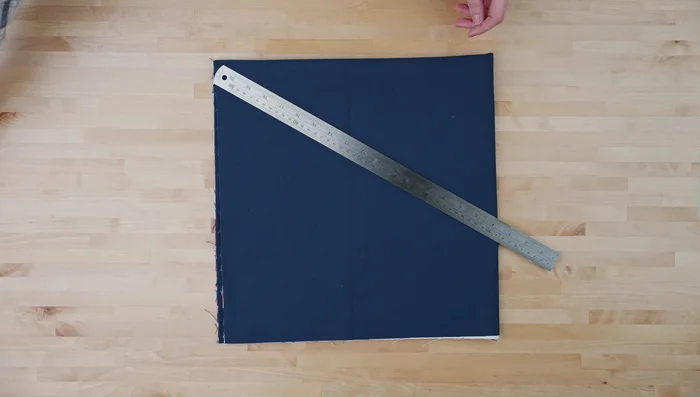
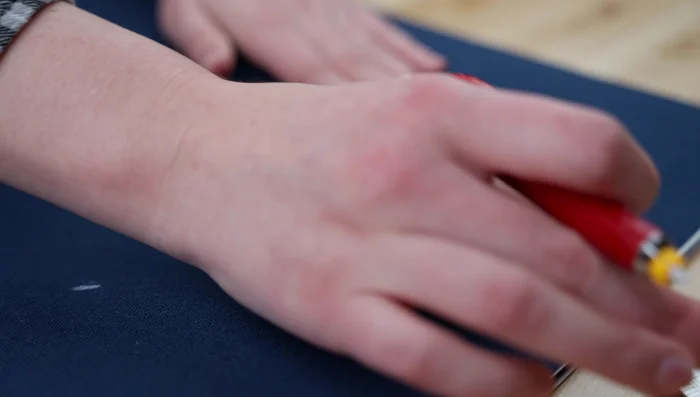
- Measure 14-inch radius from corner, mark every few inches.
- Use flexible curve to connect marks, cut out circle.

Prepare Fabric Circles Prepare Fabric Strips
- Cut two 6x41 inch fabric strips from leftover fabric; hem ends by 1 inch.
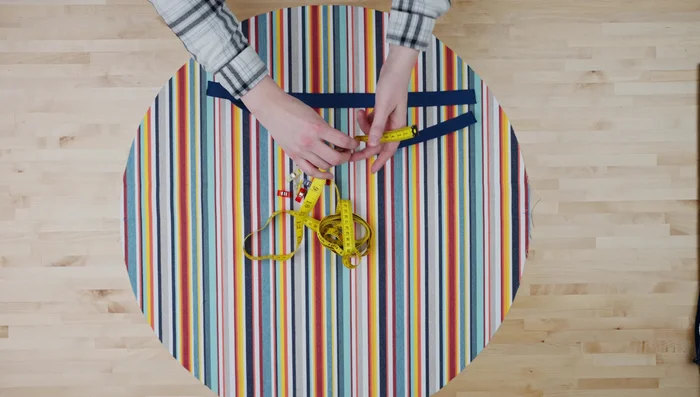
Prepare Fabric Strips Prepare and Attach Handles
- Place outer fabric circle on surface, fold in half twice; mark center and corner points.
- Cut two 18-inch webbing strips; pin handles 4 inches apart on either side of the circle.
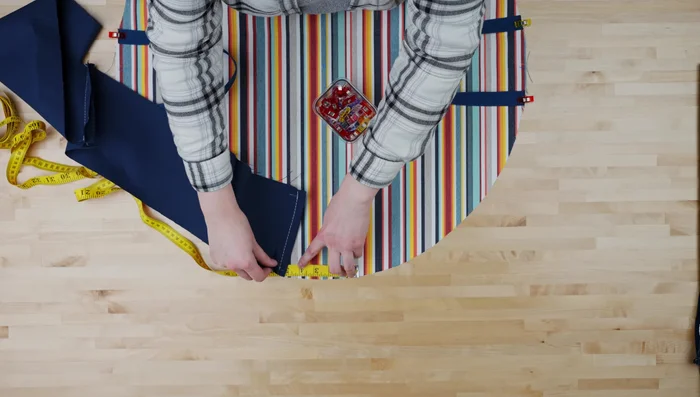
Prepare and Attach Handles Attach Fabric Strips and Rope
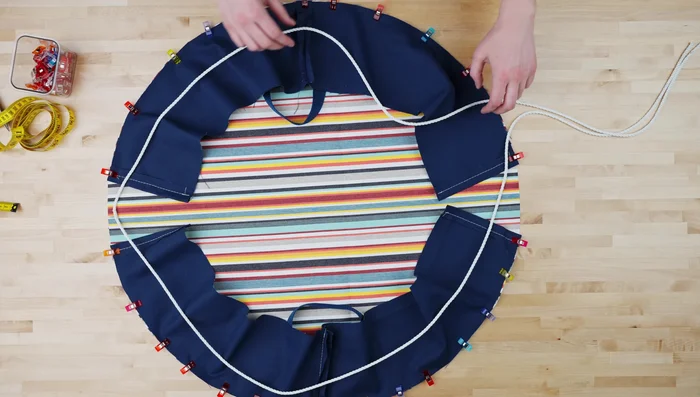
- Pin fabric strips around circle, 2.5 inches from center, hems facing up.
- Cut 15 feet of rope in half; loop around edges, fold fabric strip over rope, and pin.
Attach Fabric Strips and Rope Sew and Turn Bag
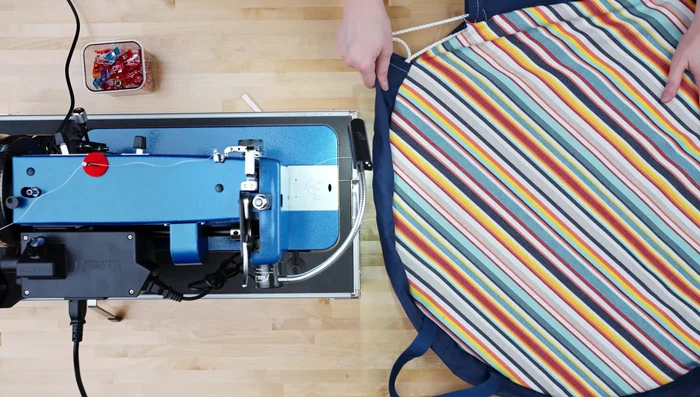
- Lay second fabric on top, pin; stitch along edge with 0.5-inch seam allowance, leaving 5-inch opening.
- Turn fabric right side out; top stitch around edge, folding openings inward.
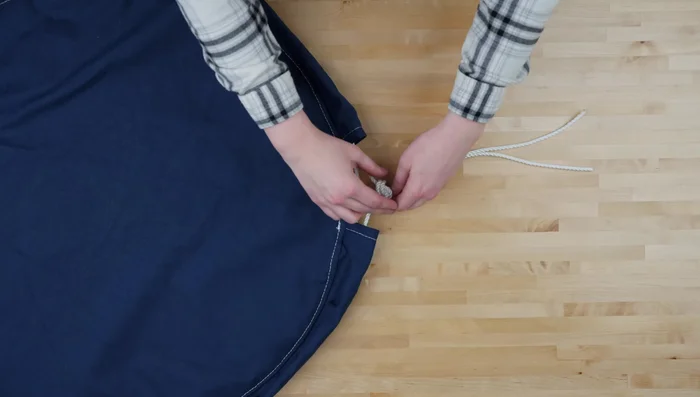
Sew and Turn Bag Finish the Drawstring
- Tie knots on ends of rope.
Finish the Drawstring
Read more: DIY Studded Dog Collar with Reflective Piping: A Comprehensive Guide
Tips
- Use leftover fabric for strips.
- Sew fabric pieces together if necessary to reach 41 inches.
- Backstitch when sewing over webbing for secure attachment.