Ever dreamed of launching your own adorable space explorers? Forget expensive kits and complicated instructions – get ready for blast-off with our fun and easy DIY Rocket Mice! This delightful fabric craft project is perfect for kids and adults alike, requiring only a few simple materials and a dash of creativity. You'll be amazed at how quickly you can whip up these charming little astronauts, perfect for decorating bedrooms, backpacks, or even creating a whimsical mobile. They make fantastic gifts too, guaranteed to bring a smile to anyone's face.
These charming rocket mice are surprisingly simple to create, even for beginners. Ready to embark on this exciting crafting adventure? Let's dive into the step-by-step instructions and watch your little rocket mice soar to new heights!
Preparation and Safety Guidelines
- Ruler
- Pencil
- Paper
- Elastic thread
- Needle
- Scissors
- Pillow stuffing
- Fabric
- Adult supervision is required at all times, especially when using scissors and needles.
- Keep small parts (like buttons for eyes) away from young children to prevent choking hazards.
- Avoid using flammable materials near open flames or heat sources during the crafting process.
Step-by-Step Instructions
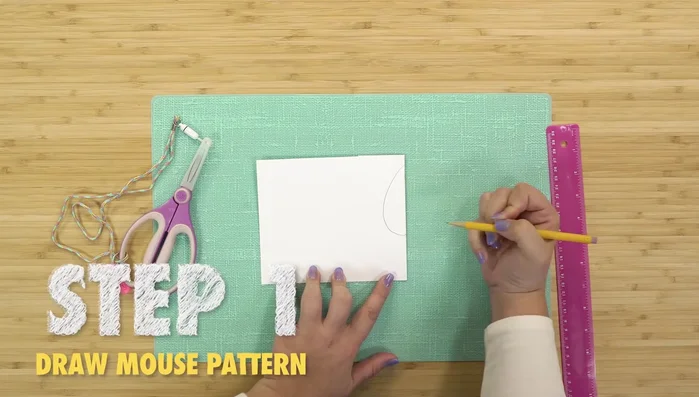
Create the Mouse Pattern
- Fold paper, draw half a teardrop and half a heart, measure half the circumference for side piece length, then cut out patterns.

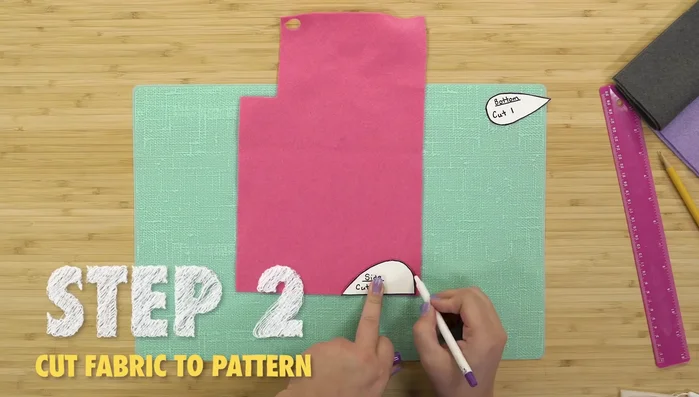
Create the Mouse Pattern Cut Fabric Pieces
- Trace patterns onto fabric and cut out two side pieces and one bottom piece.
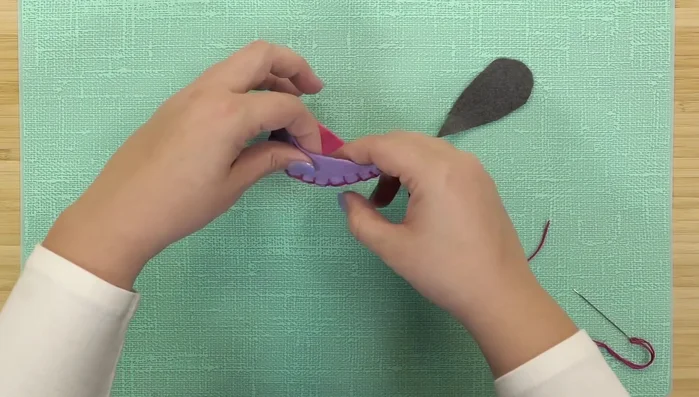
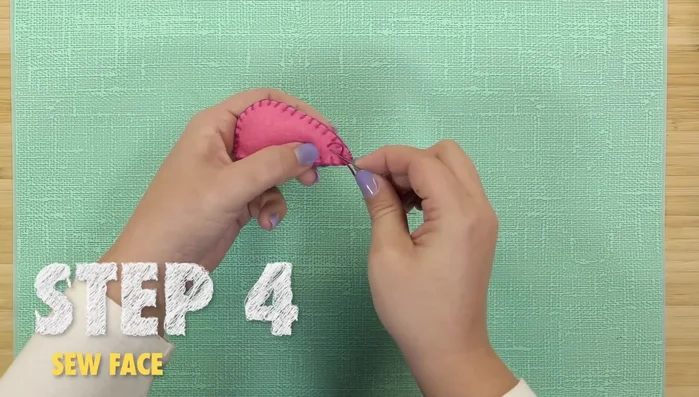
Cut Fabric Pieces Sew the Body
- Sew side pieces together using a blanket stitch. (Instructions for blanket stitch are given).
- Sew the bottom piece to the side pieces using a blanket stitch, leaving a one-inch opening.
Sew the Body Stuff the Mouse
- Stuff the mouse with pillow stuffing until full.
Stuff the Mouse Add Features
- Add eyes and ears using yarn.
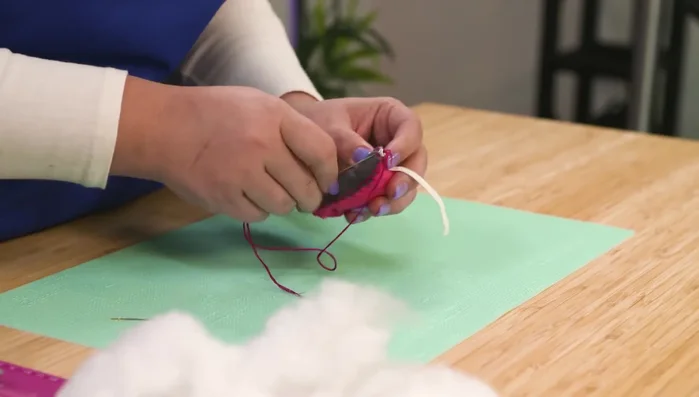
- Sew the elastic tail to the back of the mouse.
Add Features


Read more: No-Sew Sock Cat Tutorial: Adorable DIY Project
Tips
- Use a blanket stitch for sewing the fabric pieces together. A blanket stitch provides a decorative and strong seam.
- Ensure the mouse is nicely stuffed for a plump and appealing appearance.
- Stretch the elastic tail well for a playful effect.