Ferrets, with their playful and inquisitive nature, adore enrichment toys that stimulate their senses. Crinkle sacks are a popular choice, providing a fun, textured hiding place and a satisfying crinkling sound that captivates these curious creatures. However, store-bought options can be expensive and may not always be made with the safest materials. That's why we're thrilled to share this easy-to-follow tutorial for creating your own DIY ferret crinkle sack with a unique open-mouth design! This design offers easier access for your ferret and allows for better visibility, making it an even more appealing and engaging toy.
This open-mouth crinkle sack is surprisingly simple to sew, even for beginners, requiring only basic sewing skills and readily available materials. Forget expensive pet store purchases; you can tailor the size and fabric to perfectly suit your ferret's preferences and ensure it's made with durable, ferret-safe materials. Ready to get started creating a fun and enriching toy for your beloved ferret? Let's dive into the step-by-step instructions!
Preparation and Safety Guidelines
- Flannel fabric
- Minky fleece (or fleece)
- Scissors
- Pen/Pencil
- Ruler
- Sewing machine (hand-stitching possible)
- Boning (from Amazon or craft store)
- Crinkle paper (from Amazon)
- Always supervise your ferret when using the crinkle sack. Ferrets can get tangled or injured if left unsupervised.
- Use only strong, durable fabric that won't easily tear or fray. Avoid fabrics with small, loose pieces that could be ingested.
- Ensure all seams are securely stitched and there are no loose threads that your ferret could chew and swallow.
Step-by-Step Instructions
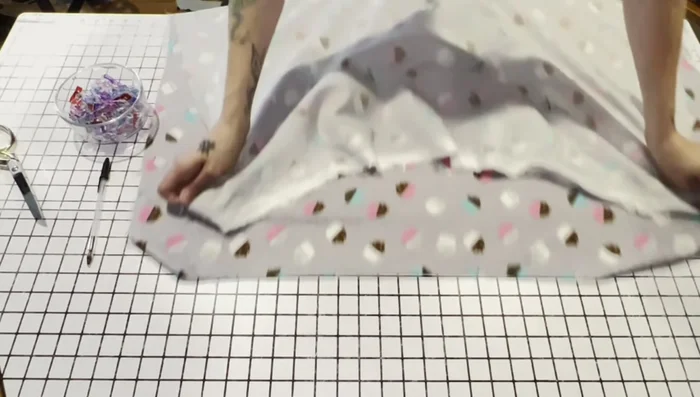
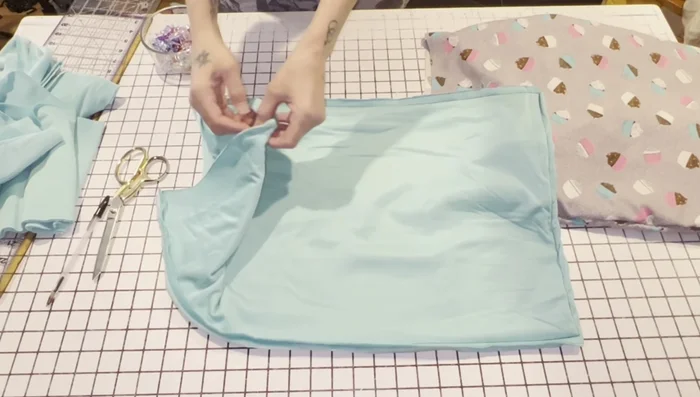
Prepare Fabric and Crinkle Paper
- 24x16 inches).
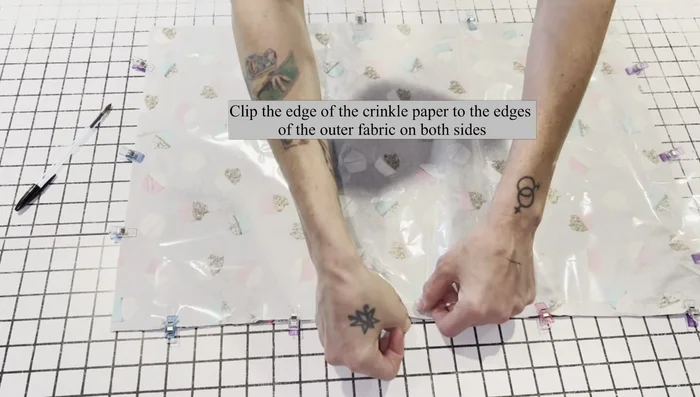
- Cut crinkle paper slightly smaller than the fabric, leaving about an inch gap at the opening.
- Pin crinkle paper to both sides of the flannel rectangle.

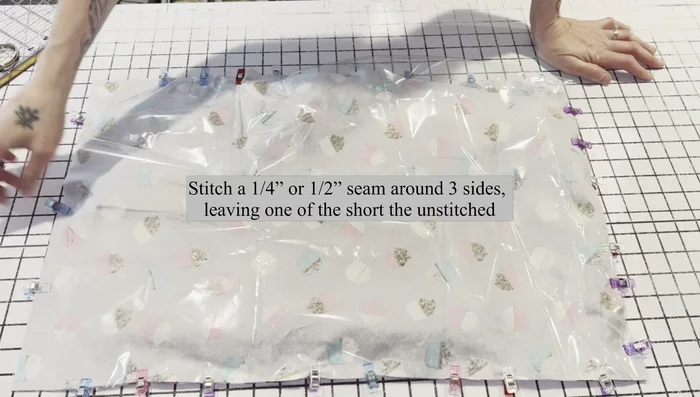
Prepare Fabric and Crinkle Paper Sew the Flannel Sack
- Sew three sides of the flannel rectangle, leaving the top open.
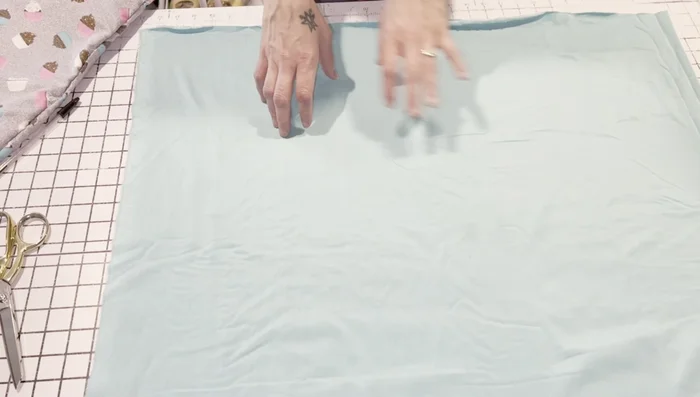
Sew the Flannel Sack Sew the Minky/Fleece Sack
- 16x27 inches). Stitch three sides, leaving the top open.
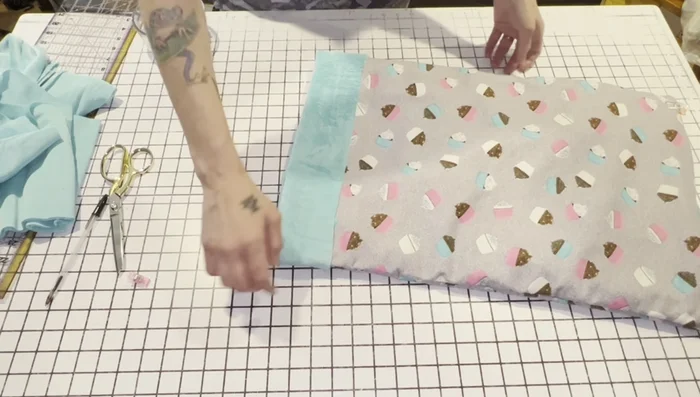
Sew the Minky/Fleece Sack Assemble the Sacks
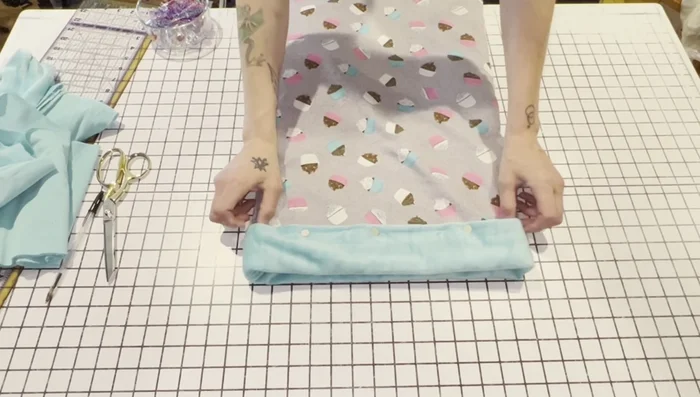
- Place the minky/fleece sack inside the flannel sack, aligning seams. Leave 3 inches of minky/fleece extending from the top.
- Fold the extra minky/fleece over the top of the flannel sack, enclosing the raw edges. Pin securely.
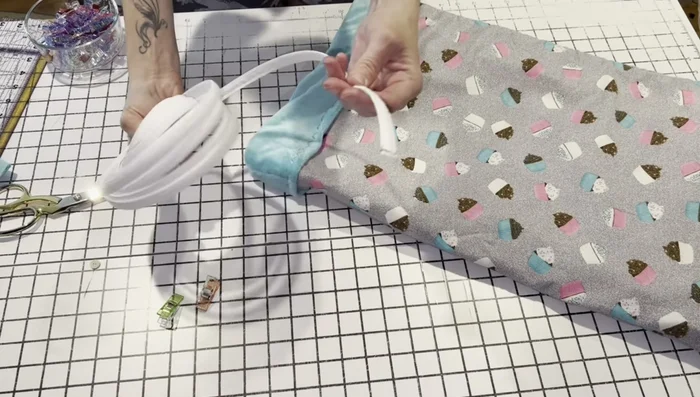
Assemble the Sacks Secure and Finish the Opening
- Stitch the folded minky/fleece to the flannel sack, leaving a small opening for boning.
- Insert boning through the opening. Stitch across the opening to secure the boning and close the gap. Add an extra stitch line just below the boning to prevent movement.
Secure and Finish the Opening Optional: Reinforce Corners
- Add a small stitch in each corner to secure the inner and outer fabric layers more firmly.
Optional: Reinforce Corners

Read more: No-Sew Sock Cat Tutorial: Adorable DIY Project
Tips
- If stitching over crinkle paper is difficult, sew the fabric first, then add crinkle paper with larger stitches to secure it in place.
- To keep the boning from shifting, add extra stitches next to the boning after it's inserted.
- Use clips to hold the fabric together while sewing to prevent the boning from moving.