Does your dog love tug-of-war? Are you tired of expensive, easily-destroyed dog toys that leave your wallet feeling as empty as your toy bin? Then you've come to the right place! This guide shows you how to make a durable, fun, and incredibly affordable fleece tug toy for your furry friend. Forget about overpriced store-bought options; with just a few simple materials and a little bit of time, you can create a custom tug toy that will withstand even the most enthusiastic chewing and pulling. The best part? It's so easy, even a beginner crafter can tackle it.
This DIY project uses readily available materials and requires minimal sewing skills, making it perfect for busy pet owners on a budget. We'll walk you through each step of the process, from choosing your fleece fabrics to the final knotting, ensuring you create a strong and engaging tug toy your dog will adore. Ready to get started and make your dog the happiest pup on the block? Let’s dive into the step-by-step instructions!
Preparation and Safety Guidelines
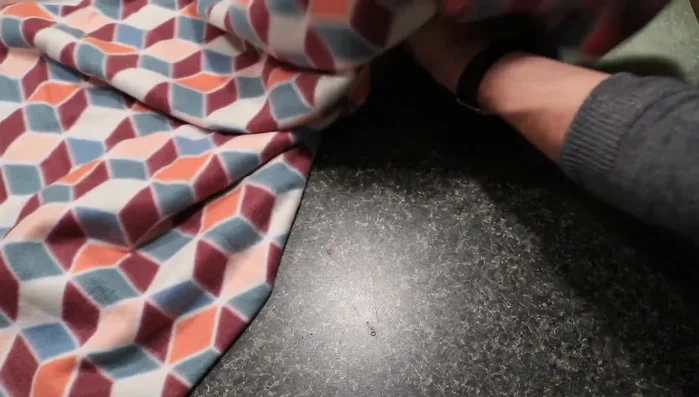
- Fleece fabric (blanket or fabric store)
- Scissors
- Always supervise your dog while playing with any toy, including this DIY tug toy. Remove the toy if it becomes damaged or frayed to prevent ingestion of small pieces.
- Choose fleece that is specifically designed for pet toys or is a durable, high-quality fleece. Avoid using fabrics that might fray easily or contain harmful dyes.
- Ensure all knots are secure and tightly tied to prevent your dog from easily pulling them apart and ingesting the material. Consider using a strong thread or sewing machine for extra durability.
Step-by-Step Instructions
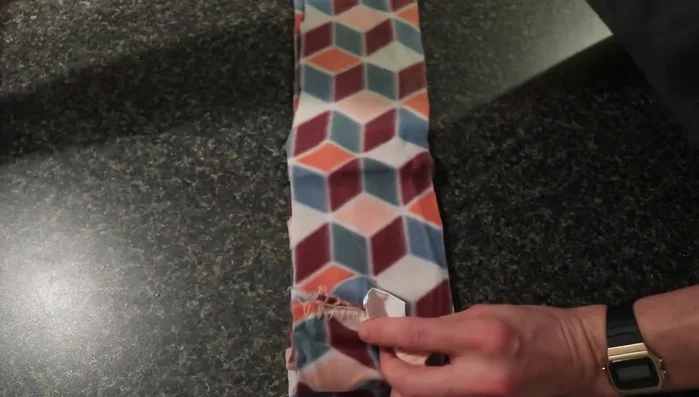
Prepare Fleece
- If using a blanket, unfold it. If using fabric, lay it flat.

Prepare Fleece Cut Fleece Strips
- Cut lengthwise strips approximately 3-4 inches wide. The length depends on your desired toy length, but start longer than needed as braiding shortens it. Aim for a consistent width to ensure even strength.
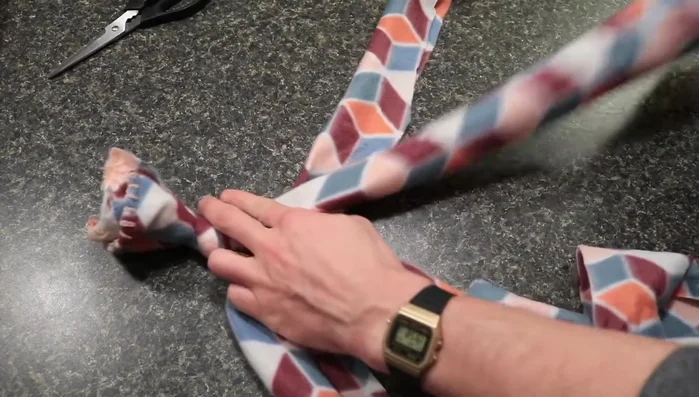
Cut Fleece Strips Prepare for Braiding
- Gather four strips of equal length. Tie a knot at one end, ensuring all the strips are included and the knot is secure.
Prepare for Braiding Braid the Strips
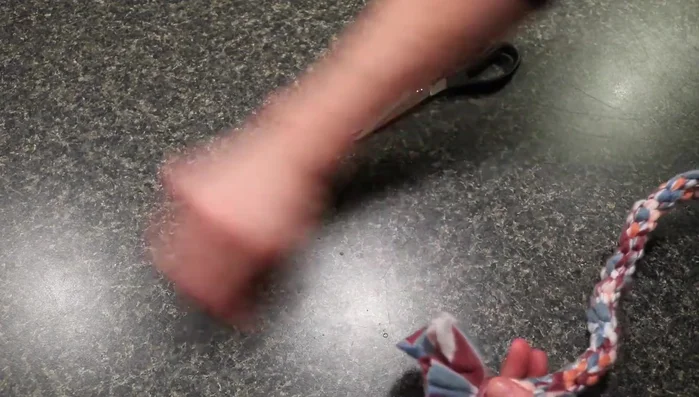
- Braid the four strips tightly. The first few braids might be tricky, but keep the braid tight to prevent loosening during play. A technique is described in detail around 505.36 seconds.
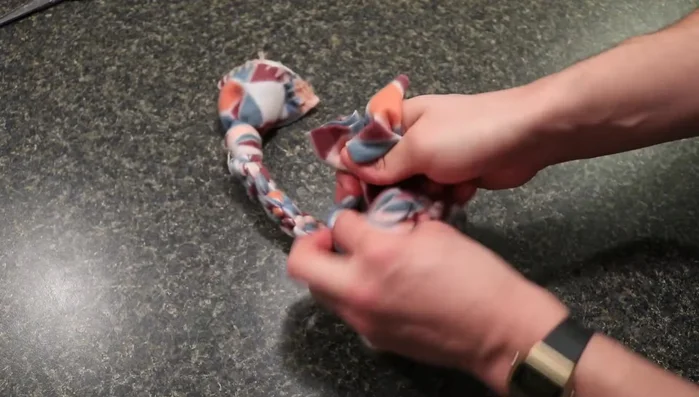
Braid the Strips Finish and Secure Braid
- When you reach the end, loop the remaining fabric and tie another knot, securing all ends. Pull the knots tight to create a durable toy.
Finish and Secure Braid Trim Excess Fabric
- Trim any excess fabric for a clean finish.
Trim Excess Fabric

Read more: How to Make a Tiny Loom Band Animal Toy (Rainbow Dog Tutorial)
Tips
- Avoid jagged cuts when cutting strips to prevent fraying and weak points.
- Keep the braid taut throughout the process. Loosening will weaken the toy.
- Wider strips create a stronger, more durable toy.
- Supervise your dog when introducing a new toy, especially if they tend to swallow small objects.