Cats are notorious for their love of high places, offering them a commanding view of their kingdom and a sense of security. While commercial cat trees can be expensive and bulky, a fantastic alternative is creating your own stylish and space-saving floating cat shelves. These DIY projects allow for complete customization, enabling you to perfectly match your décor and your feline friend’s preferences, whether that’s a sleek, minimalist design or a cozy, carpeted haven. You can choose the perfect size, shape, and placement to cater to your cat’s unique personality and your home's aesthetic.
This guide will empower you to build beautiful and functional floating cat shelves, transforming your walls into exciting new feline playgrounds. Forget pricey store-bought options and get ready to unleash your inner craftsman (or craftswoman!) with this simple, step-by-step project that’s sure to impress both you and your furry companion. Let’s dive into the process and start building!
Preparation and Safety Guidelines
- Two-by-fours
- Plywood
- Pine boards
- Deck screws
- Drill
- Countersink bit
- Sander
- Radial arm saw
- Glue
- Pin nails
- Spackle
- White paint
- Stud finder
- Level
- Carpet
- Staple gun
- Ensure shelves are securely mounted to studs in the wall using appropriate weight-bearing hardware. Improper mounting can lead to shelves collapsing and injuring your cat.
- Use non-toxic materials and finishes. Cats often lick surfaces, so avoid paints, stains, or adhesives containing harmful chemicals.
- Regularly inspect the shelves and hardware for any signs of wear or damage. Replace any damaged components immediately to prevent accidents.
Step-by-Step Instructions
Prepare Support Brackets
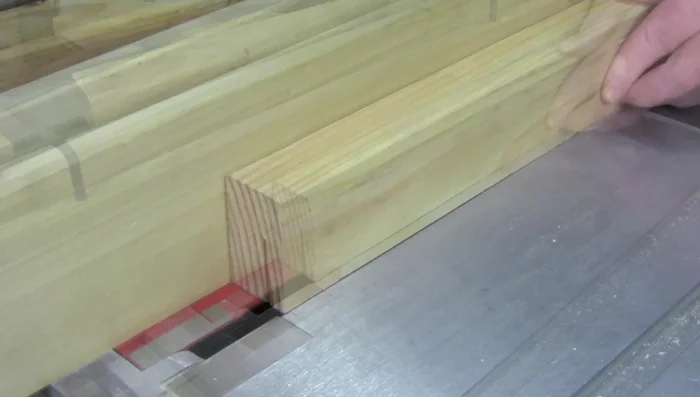
- Rip down two-by-four scraps to 2.5 inches tall and then rip two 22-inch pieces to 1 inch thick. Attach these to two-by-four brackets using pre-drilled holes, countersinking, and deck screws.

Prepare Support Brackets Cut Plywood Shelves
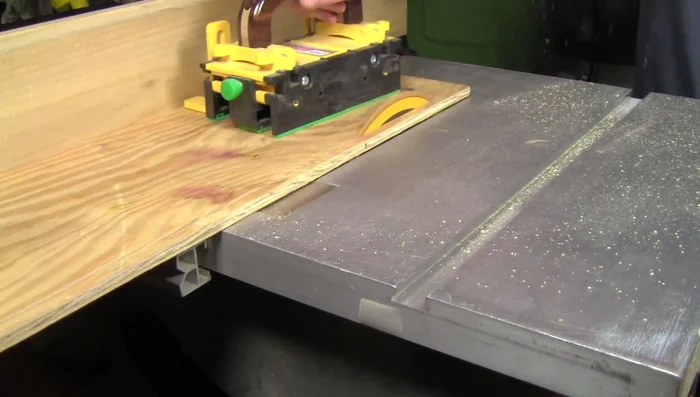
- Cut the plywood shelves to your desired dimensions. Consider the cat's size and weight to avoid excessive overhang.
Cut Plywood Shelves Prepare Pine Boards
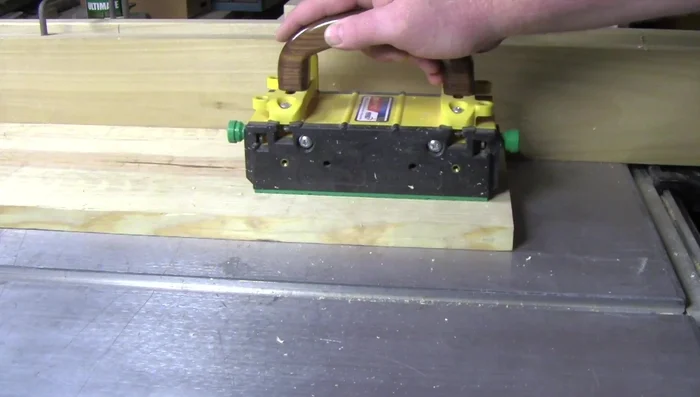
- Cut and prepare pine boards for the shelf fronts and sides. Leave a gap at the top for carpeting.
Prepare Pine Boards Sand Wood Pieces
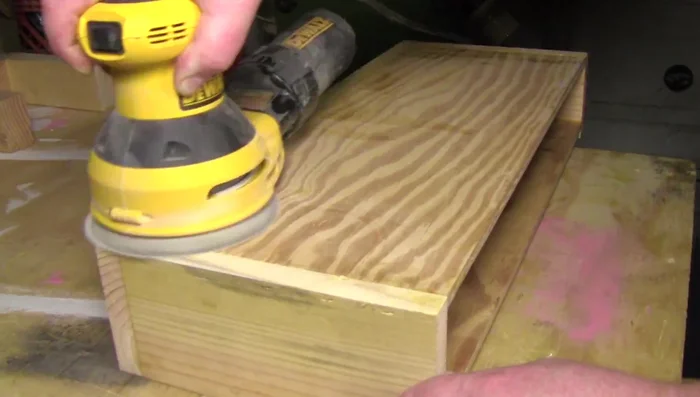
- Sand all the wood pieces to achieve a smooth surface.
Sand Wood Pieces Assemble Shelves
- Glue and nail the pine boards to the plywood, creating a frame. Use the wall mount to help create the inset for the carpeting.
Assemble Shelves Fill and Smooth Imperfections
- Fill holes and imperfections with spackle and sand smooth for a clean finish.
Fill and Smooth Imperfections Paint Shelves
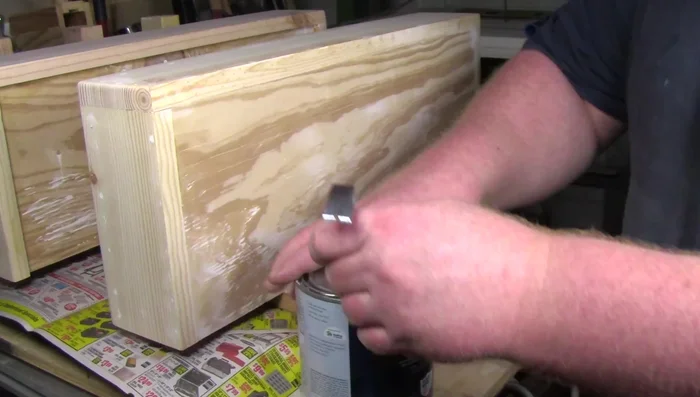
- Paint the shelves white (or your preferred color).
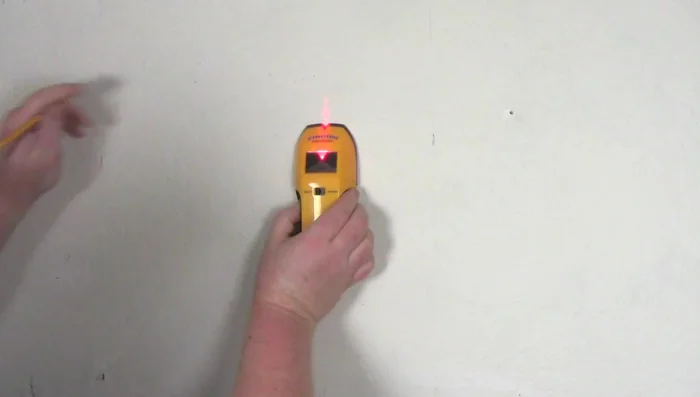
Paint Shelves Locate Wall Studs
- Locate studs in the wall using a stud finder. Pre-drill holes for screws.
Locate Wall Studs Mount Shelves to Wall
- Securely attach the support brackets to the wall studs using screws, ensuring they are level.
Mount Shelves to Wall Attach Carpeting
- Attach carpeting to the top of the shelves.
Attach Carpeting


Read more: DIY Cuddly Cat & Dog Bed: A Super-Warm, Easy Tutorial
Tips
- Don't extend the shelves too far from the wall to prevent bending if cats lean on the edge.
- Use plenty of nails to secure the pine boards to the plywood while the glue dries.
- Ensure that the shelves are securely mounted to the wall studs for safety.