Adorable hair bows are a timeless accessory, instantly adding a touch of sweetness and style to both our little ones and our cherished pets. Whether it's a special occasion or just an everyday dose of cuteness, these miniature masterpieces can elevate any outfit. But store-bought bows can be pricey, and finding the perfect size for tiny heads can be a challenge. That's why we're thrilled to share this easy, affordable DIY tutorial for crafting boutique-quality hair bows perfectly sized for small pets and babies! Forget frustrating searches and exorbitant costs; you'll be amazed at how simple it is to create truly unique and charming accessories.
This tutorial will guide you through the entire process, from selecting the right materials to achieving that professional finish. We'll cover everything from choosing fabrics and ribbons to mastering essential techniques like precise cutting and secure fastening. Get ready to unleash your creativity and prepare for the compliments that will surely follow! Let's dive into the step-by-step instructions and start crafting those irresistible miniature hair bows.
Preparation and Safety Guidelines
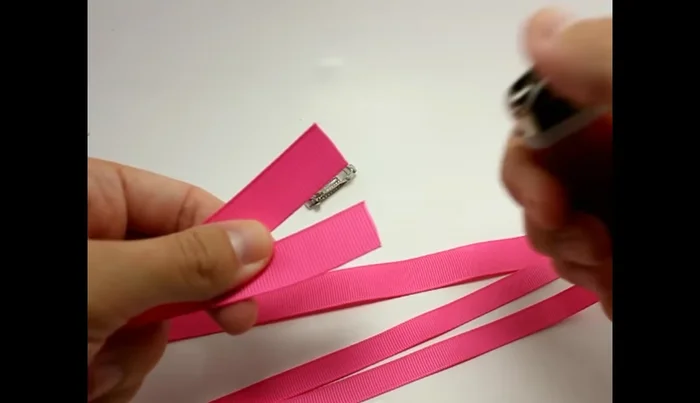
- 5/8 inch ribbon (14 inches long)
- 3/8 inch ribbon (6 inches long)
- 30 millimeter French clips
- Scissors
- Lighter
- Hot glue
- Needle and thread
- Hairspray
- Cardboard
- Always supervise small children and pets while wearing the hair bows to prevent choking or entanglement hazards. Remove the bow immediately if it becomes loose or damaged.
- Use only soft, high-quality materials that are non-toxic and free from small, detachable parts that could pose a choking risk. Avoid using sharp objects or strong adhesives near the pet or baby.
- Ensure the hair bow is securely fastened but not too tight to avoid restricting blood flow or causing discomfort. If using elastic, choose a soft, wide elastic to minimize pressure.
Step-by-Step Instructions
Prepare the Ribbon
- Fold 5/8 inch ribbon in half and seal the edges with a lighter.

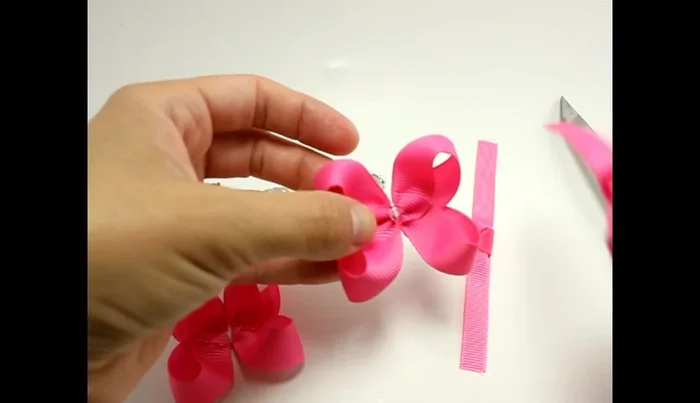
Prepare the Ribbon Create the Bow
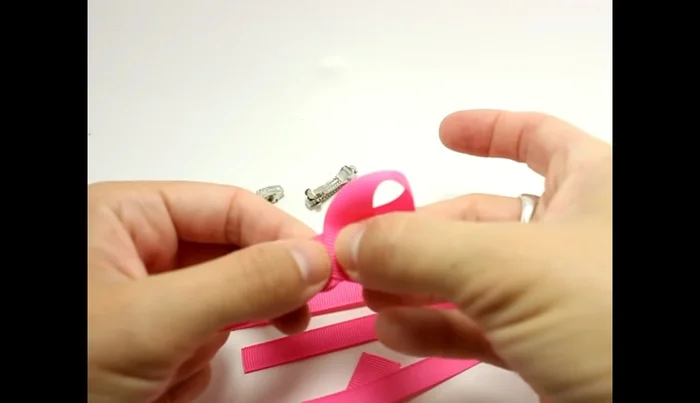
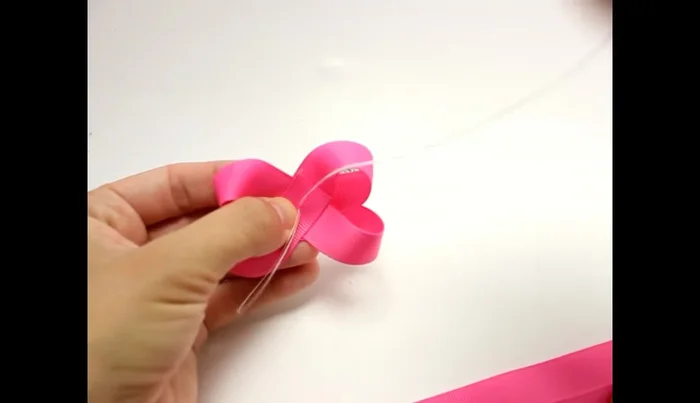
- Make a small loop on the left, then bring the left side to the right, ensuring even loops. Bring the loop under and the last part up to the left.
Create the Bow Secure the Bow
- Use needle and thread to sew through the bow, wrapping the thread around and securing it in the back.
Secure the Bow Make the Center Knot
- Fold the 3/8 inch ribbon, create a small knot, make two of them and glue them together.
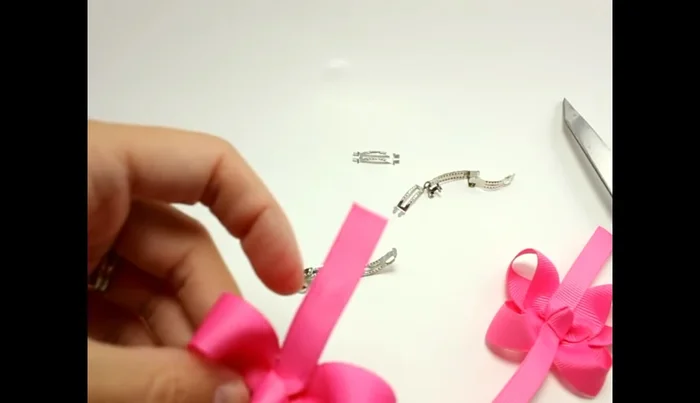
Make the Center Knot Attach Knot to Clip
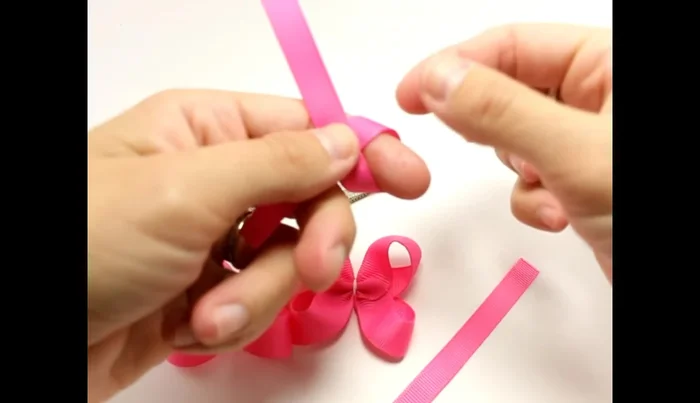
- Glue the knot to the top of the 30mm French clip.
Attach Knot to Clip Attach Bow to Clip
- Hot glue the finished bow onto the clip, ensuring a secure bond.
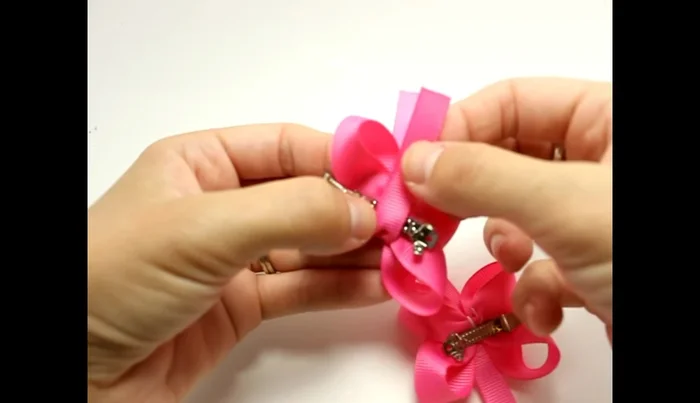
Attach Bow to Clip Secure Bow with Ribbon
- Cut a piece of 3/8 inch ribbon, seal the edges with a lighter, and glue it over the base of the bow on the clip to further secure.
Secure Bow with Ribbon Finish the Clip
- Attach the small piece from the French clip back in place.
Read more: DIY Studded Dog Collar with Reflective Piping: A Comprehensive Guide
Tips
- Pre-spray the ribbon with hairspray to make it stiffer.
- Practice makes perfect; creating bows takes time and patience.
- For thicker or longer hair, use a 40 millimeter clip instead of a 30 millimeter clip.