Does your feline friend have a penchant for shredding your furniture? Are you tired of expensive store-bought cat scratchers that barely last a month? Then get ready to unleash your inner DIY enthusiast! This guide will show you how to create a stylish and functional hanging cat scratcher, all while saving your wallet and your sofa. Forget about pricey commercial options; we're about to transform simple, affordable materials into a purr-fectly designed scratching post your cat will adore. This project requires minimal tools and skills, making it accessible to even the most novice crafters.
We'll be focusing on a hanging design, maximizing space and minimizing floor clutter. This playful, vertical scratcher offers a fun alternative to traditional floor-standing options and easily integrates into any room. Ready to transform some everyday items into a feline paradise? Let's dive into the step-by-step instructions and create the ultimate budget-friendly, DIY cat scratcher!
Preparation and Safety Guidelines
- Cardboard box
- Sisal rope
- Hot glue gun
- Glue sticks
- Measuring tape
- Box cutter (optional)
- Packing tape (optional)
- Catnip spray (optional)
- Screwdriver
- Always supervise your cat when using the new scratcher, especially initially. Ensure it's securely attached to prevent falls and injuries.
- Use only non-toxic materials. Avoid anything that could be ingested and cause harm to your cat. Check for loose threads or parts that could become choking hazards.
- Position the scratcher in a stable location, away from fragile objects. Cats can be enthusiastic scratchers!
Step-by-Step Instructions
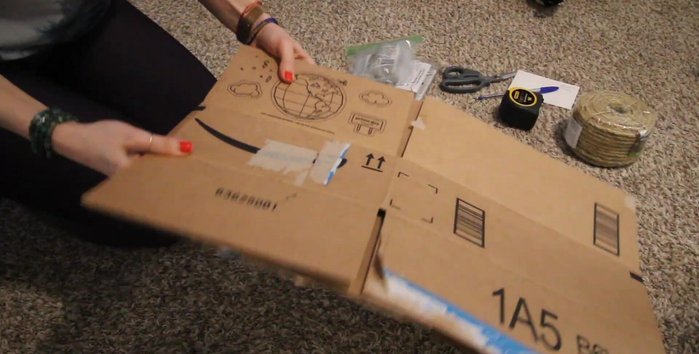
Measure and Prepare
- Measure the desired area for your cat scratcher (considering your door's dimensions and your cat's preferred scratching area).

Measure and Prepare Create Cardboard Base
- Find a suitable cardboard box. Cut and double up the cardboard to create a thicker, more durable base (approximately 13 inches by 22 inches).
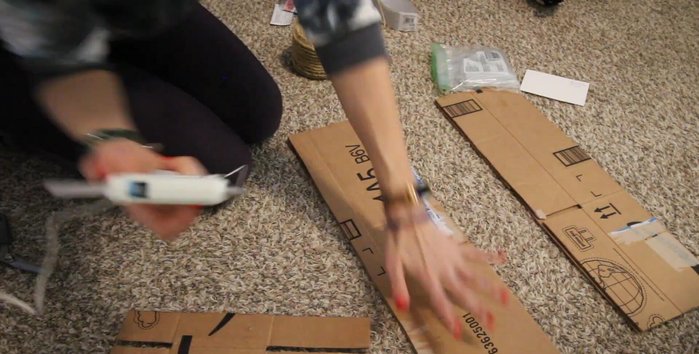
Create Cardboard Base Secure and Strengthen Base
- Glue the cardboard pieces together using a hot glue gun. Reinforce the base with packing tape for extra stability.
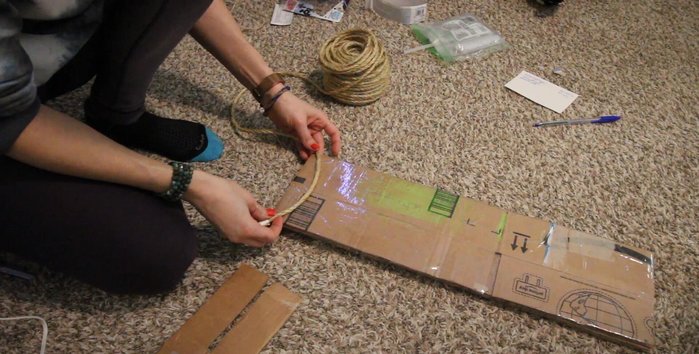
Secure and Strengthen Base Start Sisal Wrapping
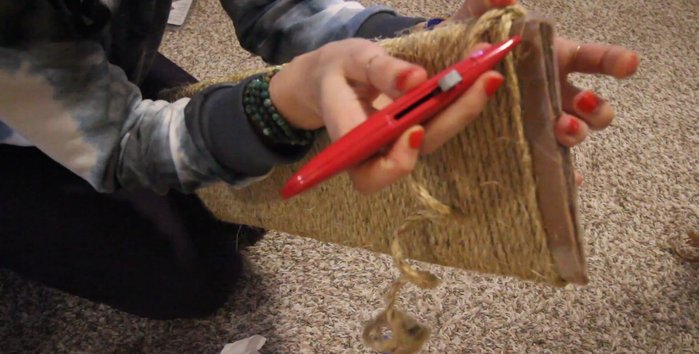
- Prepare the sisal rope. Poke a hole in a corner of the cardboard base to secure the rope's starting point. Glue the initial section.
Start Sisal Wrapping Wrap and Glue Sisal
- Wrap the sisal rope tightly around the cardboard. Glue every few rows (approx. 4-5 rows without glue, then glue the next 2-3). Focus on gluing the top third more thoroughly.
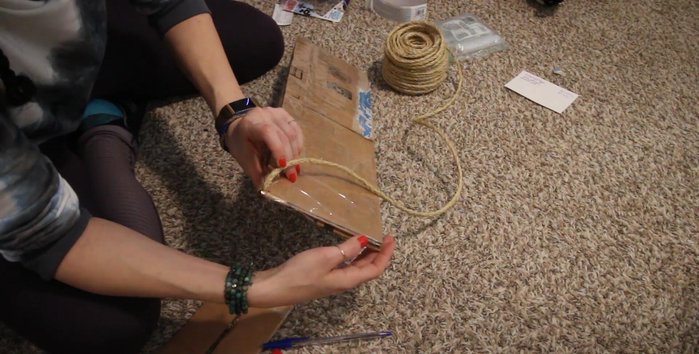
Wrap and Glue Sisal Complete Wrapping and Hanging
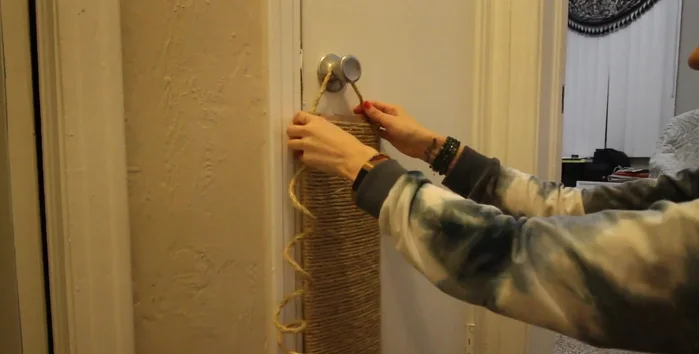
- Finish wrapping. Leave about an inch of space at the top. Poke holes in the top corners and thread the sisal rope through. Secure the ends with packing tape for a clean finish.
Complete Wrapping and Hanging Finalize and Decorate
- Adjust the length of the hanging ropes to your desired height. Add any optional embellishments (like a toy or catnip spray).
Finalize and Decorate

Read more: No-Sew Sock Cat Tutorial: Adorable DIY Project
Tips
- Using a box cutter instead of scissors makes cutting cardboard significantly easier.
- If you have plywood or a solid material, use double-sided tape or spray adhesive to create a more stable base instead of cardboard.
- To avoid fraying, wrap the sisal rope ends in packing tape before threading them through the top holes.