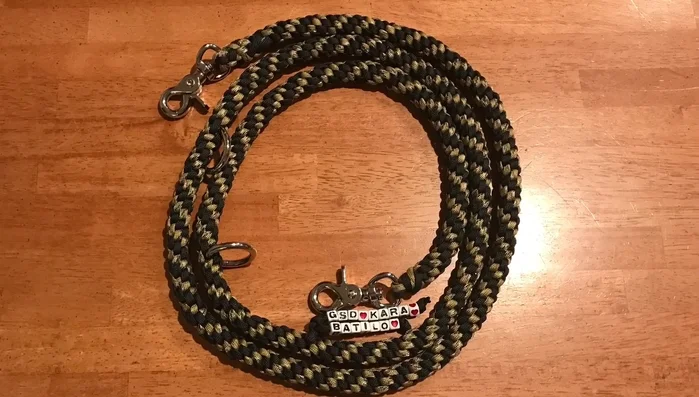
Tired of flimsy dog leashes that snap at the most inconvenient moments? Yearning for a leash that's not only tough enough to handle even the strongest pullers but also reflects your unique style? Then look no further! This guide will walk you through creating your own incredibly durable and completely customizable paracord dog leash. Paracord, with its renowned strength and versatility, is the perfect material for a leash that can withstand daily adventures, from casual strolls in the park to rigorous hikes in the wilderness. Forget about limited color choices and inflexible designs found in pet stores.
With this DIY project, you’ll unlock the power of personalization, crafting a leash that perfectly matches your dog's personality and your own aesthetic preferences. You'll be amazed at how easy it is to create a high-quality leash that will outlast store-bought options, saving you money and providing a sense of accomplishment. Ready to get started? Let's dive into the step-by-step instructions and create the ultimate paracord dog leash.
Preparation and Safety Guidelines
- Paracord (various colors)
- Snap hooks
- Scissors
- Needle (optional)
- Bobby pin (optional)
- Lighter
- Always supervise your dog while using any DIY leash. Inspect the leash regularly for wear and tear and replace immediately if damage is found.
- Use only high-quality paracord rated for the appropriate weight of your dog. A broken leash could result in your dog escaping or injuring itself.
- Ensure all knots are securely tied and finished to prevent slippage or unraveling. A poorly tied knot can compromise the leash's strength and safety.
Step-by-Step Instructions
Prepare the Paracord
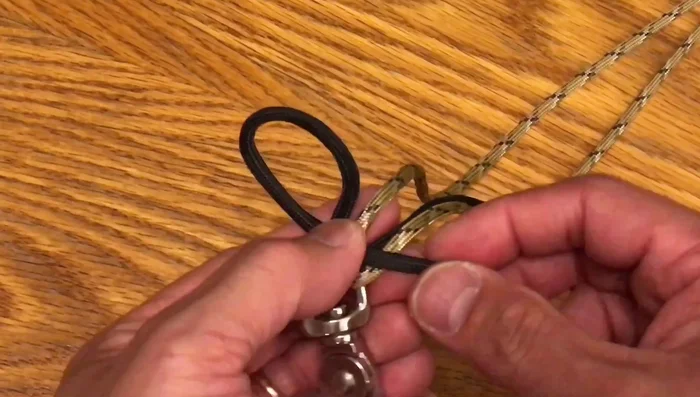
- Attach snap hooks to the eyelets of the paracord.

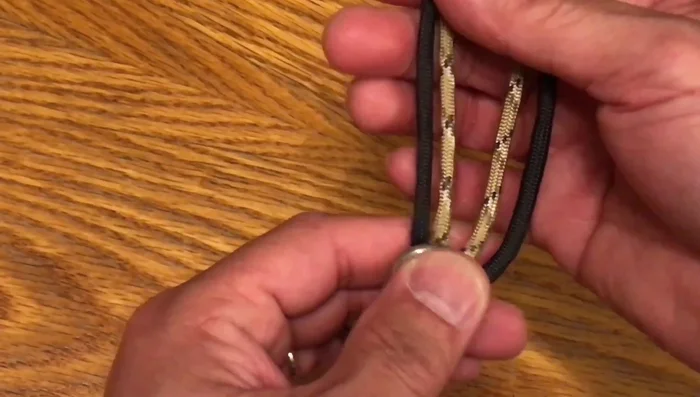
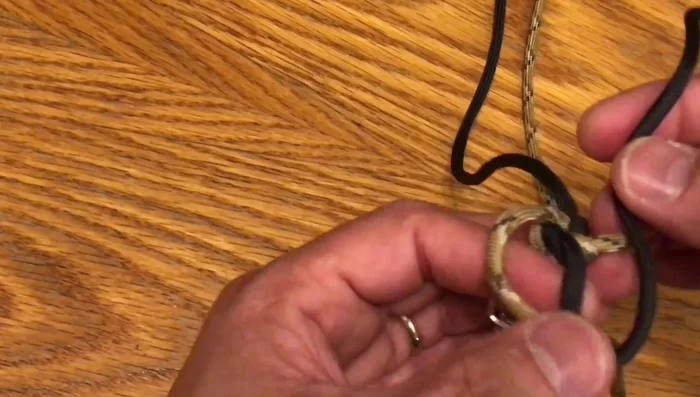
Prepare the Paracord Create the Initial Loop
- Alternate paracord colors (e.g., black, tan, black) while creating the initial loop.
- Create a tight knot using the alternating paracord strands, tucking each strand under and into the loop.
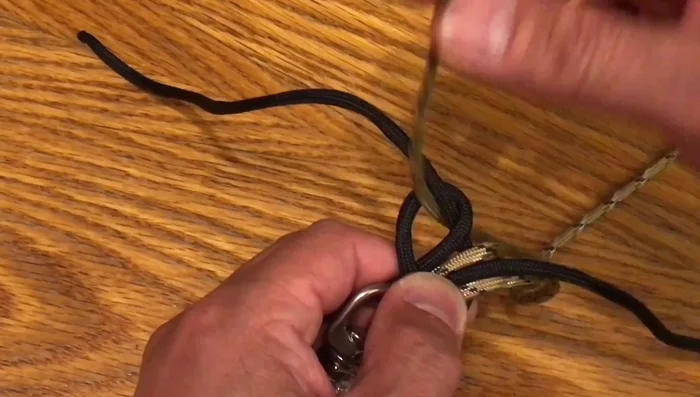
Create the Initial Loop Build the Leash Body
- Repeat the knotting process, creating additional loops.
- Create the crown knots by repeating the knotting pattern along the paracord length.
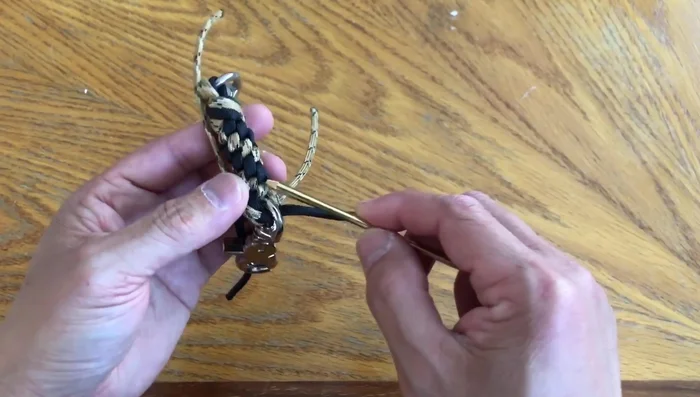
Build the Leash Body Add a Ring (Optional)
- Add a ring by inserting it through two strands and continue with the crown knots.
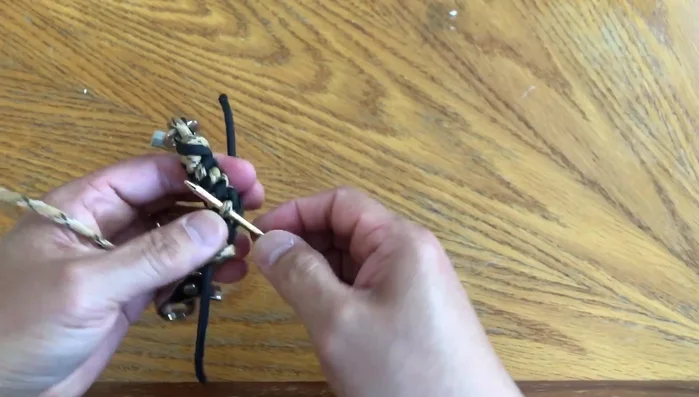
Add a Ring (Optional) Secure the Ends
- At the very end, use a few more crown knots to secure the end.
- Tuck in the remaining strands using a needle, bobby pin, or similar tool.
- Securely tuck each strand individually.
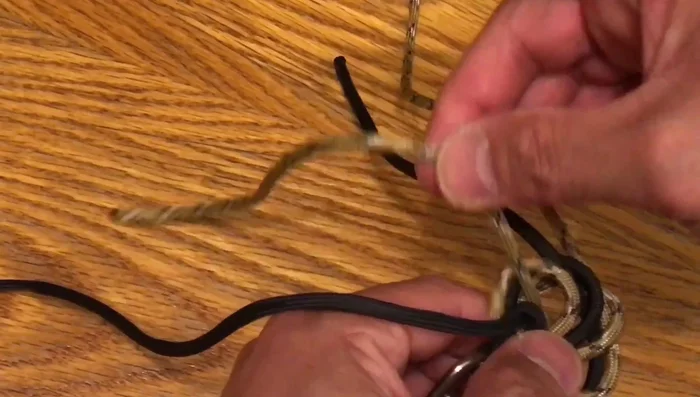
Secure the Ends Finishing Touches
- Cut the excess paracord carefully.
- Tighten and shape the woven section of the paracord.
- Finish by melting the ends of the paracord to prevent fraying.
Finishing Touches


Read more: DIY Studded Dog Collar with Reflective Piping: A Comprehensive Guide
Tips
- Make the knots as tight as possible.
- Use a needle or bobby pin to aid in tucking in loose strands.
- Melt the ends of the paracord to prevent fraying (be careful!).