Is your furry friend shivering through those chilly autumn evenings? Nothing says love quite like a cozy, handmade sweater, and this guide will show you how to create the ultimate DIY pet hoodie. Forget overpriced pet stores – with a little fabric, some basic sewing skills, and a dash of creativity, you can whip up a custom-fit sweater your pet will adore. From choosing the perfect fabric to adding those adorable finishing touches, we'll explore every step of the process, ensuring a snug and stylish garment your beloved companion will wear with pride.
This comprehensive guide offers a clear and accessible approach to sewing a pet hoodie, perfect for beginners and experienced sewers alike. We'll cover everything from choosing the right size and fabric to mastering essential sewing techniques, resulting in a truly unique and comfortable garment. Ready to get started on creating a warm and stylish hoodie for your furry friend? Let's dive into the detailed step-by-step instructions!
Preparation and Safety Guidelines
- Sweatshirt fleece
- Rib knit fabric
- Cord (optional)
- Cord stops (optional)
- Eyelets
- Button snap
- Sewing machine (serger recommended)
- Pattern
- Always supervise your pet while wearing the hoodie. Remove it immediately if they show signs of distress, overheating, or try to chew or swallow it.
- Ensure all seams are securely stitched and there are no loose threads or small parts that your pet could choke on.
- Choose fabrics appropriate for your pet's breed and activity level. Avoid materials that could irritate their skin or be too warm for their comfort.
Step-by-Step Instructions
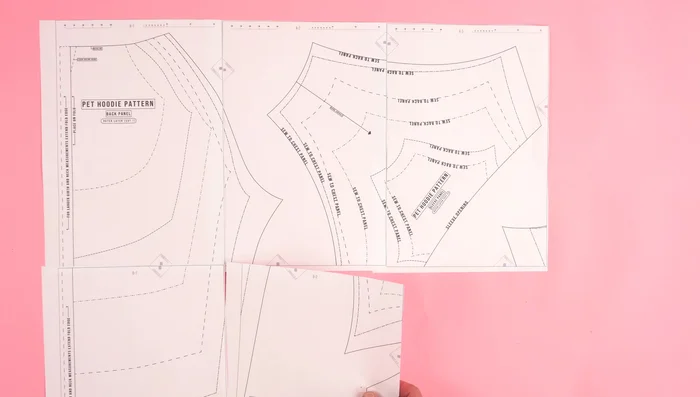
Prepare the Pattern
- Print and assemble the pattern, adjusting sizes as needed by extending the fold or bottom edge lines to fit your pet's measurements.

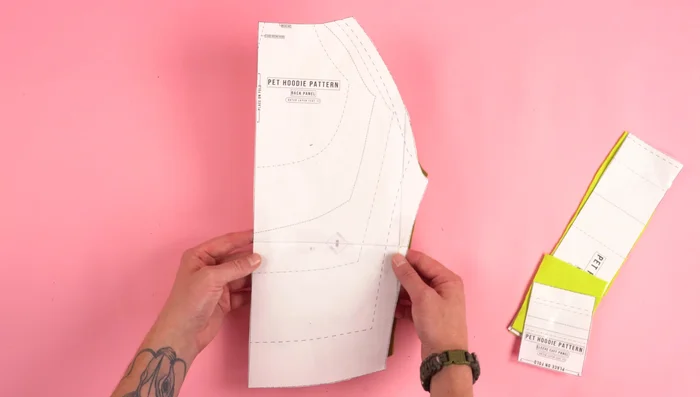
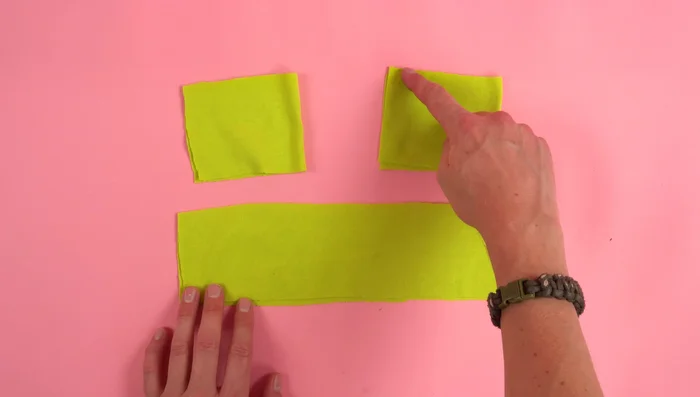
Prepare the Pattern Cut Fabric Pieces
- Cut out the pattern pieces from sweatshirt fleece and rib knit fabric.
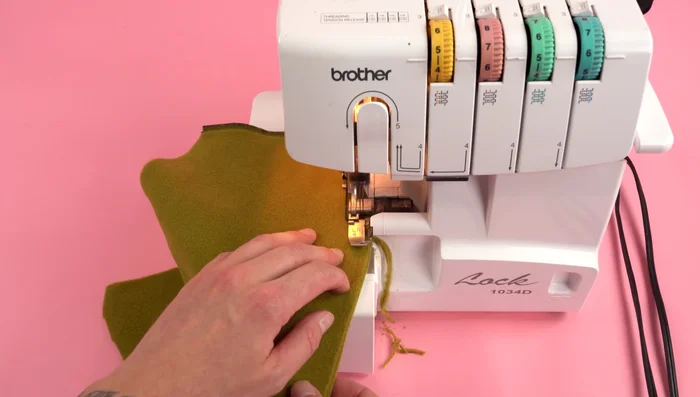
Cut Fabric Pieces Assemble the Hood
- Sew the hood panels together, creating a seamless and symmetrical hood.
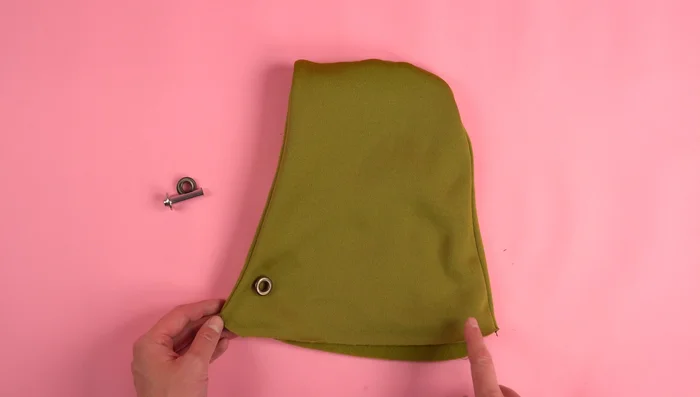
- Attach eyelets to the hood for a drawstring.
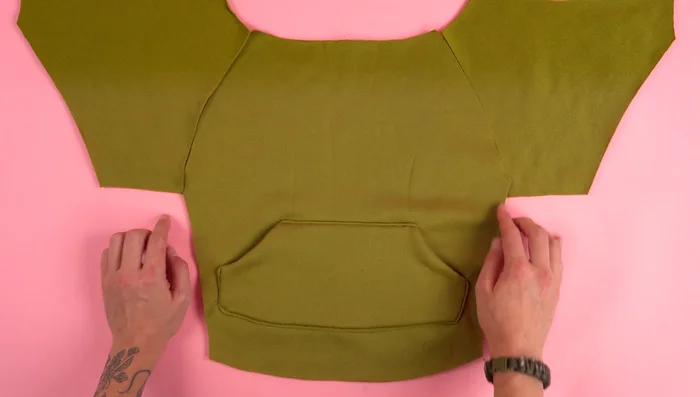
Assemble the Hood Attach Pockets (Optional)
- Sew the pocket panels together, leaving the top open. Position and attach the pockets to the back panel.
Attach Pockets (Optional) Attach Sleeves
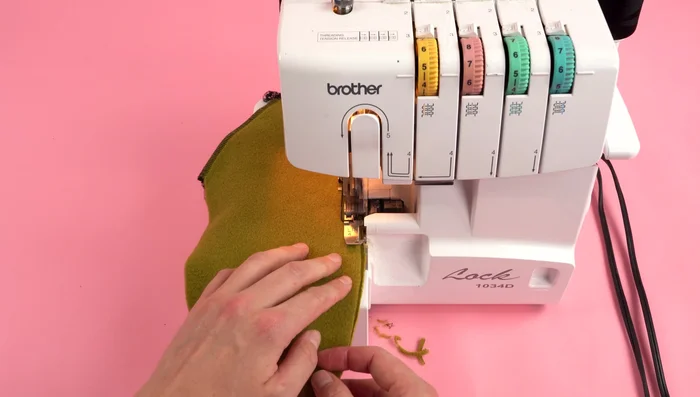
- Attach the sleeve panels to the back panel, ensuring a smooth, even seam. Add top stitching.
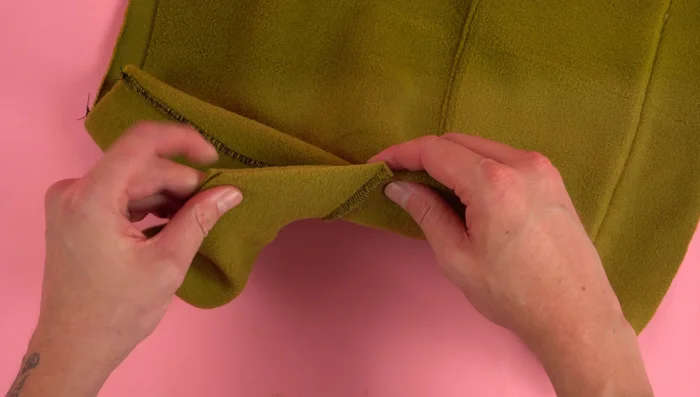
Attach Sleeves Sew Body Seams
- Sew the side seams of the body, keeping the armpit seams aligned.
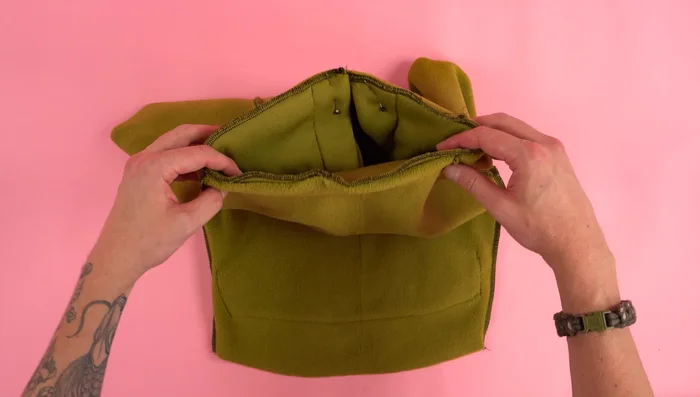
Sew Body Seams Attach Hood to Body
- Attach the hood to the neckline, aligning the center seams. Add top stitching.
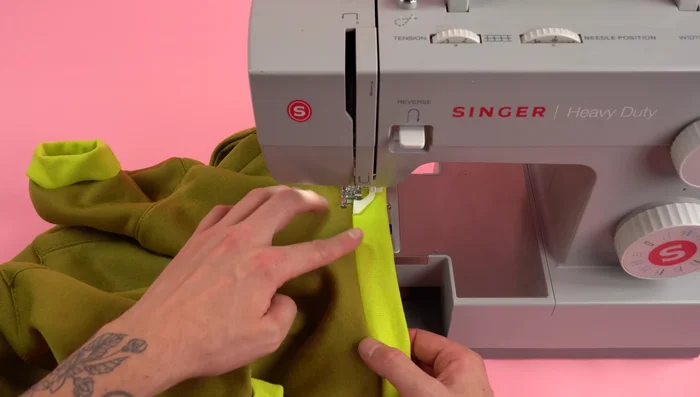
Attach Hood to Body Attach Cuffs and Waistband
- Sew the cuffs and waistband to the sleeves and bottom edge, ensuring even stitching and preventing thread breakage.
- Add top stitching to the waistband and cuffs for reinforcement and a professional finish. Consider breaking up long top stitches on stretchy areas to prevent breakage.
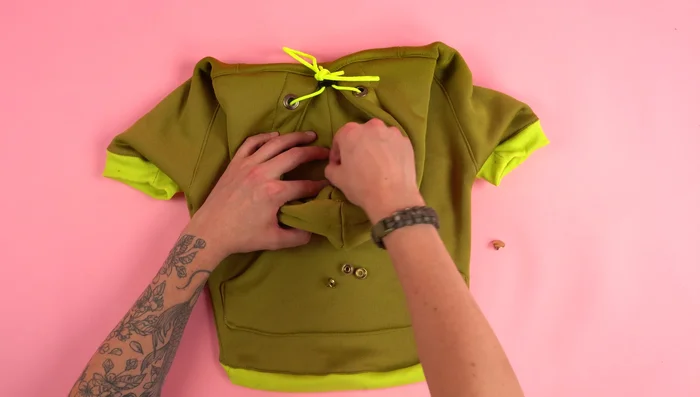
Attach Cuffs and Waistband Add Drawstring (Optional)
- Thread a cord through the eyelets and add cord stoppers.
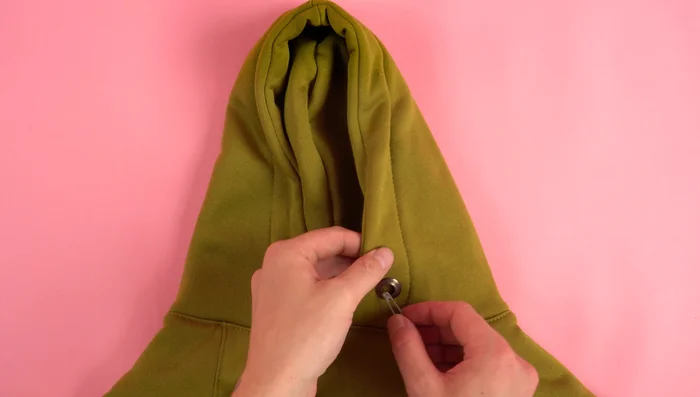
Add Drawstring (Optional) Add Snap Button (Optional)
- Attach a snap button to the hood to keep it closed.
Add Snap Button (Optional)
Read more: How to Make a Tiny Loom Band Animal Toy (Rainbow Dog Tutorial)
Tips
- Use a serger for clean, stretchy seams. If you don't have one, use a zigzag stitch on your sewing machine.
- Take your time and go slow, especially when sewing curves or multiple layers of fabric. Use an edge guide for consistent seams.
- Use thread that matches your fabric to hide any imperfections in stitching.
- Stretch the fabric slightly as you sew curved sections (like sleeves and neckline) to prevent puckering.
- Break up long top stitches on stretchy areas (like the waistband) to avoid thread snapping.