Halloween is just around the corner, and what better way for your 7-year-old to celebrate than with a fun, homemade costume? Forget expensive store-bought options; this year, let's craft a charming pumpkin costume that's as easy as pie (or perhaps, as easy as pumpkin carving!). This DIY project is perfect for a busy parent looking for a quick and creative solution, requiring minimal materials and effort, yet delivering maximum Halloween impact. No advanced crafting skills are needed – even the youngest helpers can participate in the fun.
This simple pumpkin costume tutorial prioritizes ease and speed, making it ideal for last-minute preparations. We’ll use readily available materials to achieve a delightfully spooky yet adorable look, ensuring your child feels confident and comfortable in their homemade creation. Ready to transform an ordinary orange shirt into a spectacular pumpkin? Let's dive into the step-by-step guide below.
Preparation and Safety Guidelines
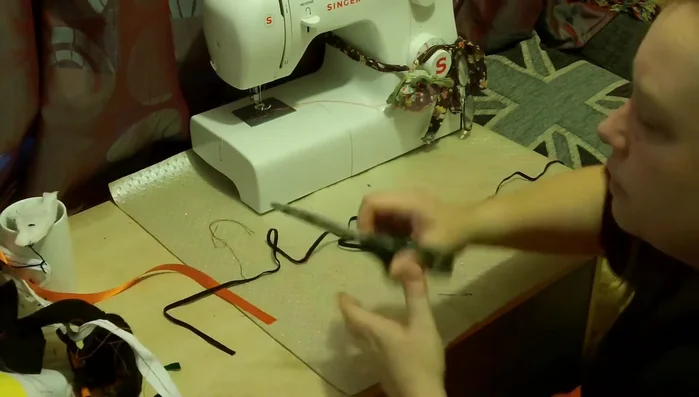
- sewing machine
- orange fabric
- white sheeting
- wadding
- ribbon
- elastic
- pins
- needle
- thread
- Adult supervision is required at all times, especially when using scissors or other sharp objects.
- Ensure the costume fits comfortably and doesn't restrict movement or breathing. Avoid anything that could obscure vision.
- Check for any loose parts or potential choking hazards before letting your child wear the costume.
Step-by-Step Instructions
Prepare the Fabric
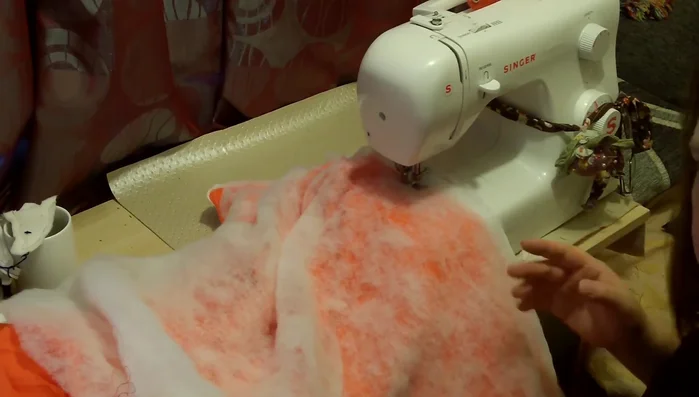
- Lay out wadding, orange fabric, and white sheeting neatly.
Cut the Fabric
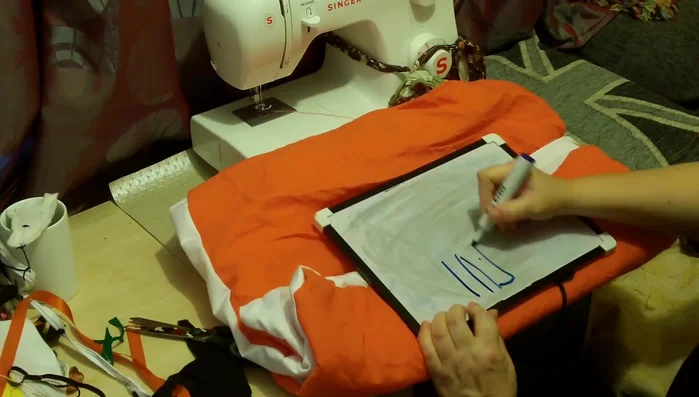
- The widest part (shoulders) determines the width. Divide the width in half, then divide that half into thirds. The length can be the child's height or a calculation based on a semi-circle (see video for specifics).

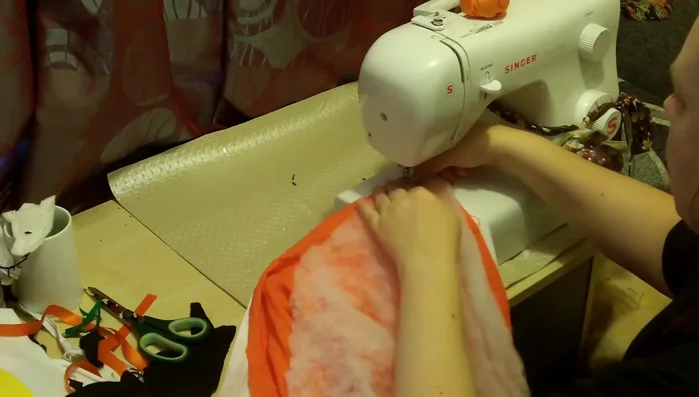
Cut the Fabric Sew the Layers
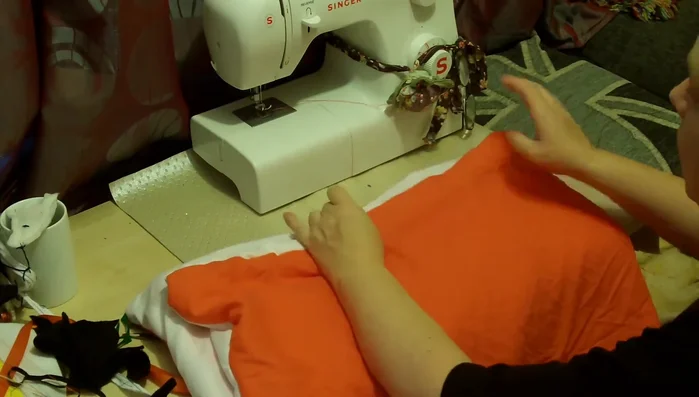
- Sew the lining (white sheeting) to the outer fabric (orange), then sew the wadding on top. Sew around the perimeter of the rectangle, leaving a gap for turning it right side out.
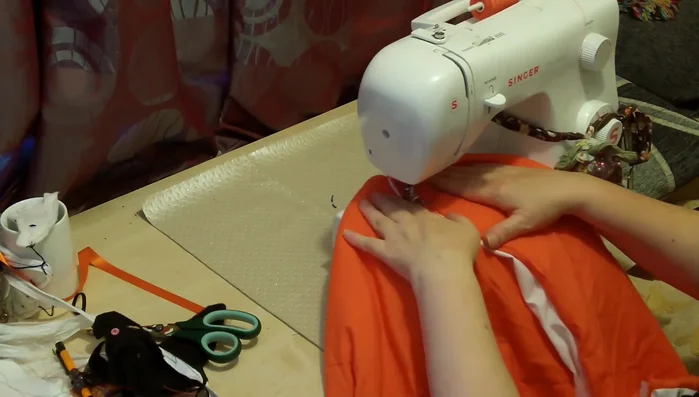
- Sew up the side seam leaving a small opening for turning.
- Turn the costume right side out through the opening.
- Close the opening left for turning.
Sew the Layers Turn Right Side Out
- Turn the rectangle inside out through the gap you left.
Turn Right Side Out Shape the Costume
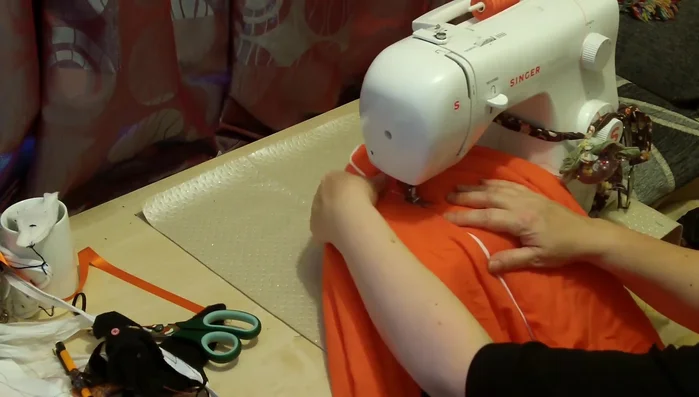
- Decide whether the pumpkin will go over or under the arms. The under-the-arms method is easier.
- Create armholes. Cut angles at the sides of the rectangle and fold them over for a cleaner finish. If the costume is going under the arms, use ribbon to support it.
Shape the Costume Create the Neckline
- Using elastic, gather the top edge of the rectangle into a circle. Sew the elastic to secure it. This forms the neckline.
- Sew the elastic to create a neckline.
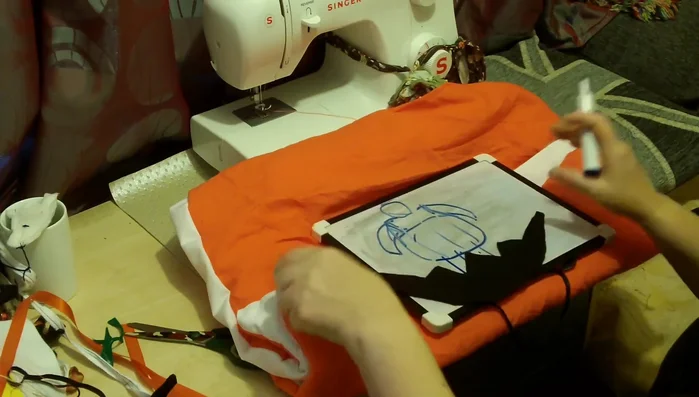
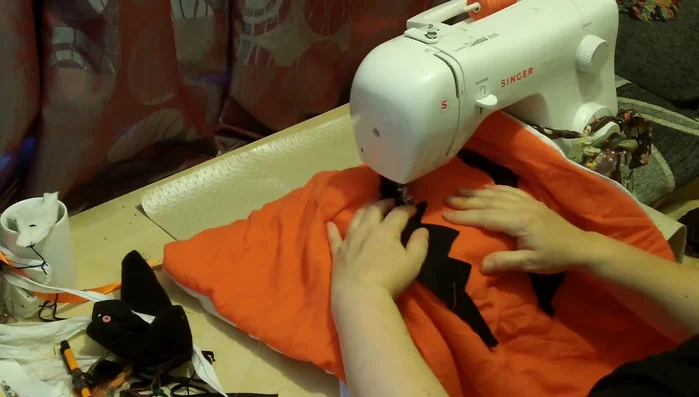
Create the Neckline Add Pumpkin Details
- Sew on the face details (eyes, nose, mouth).
- Sew vertical lines to create the pumpkin ridges. Use contrasting fabric or thread for a more dramatic effect.
Add Pumpkin Details Add Shoulder Straps
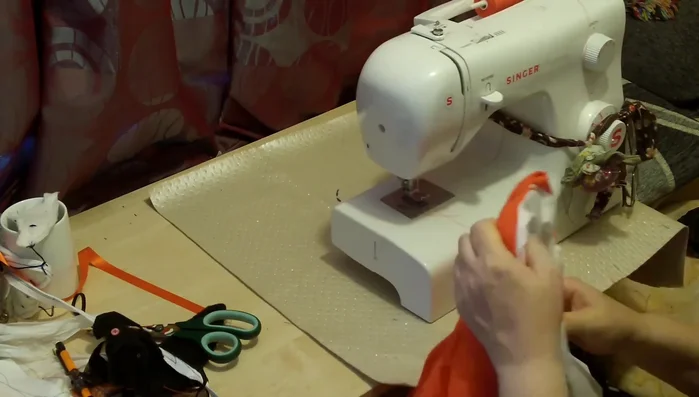
- Sew ribbons to the top edges for shoulder straps.
Add Shoulder Straps

Read more: No-Sew DIY Pet Tank Top: Easy Leggings Upcycle!
Tips
- For easier sewing, use felt.
- To avoid thread snags, use extra top thread and lower the needle to join the last layer of stitches.
- Keep the fabric flat while sewing to avoid puckering.
- When sewing elastic, make sure the machine is handling it well, and if not, try adjusting the tension.
- Don't stress about precision; the organic look adds to the charm.