Want to add a touch of style and personality to your canine companion's wardrobe without breaking the bank? Then look no further! This quick and easy tutorial will guide you through creating a reversible dog collar scarf, allowing you to effortlessly switch up your pup's look in seconds. Forget expensive, limited-edition pet accessories; with just a few simple materials and a bit of time, you can craft a charming and completely customizable scarf that perfectly complements your dog's collar and personality. This project is perfect for beginner crafters, requiring no advanced sewing skills and minimal materials.
Imagine the possibilities: a festive holiday scarf one day, a cheerful spring pattern the next – all from a single, easily reversible design! The best part? This DIY project is not only affordable but incredibly fun to personalize. Ready to get started on creating this adorable and practical accessory? Let's dive into the step-by-step instructions!
Preparation and Safety Guidelines
- Cotton fabric
- Medium-weight interfacing (optional)
- Sewing machine
- Iron
- Pins
- Knitting needle
- Chalk
- Always supervise your dog while wearing the scarf to prevent chewing or entanglement. Remove the scarf immediately if it becomes damaged or poses a choking hazard.
- Ensure the scarf is securely fastened to the collar and cannot easily slip off. Avoid using loose or overly long fabric that could create a tripping hazard.
- Choose fabrics that are soft, durable, and easy to clean. Avoid materials that could irritate your dog's skin or fray easily.
Step-by-Step Instructions
Prepare Fabric
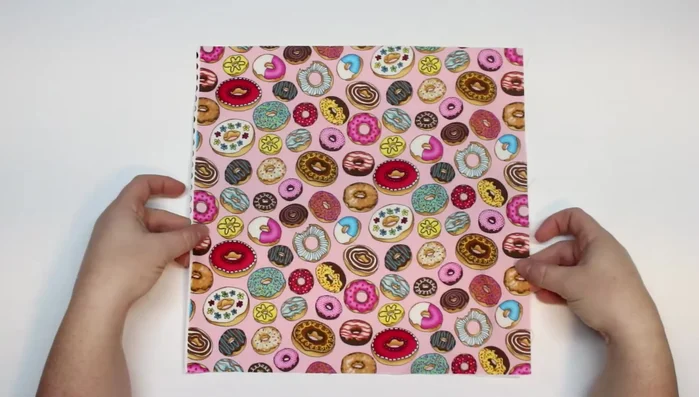
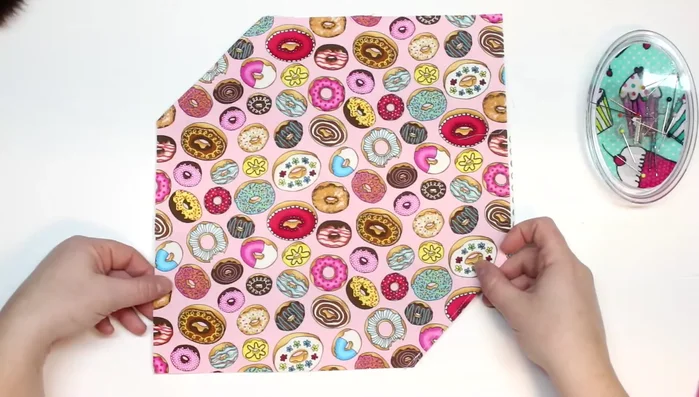
- Prepare the fabric square. Use a square piece of fabric (cotton fabric is recommended). Add medium-weight interfacing to the back if desired (optional for heavier fabrics like canvas).

Prepare Fabric Create Guideline
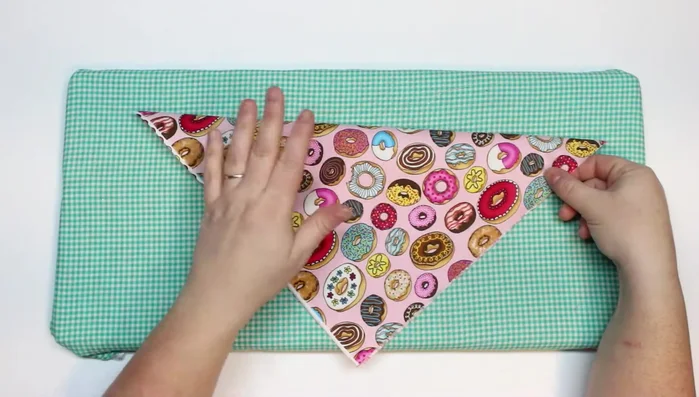
- Fold the square in half diagonally and score to create a guideline. Open it back up.
Create Guideline Fold Corners
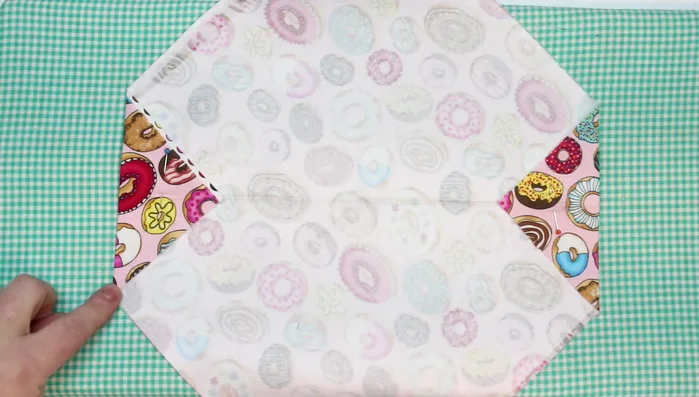
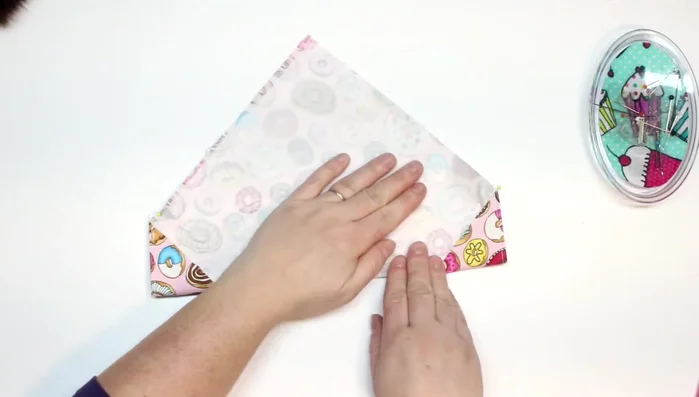
- Fold in the corners along the guideline by 2.5 inches (adjust measurement depending on collar size).
Fold Corners Topstitch Corners
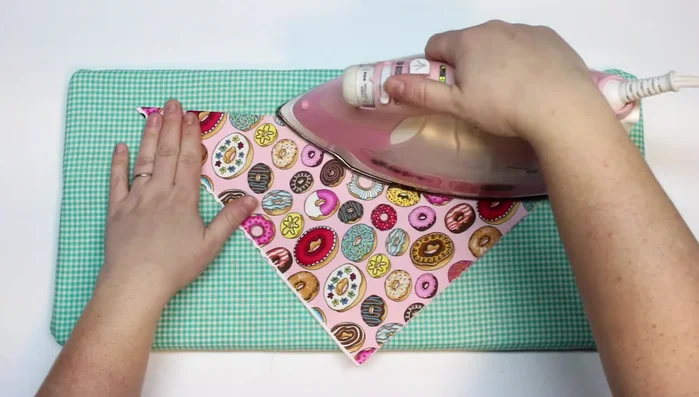
- Top stitch along the folded corners for decoration and stability (3 stitch length).
Topstitch Corners Prepare for Seam
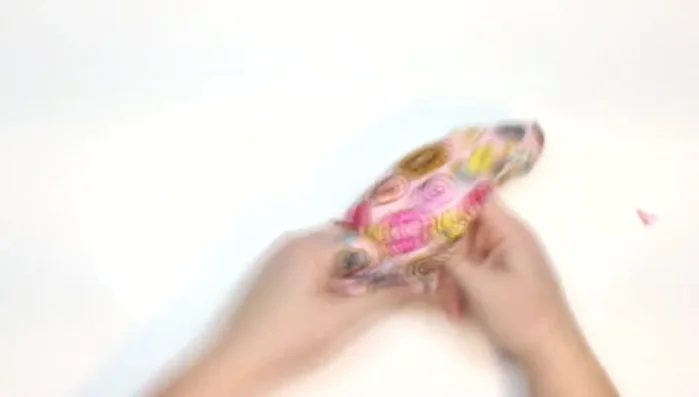
- Fold the fabric in half with right sides together, aligning raw edges and corners.
Prepare for Seam Sew Side Seams
- Sew a seam down both sides of the raw edges, leaving an opening at the top for collar insertion. Backstitch at the beginning and end.
Sew Side Seams Prepare for Turning
- Clip the corner of the scarf tip to create a sharp point.
Prepare for Turning Turn and Press
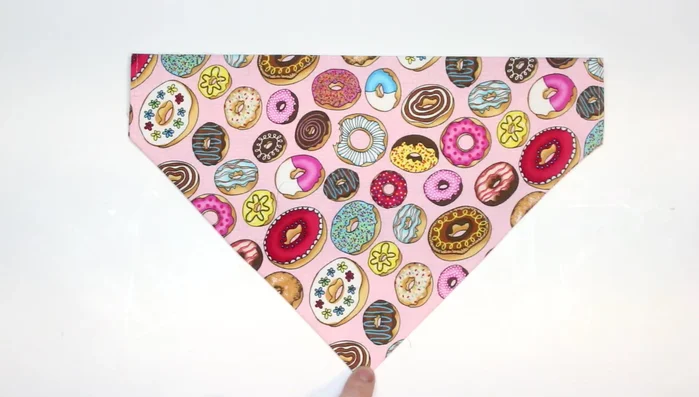
- Turn the scarf right side out using a knitting needle to poke out the corners. Press flat with an iron.
Turn and Press Topstitch Edges
- Top stitch along both sides of the triangle and across the top to create a casing for the collar.
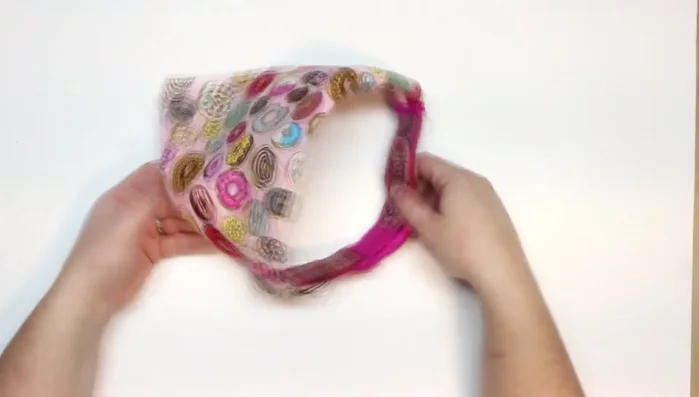
Topstitch Edges Insert Collar
- Slip the dog collar through the top opening.
Insert Collar

Read more: DIY Studded Dog Collar with Reflective Piping: A Comprehensive Guide
Tips
- Heavier fabrics like canvas may not need interfacing.
- Adjust the corner fold size to fit your dog's collar.
- Leaving the excess triangle fabric provides extra stability.
- Use chalk to mark the top stitch line for a cleaner look.
- For a reversible scarf, cut the fabric square diagonally in half, add seam allowance, and sew two pieces of fabric together before following the tutorial from Step 3 onwards.