Tired of boring, mass-produced dog leads? Want to create a truly unique and durable leash for your furry friend? Then get ready to unleash your inner artisan with this easy DIY project! We’ll guide you through the creation of a stylish and strong dog lead using readily available rope, employing the classic and reliable cat's paw and marlin spike splice techniques. These knots are not only aesthetically pleasing but incredibly secure, ensuring your dog's safety and giving your lead a professional, handcrafted look.
Forget complicated knot-tying instructions; this guide focuses on two simple yet effective splices, perfect for beginners. You'll learn how to create a beautifully finished lead, adding a personal touch that reflects your dog’s unique personality. Ready to get started on your personalized, rope dog lead? Let's dive into the step-by-step instructions below.
Preparation and Safety Guidelines
- Rope
- Carabiner (or other dog lead clip)
- Whipping twine
- Finishing solution (glue)
- Masking tape
- Sharp knife
- Tool for cutting whipping (optional)
- Always use high-quality, strong rope specifically designed for dog leads. Avoid rope that is frayed, weakened, or shows signs of wear.
- Ensure all splices are securely made and thoroughly tested before use. A poorly made splice can fail under stress, leading to your dog escaping or injury.
- Regularly inspect the rope lead for any signs of wear and tear. Replace the lead immediately if any damage is detected.
Step-by-Step Instructions
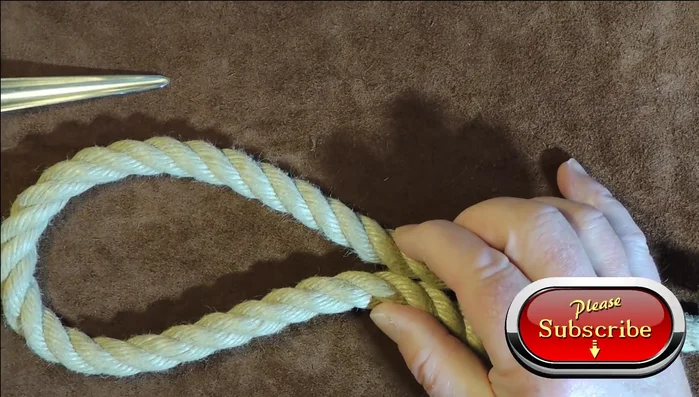
Prepare the Clip End
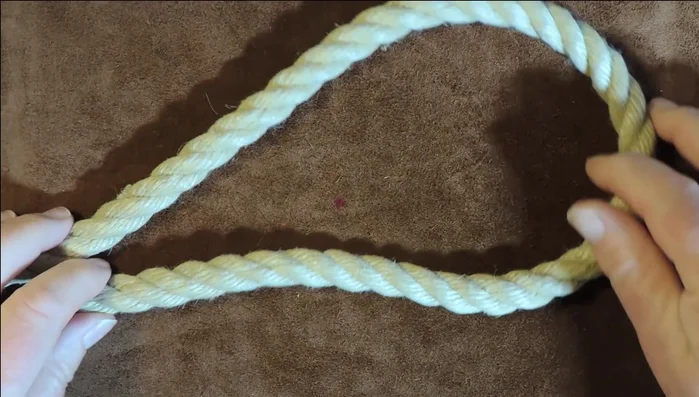
- Determine loop size for the end with the clip. Consider the size of your dog's neck or the type of clip you'll use.
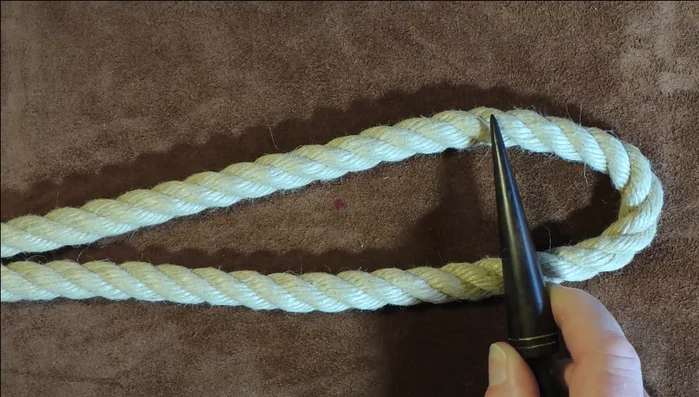
- Open the rope and create three loops near the clip end.
- Arrange the three loops in a row and slightly open them to make it easier to feed the rope through.
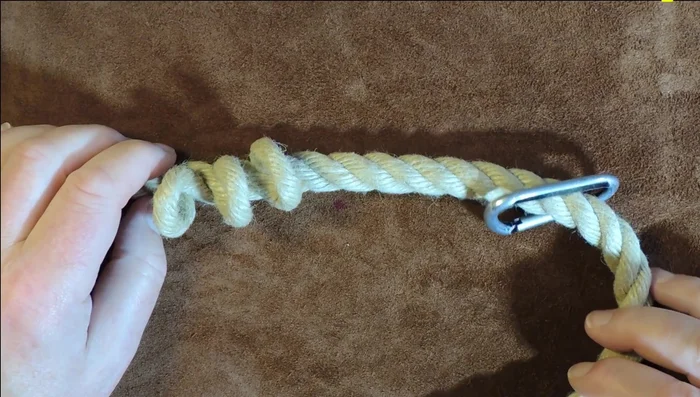
- Attach the clip to one end of the rope and feed the rope through the three loops, creating a Cat's Paw eye splice. Tighten securely.

Prepare the Clip End Secure the Cat's Paw Splice
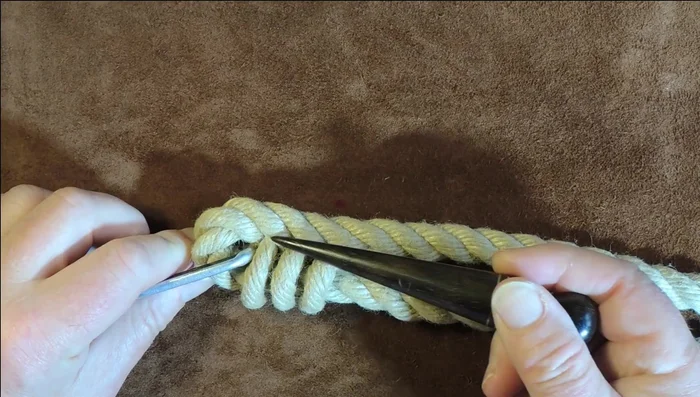
- Repeat steps 2-4 on the short section of the rope to secure the Cat's Paw splice.
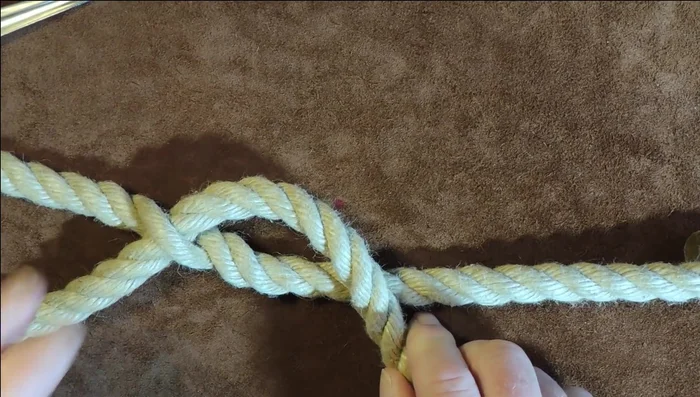
Secure the Cat's Paw Splice Create the Handle
- Determine the loop size for the handle. Create a Marlin eye splice (or lazy eye splice).
- Secure the Marlin eye splice by tucking the rope end multiple times.
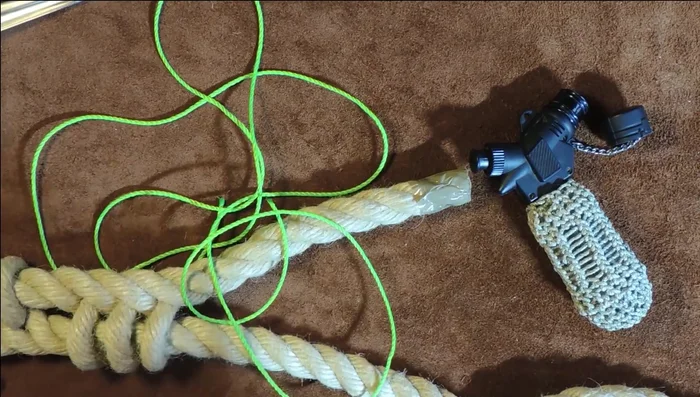
Create the Handle Finish the Lead
- Add whipping to the ends of the lead using whipping twine and a locking knot. Trim excess twine.
Finish the Lead

Read more: DIY Studded Dog Collar with Reflective Piping: A Comprehensive Guide
Tips
- Use a slippery rope for easier creation of the splices, especially the slip lead variation.
- Space the loops evenly around the Cat's Paw splice and use finishing solution to secure them if desired.
- For a stronger grip, add more tucks during the Marlin eye splice.
- Aim for a whipping diameter 1.5 times the rope diameter for a neat finish.