Does your feline friend deserve a little extra playtime, even when you're not home? Tired of watching your cat bat at the same old toys, day in and day out? Then get ready to unleash a revolution in kitty entertainment with our DIY smart cat toy! This project combines simple technology with a dash of creativity to build a remotely controlled marvel that will keep your furry companion happily engaged, no matter where you are. Imagine the joy of watching your cat chase a laser pointer, controlled from your smartphone, even while you're stuck in a meeting! This isn't just a toy; it's a connection, a playful bridge between you and your beloved pet, bringing joy to both of you.
Forget expensive store-bought gadgets; this project is surprisingly affordable and easy to assemble. We'll guide you through each step of the process, from gathering the necessary materials to the final assembly and testing. Ready to build your own remotely controlled cat toy and become the ultimate purrfect pet parent? Let's dive into the step-by-step instructions!
Preparation and Safety Guidelines
- Battery-operated cat toy
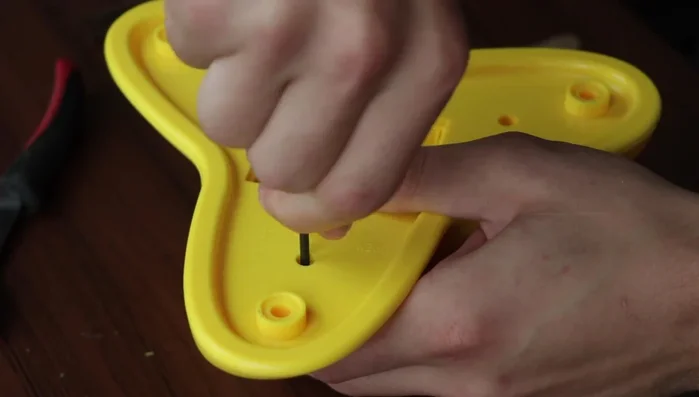
- Screwing device
- Smart plug
- Power adapter (matching toy voltage)
- Wire clippers
- Hot glue gun
- Soldering iron (recommended)
- Solder (recommended)
- Heat gun (recommended)
- Heat shrink tubing (recommended)
- Multimeter (recommended)
- Drill (recommended)
- Electrical tape (alternative to heat shrink tubing)
- Always supervise your cat while using the smart toy. Never leave them unattended with it.
- Ensure all electrical connections are secure and properly insulated to prevent shocks or short circuits.
- Use non-toxic materials and paints throughout the construction of the toy. Choose materials that are durable and cannot be easily ingested by your cat.
Step-by-Step Instructions
Preparation
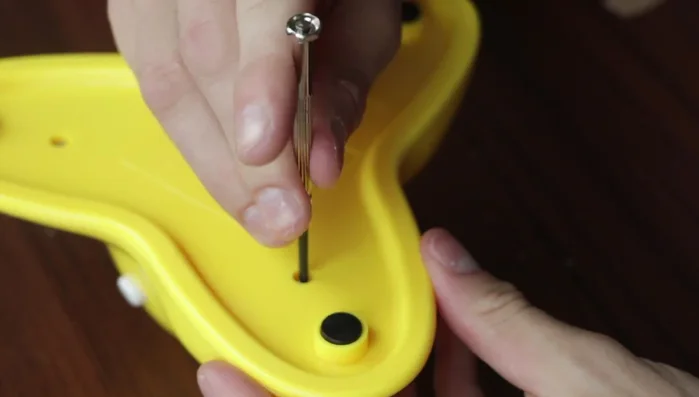
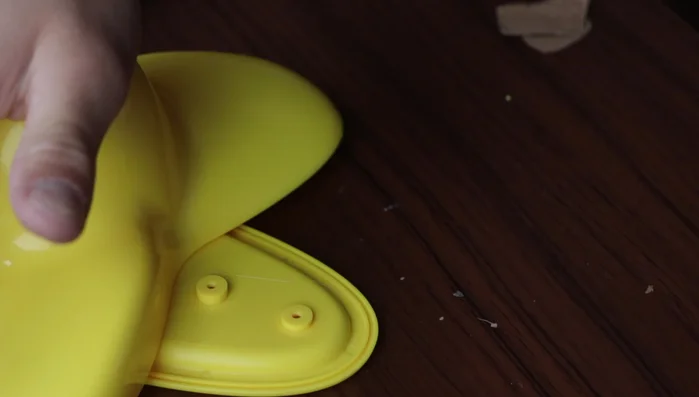
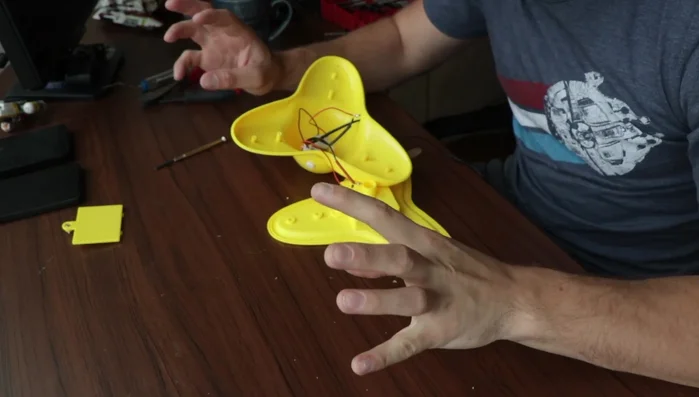
- Open the cat toy to access the internal components.
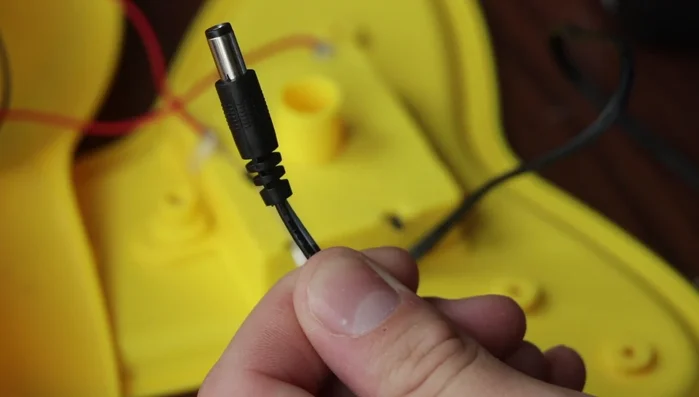
- Prepare the cat toy for soldering and obtain the appropriate power adapter.

Preparation Wiring and Connections
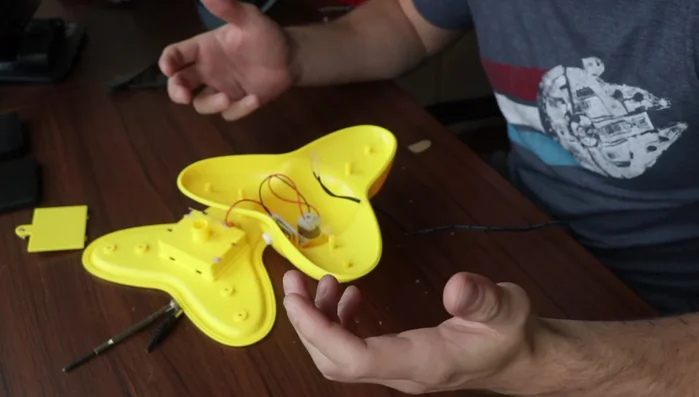
- Identify positive and negative wires (using a multimeter is safest; if unsure, test both – motors are often reversible).
- Drill holes (or carefully route through existing openings) to feed wires through the cat toy casing.
- Connect the power adapter wires to the cat toy's internal wires, ensuring correct polarity (+ and -).
- Insulate the wire connections using heat shrink tubing or electrical tape to prevent shorts.
Wiring and Connections Testing and Securing
- Test the toy by plugging it into the wall. Be careful to avoid touching any exposed wires.
- Reinforce wire connections with hot glue for added security.
Testing and Securing Final Assembly
- Close the cat toy casing.
Final Assembly Smart Integration
- Connect the cat toy to your smart plug, following the plug's instructions.
Read more: No-Sew Sock Cat Tutorial: Adorable DIY Project
Tips
- Use a multimeter to safely identify positive and negative wires, but if unsure, motors are often reversible.
- Heat shrink tubing or electrical tape is crucial for insulating wire connections.
- Hot glue provides extra security for wire connections inside the toy.
- Always exercise caution when handling electricity and exposed wires.