Ever wished you could create adorable, whimsical creatures from everyday items? Well, get ready to unleash your inner crafter because today we're making super cute sock mice! This easy DIY project is perfect for beginners, requiring minimal materials and skills, yet yielding results that are undeniably charming. Imagine these little fellas adorning your shelves, adding a touch of handmade magic to your home, or even becoming delightful gifts for friends and family. They’re surprisingly simple to make, and the possibilities for personalization are endless – from tiny hats and scarves to button eyes and embroidered smiles.
Forget complicated patterns and expensive supplies; with just a few simple steps and some readily available materials, you can craft a whole family of these delightful sock mice. Ready to transform ordinary socks into extraordinary creatures? Let’s dive into the step-by-step guide and begin creating your own army of adorable, handmade friends!
Preparation and Safety Guidelines
- Bits of sock
- Felt
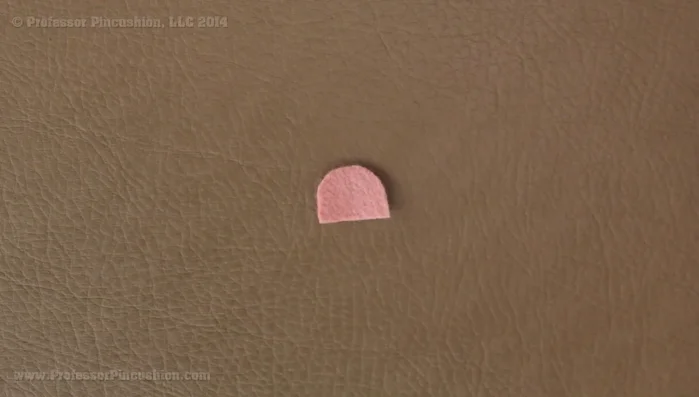
- Felt patterns (mouse ears and body)
- Two beads (optional)
- Yarn (5 inches)
- Embroidery floss (12 inches)
- All-purpose thread
- Polyester stuffing
- Fabric marker
- Fabric scissors
- Pins
- Needles
- Sewing machine
- Adult supervision is required, especially for younger crafters using scissors or needles.
- Always supervise children around small crafting items to prevent choking hazards. Keep buttons and beads out of reach until the project is complete.
- Use fabric glue carefully and allow ample drying time before handling the finished mouse to avoid sticking or smudging.
Step-by-Step Instructions
Prepare the Mouse Body
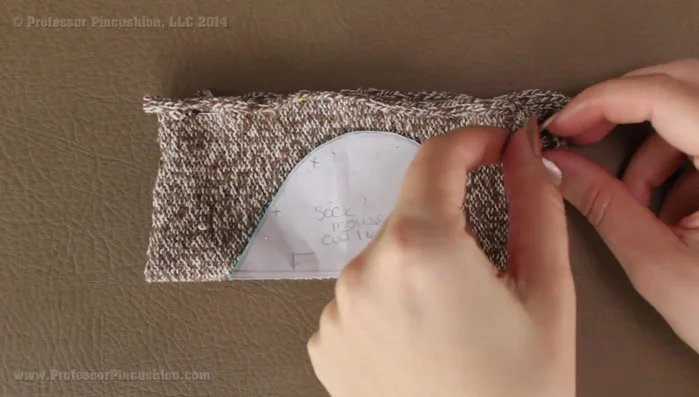
- Create the mouse body using the felt pattern. Place pattern on folded sock (right side in). Draw outline, mark X's for openings, and circle for tail placement. Pin in place.
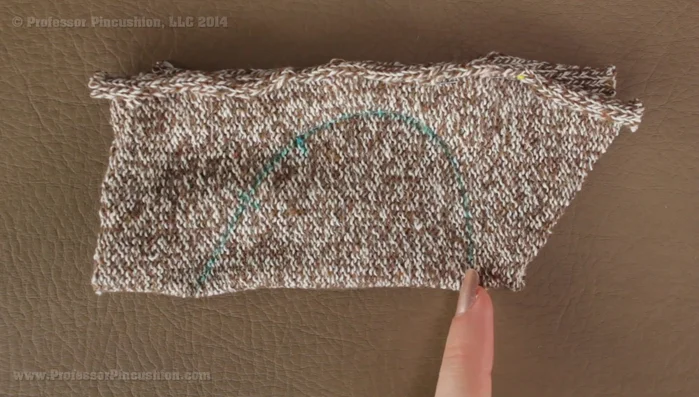
- Place the tail yarn (approx. 4 inches) inside the sock, aligning with the bottom fold line. Sew only the single yarn strand to the sock, leaving the rest free for the tail.

Prepare the Mouse Body Sew the Mouse Body
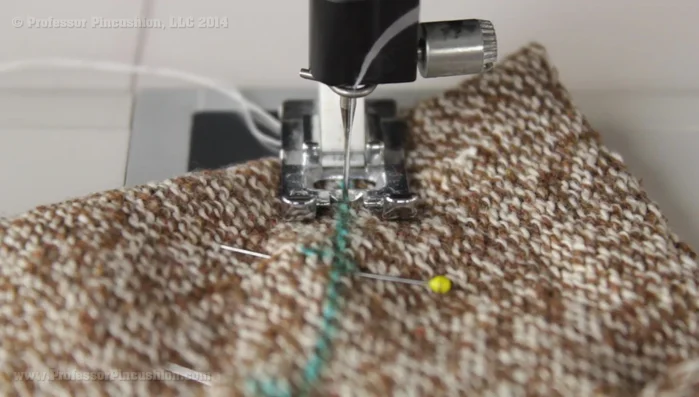
- Sew around the outline, leaving the marked X's unsewn for stuffing. Use a ballpoint needle and regular straight stitch.
Sew the Mouse Body Stuff and Close the Mouse Body
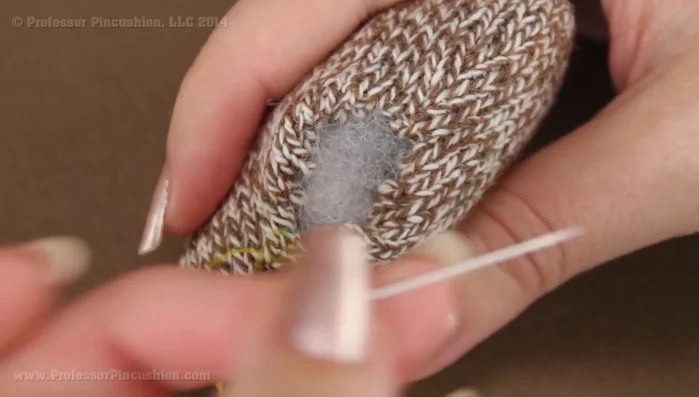
- Trim excess fabric about 1/8 inch away from the stitching line. Turn the sock right side out and stuff with polyester filling.
- Slip stitch the opening closed using a needle and thread. Start from the underside to hide the knot.
Stuff and Close the Mouse Body Prepare the Ears
- Shape the felt ears into petals by folding in half and sewing a few stitches at the base. Hide the knot on the inside.
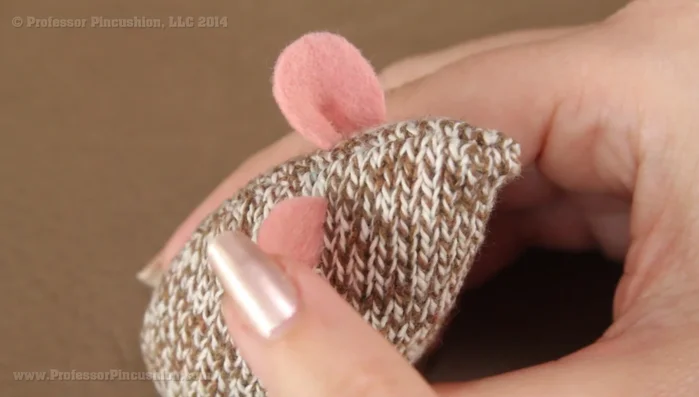
Prepare the Ears Attach the Ears
- Pin the ears onto the mouse body (about 1.25 inches from the nose). Sew the ears using a whip stitch, securing them to both the ear and the sock material.
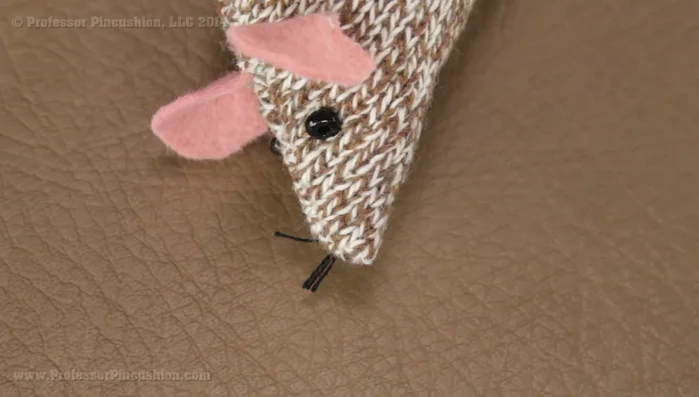
Attach the Ears Attach the Eyes
- Sew on the eyes using a needle and thread. Start from underneath to hide the knot. Add the bead, sew through the fabric, pull tight to create a sunken look, and secure the knot.
Attach the Eyes Add Whiskers
- Add whiskers using embroidery floss. Tie a knot at the base of the whiskers, trim to desired length.
Add Whiskers


Read more: No-Sew Sock Cat Tutorial: Adorable DIY Project
Tips
- Use contrasting thread for easier visibility when slip stitching.
- Don't pull the fabric too tight while slip stitching to avoid tearing.
- When sewing on the ears, alternate between stitching through the ear and the sock for better hold.
- For the eyes, pull the thread down to create a sunken look.