Ever dreamt of conjuring up a little magic? Now you can, with this easy-to-follow tutorial on crafting your very own wizard hat! Forget expensive costume shops and complicated patterns; we'll guide you through creating a charming, whimsical wizard hat using just felt, batting, and some basic crafting skills. This project is perfect for beginners, requiring minimal supplies and offering a satisfyingly creative experience. You'll be surprised how quickly you can transform simple materials into a truly enchanting accessory.
Whether you're planning a Halloween costume, a themed party, or simply want to add a touch of magical flair to your everyday life, this DIY felt wizard hat is the perfect project. It’s affordable, customizable, and incredibly fun to make. Ready to get started and add a sprinkle of magic to your wardrobe? Let's dive into the step-by-step instructions!
Preparation and Safety Guidelines
- Felt (charcoal gray, 1 yard)
- Batting (3 loft, 1/2 inch thick)
- String
- Pen
- Scissors
- Sewing machine
- Pins
- Iron
- Needle and thread
- Adult supervision is required, especially for younger crafters using scissors and needles.
- Use caution when working with hot glue; avoid touching the glue until it has completely cooled.
- Keep small crafting supplies away from young children to prevent choking hazards.
Step-by-Step Instructions
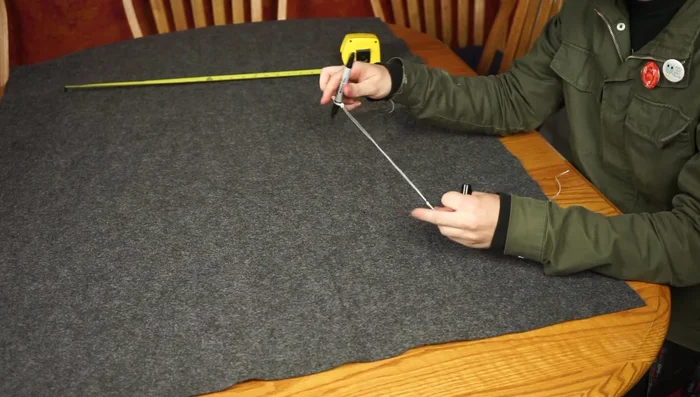
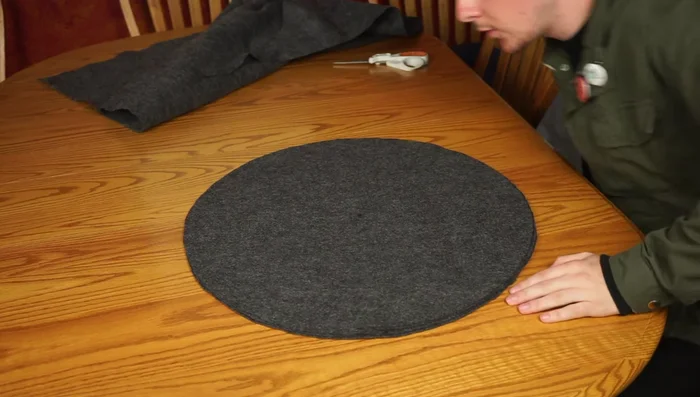
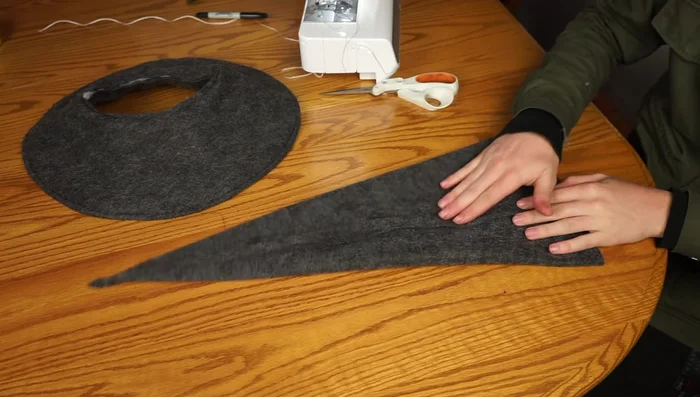
Cut out the brim pieces
- Draw a 20-inch diameter circle on the felt using a string and pen as a compass. Cut out two circles.
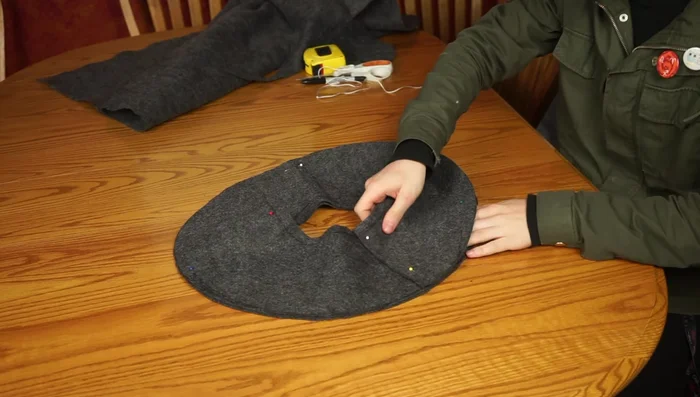
- Cut a 9-inch diameter circle from the center of each felt circle. Cut a slit in one circle.
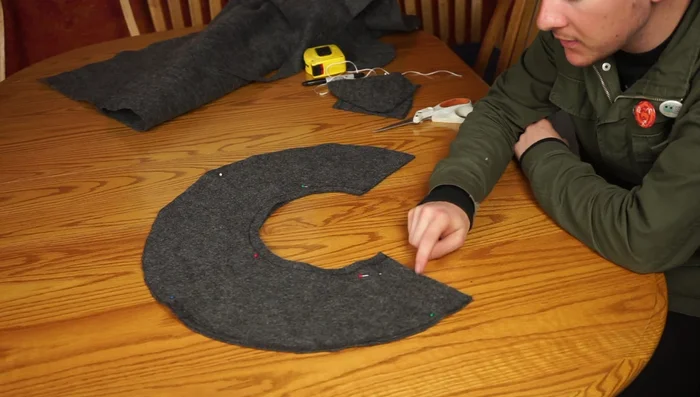
- Cut a slice out of the remaining felt to create a slope for the hat brim. Try it on and adjust until it fits snugly.

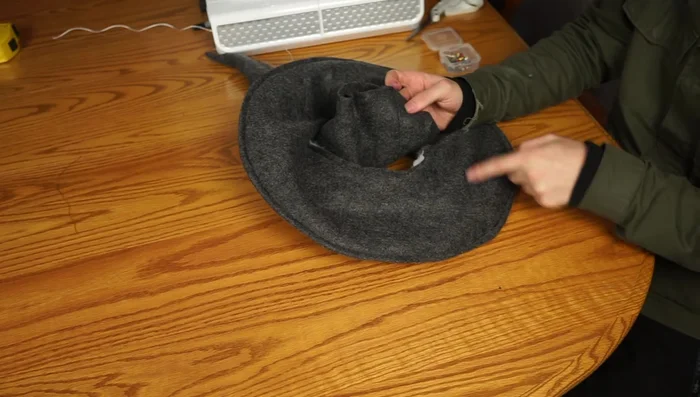
Cut out the brim pieces Assemble the brim
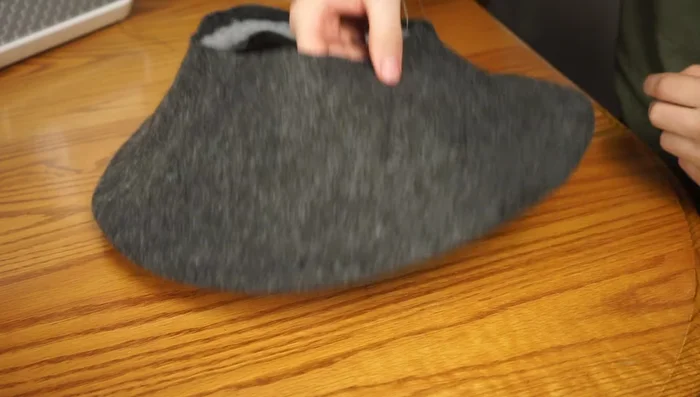
- Sew the two brim pieces together, leaving a 3/4-inch seam allowance. Press the seams open.
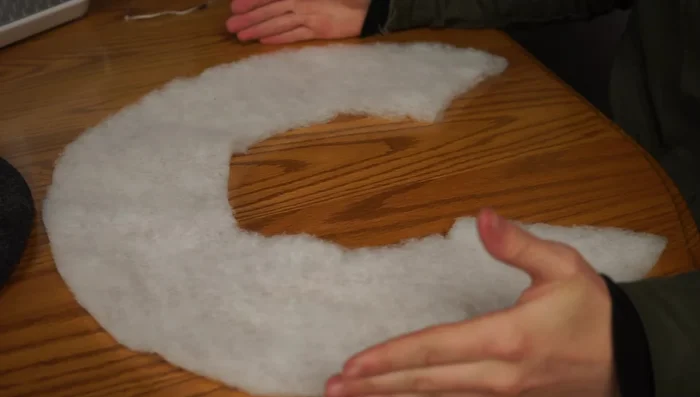
- Create a smaller (20-inch diameter) felt circle for the inner brim, and cut it out. Add batting in between the brim and the inner brim.
- Sew the inner brim to the outer brim, securing the batting.
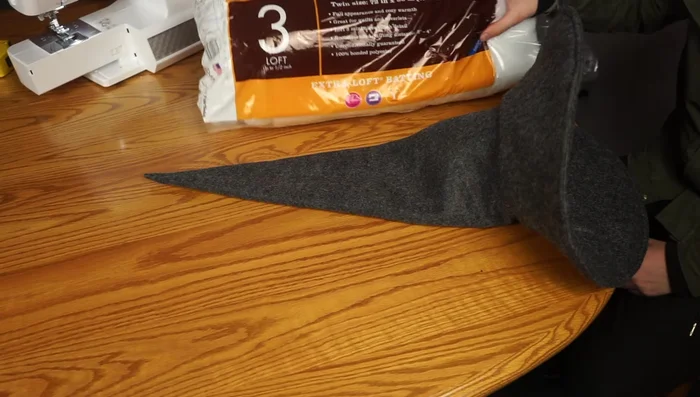
Assemble the brim Create and attach the hat crown
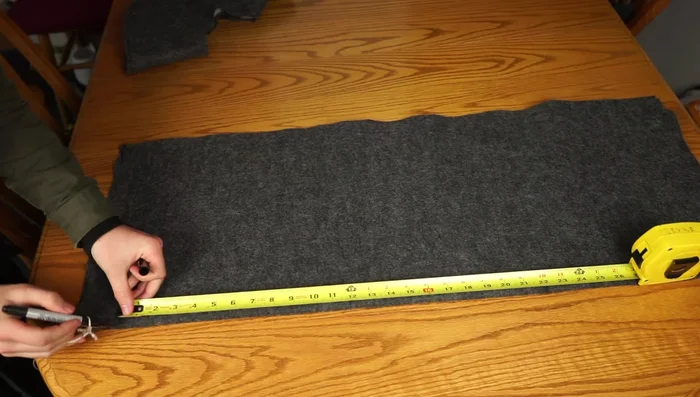
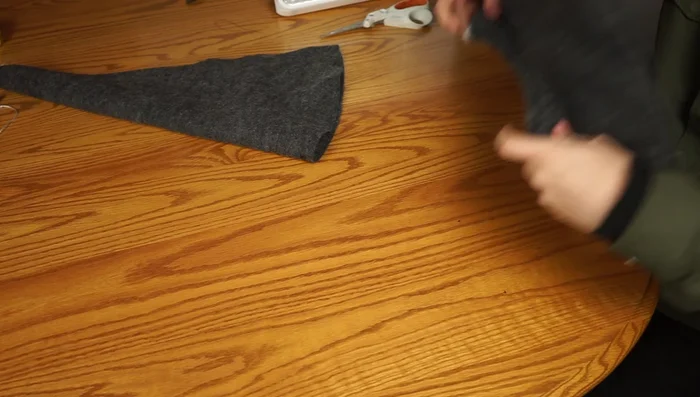
- Cut a 22-inch long cone shape from the felt, tapering down to approximately 12 inches. Sew the edges together.
- Fold the cone in half to determine where to place and sew it to the brim.
- Press the seam flat, turn the hat inside out, and insert the cone into the brim.
- Pin the cone to the brim, matching seams, and sew around the edge to attach the cone to the brim.
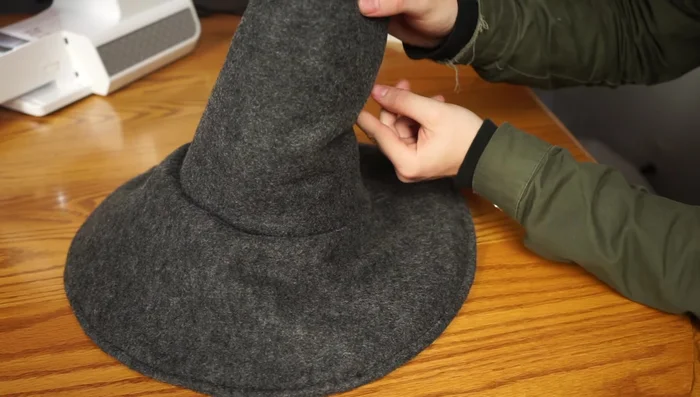
Create and attach the hat crown Finish the hat
- Stuff the hat with batting, then sew on a final felt circle to close the bottom.
- Pinch the point of the hat with needle and thread to create a nice arch.
Finish the hat
Read more: No-Sew DIY Pet Tank Top: Easy Leggings Upcycle!
Tips
- The measurements are suggestions; adjust to fit your head.
- Leave seam allowances for sewing.
- Use a low-temperature iron to press seams to avoid melting the felt.