Tired of the same old neckwear? Want to add a touch of personalized style without breaking the bank? Then look no further! This tutorial will guide you through creating your own effortlessly chic elastic bow tie, perfect for adding a dash of dapper to any outfit. Forget expensive department store purchases and embrace the satisfaction of crafting your own unique accessory. This easy DIY project requires minimal sewing skills and readily available materials, making it ideal for beginners and seasoned crafters alike. You’ll be surprised at how quickly and easily you can transform a simple piece of fabric into a stylish statement piece.
Ready to ditch the pre-made and embrace your inner artisan? This simple, step-by-step guide will walk you through the entire process, from choosing your fabric to securing the final stitch. Get ready to unleash your creativity and learn how to craft a perfectly tailored elastic bow tie in just minutes!
Preparation and Safety Guidelines
- Bow tie pattern (printed)
- Tape
- Scissors
- Elastic
- Sewing machine
- Iron (optional)
- Hot glue
- Use sharp scissors carefully to avoid cuts. Always cut away from yourself.
- Supervise children if they are assisting with this project. Small parts pose a choking hazard.
- If using fabric glue, ensure adequate ventilation and follow the manufacturer's instructions to avoid skin or eye irritation.
Step-by-Step Instructions
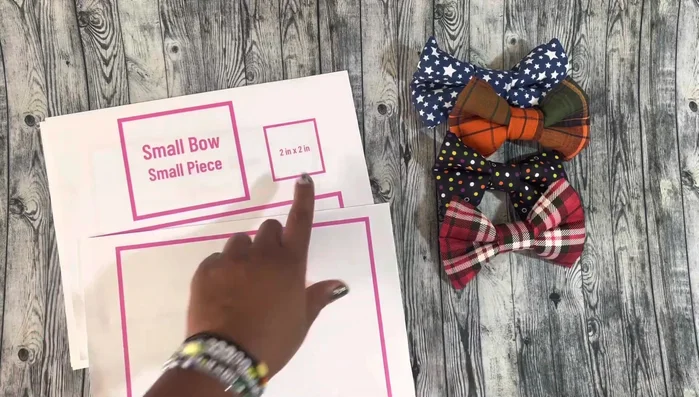
Prepare the Pattern
- Ensure correct printing by checking the 2x2 box.

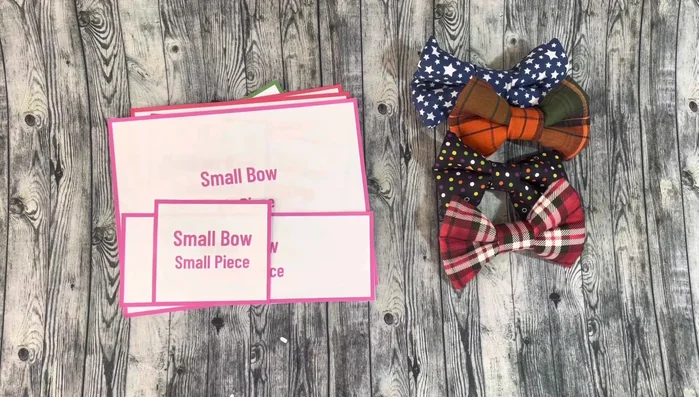
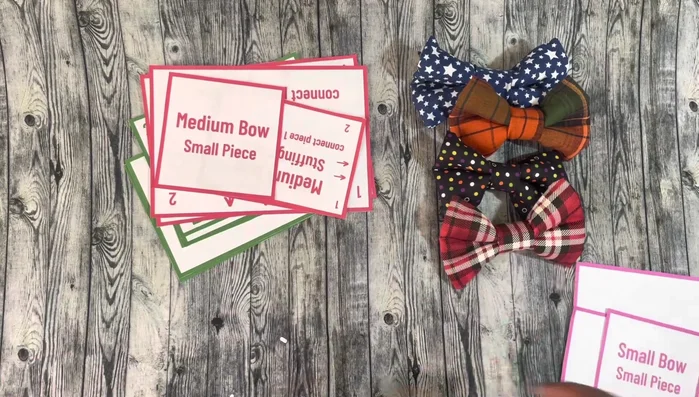
Prepare the Pattern Assemble Bow Tie Pieces
- Match numbers and tape the corresponding pieces together for small, medium, and large sizes.
- The small bow tie pieces are pre-assembled. This piece wraps around the finished bow.
Assemble Bow Tie Pieces Prepare the Large Bow Tie
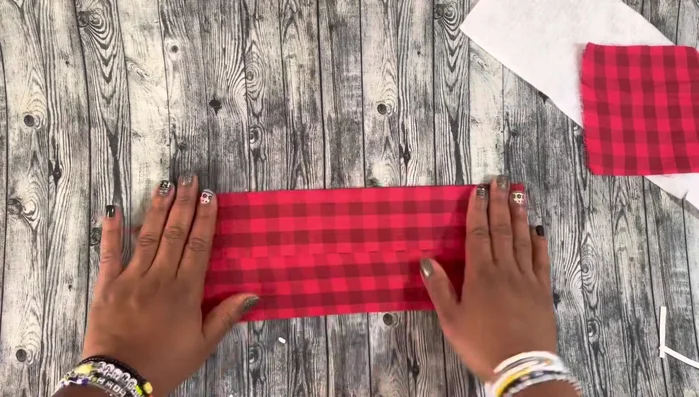
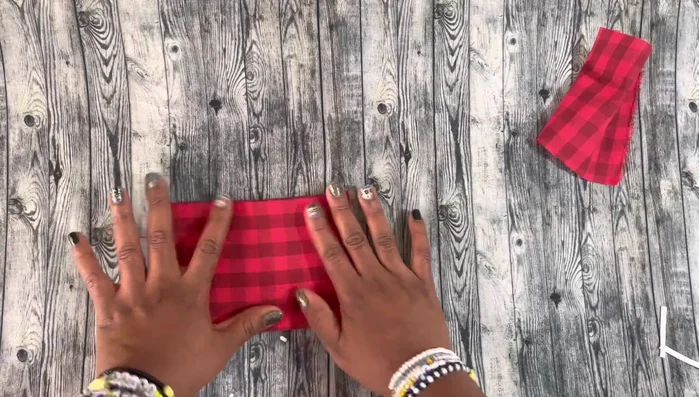
- Create creases by folding and ironing the fabric (optional).
- Place the interfacing inside the folded fabric.
- Create another crease by folding and ironing the fabric.
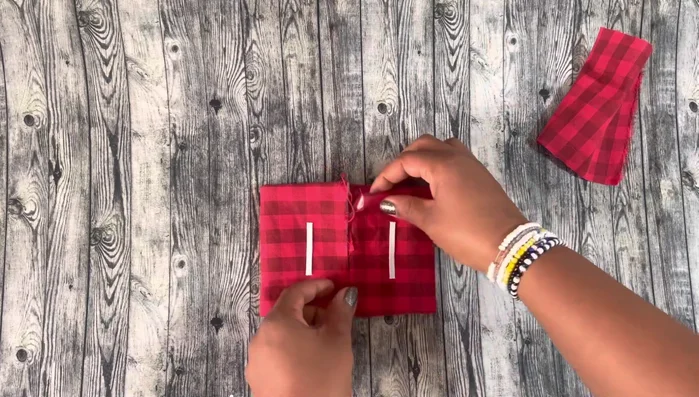
Prepare the Large Bow Tie Attach Elastics
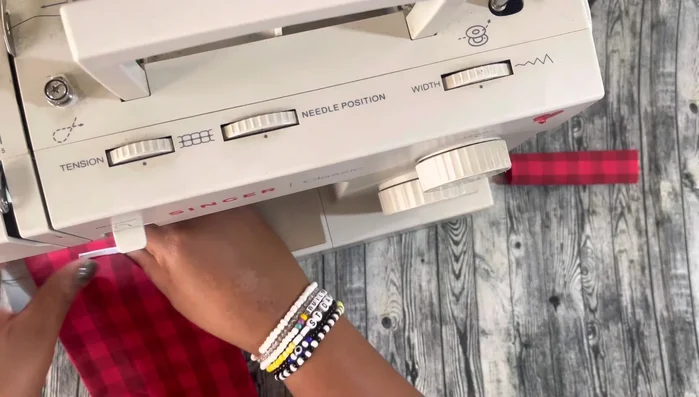
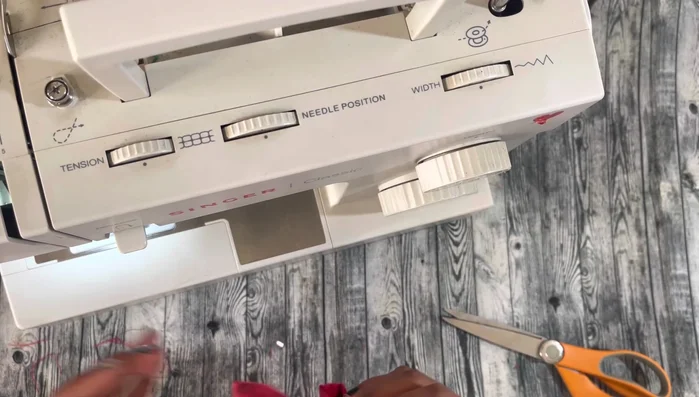
- Insert the elastics and sew them in place.
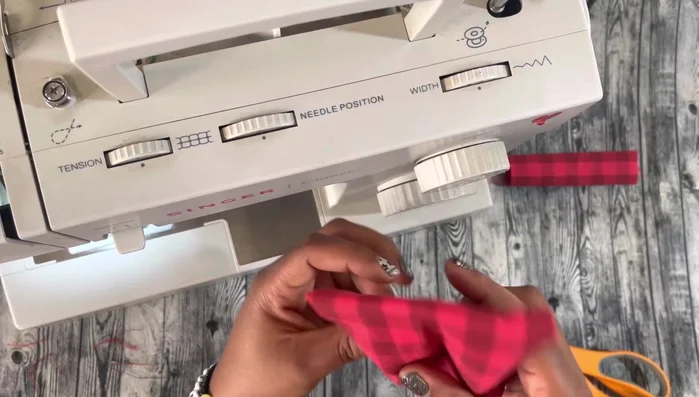
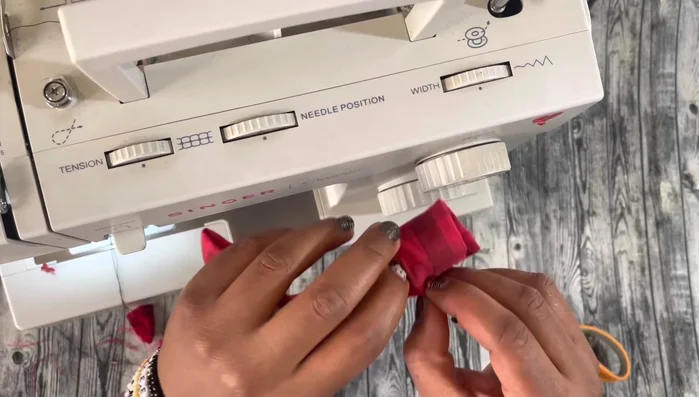
Attach Elastics Attach and Secure the Small Bow Tie
- Sew the small bow tie piece, wrapping it around the center of the large bow piece.
- Sew the folded bow together, cut excess fabric, and secure the small bow piece around the center.
Attach and Secure the Small Bow Tie Style and Finish
- Fold the bow in your preferred style (various methods shown).
- Apply hot glue to the center to prevent the small bow piece from sliding.
Style and Finish

Read more: DIY Studded Dog Collar with Reflective Piping: A Comprehensive Guide
Tips
- Don't worry about precise cutting of the pattern border; it won't significantly affect sizing.
- Ironing creates crisp creases for a neater bow tie, but it's optional.
- Use hot glue to secure the center piece and prevent slippage.