Is your furry friend in need of a new, cuddly companion? Tired of expensive store-bought toys that get shredded in minutes? Then look no further! This easy-to-follow tutorial will guide you through creating an adorable, durable, and completely customizable felt dog toy. Forget complicated patterns and hours of sewing – this project is perfect for beginners and seasoned crafters alike. Using simple materials readily available at most craft stores, you'll be amazed at how quickly you can whip up a delightful toy your dog will adore.
Felt is a wonderfully soft and resilient fabric, making it ideal for creating tough yet lovable dog toys that can withstand even the most enthusiastic chewers. The best part? You get to choose the colors, shapes, and embellishments, creating a truly unique and personalized gift for your beloved canine. Ready to get started on this fun and rewarding project? Let's dive into the step-by-step instructions below!
Preparation and Safety Guidelines
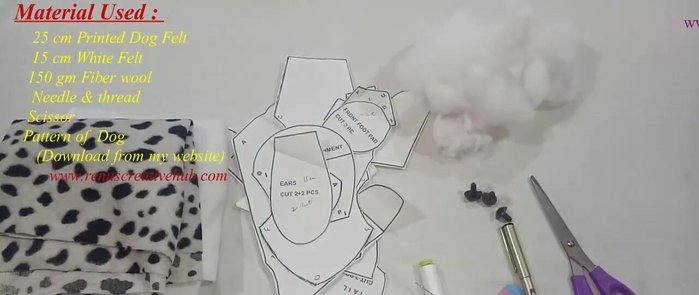
- Felt
- Needle
- Thread
- Scissors
- Fiberfill (optional)
- Sewing machine (optional)
- Always supervise your dog when playing with any toy, including handmade ones. Remove the toy if it becomes damaged or if your dog starts to ingest pieces.
- Avoid using small, detachable parts that could be choking hazards. Felt should be securely sewn, with no loose threads or easily pulled pieces.
- Choose non-toxic felt and thread. Ensure all materials are safe for your dog if ingested. If unsure, consult your veterinarian.
Step-by-Step Instructions
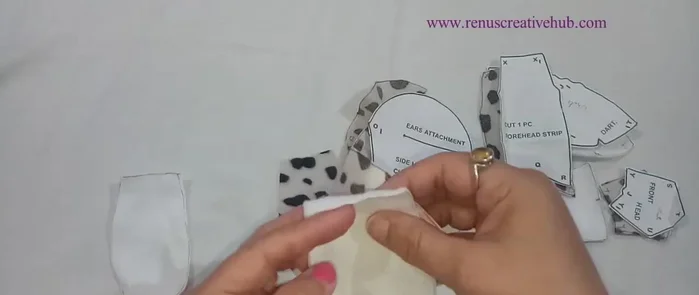
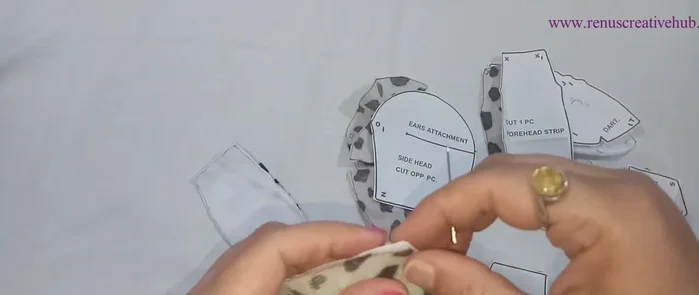
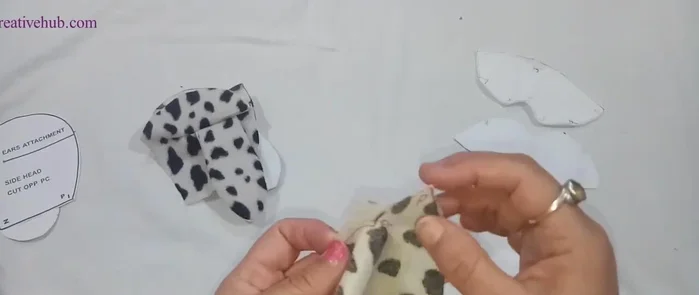
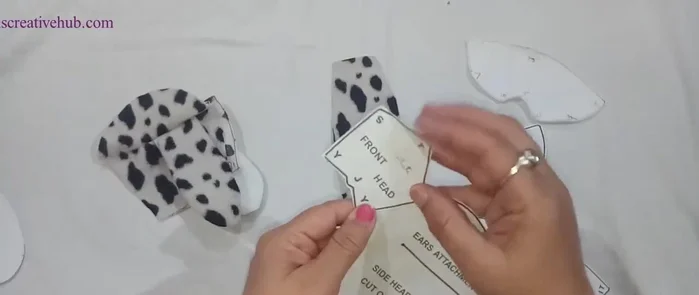
Prepare the Felt Pieces
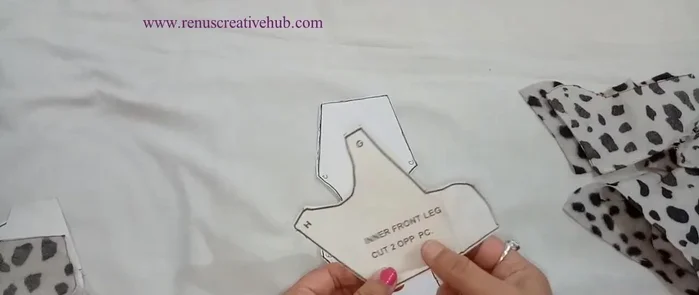
- Cut out felt pieces according to the pattern (available for free download from the website).
- Join the printed felt pieces together.

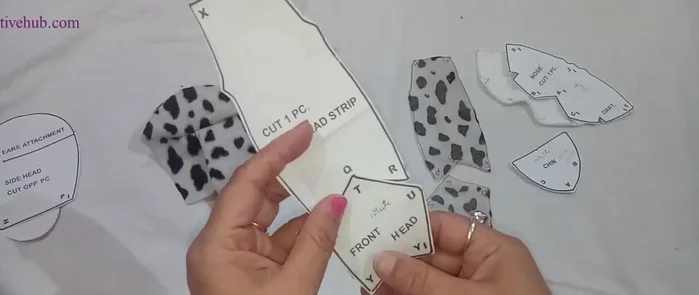
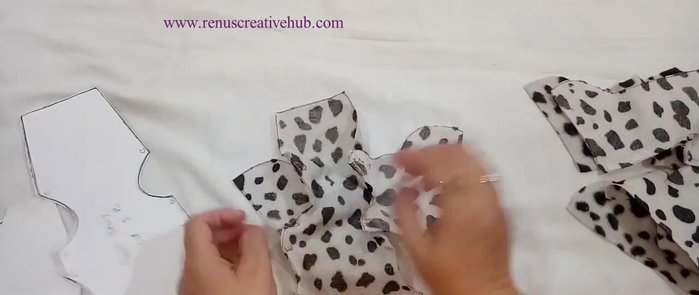
Prepare the Felt Pieces Assemble the Dog's Head
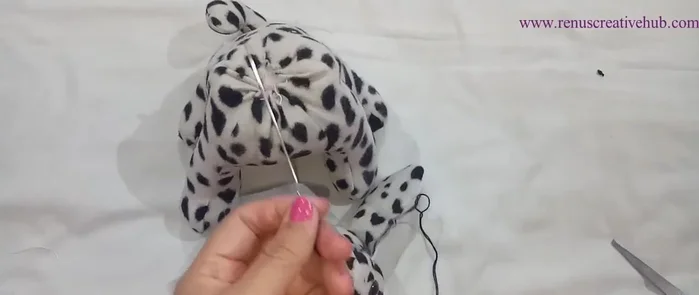
- Sew the pieces together using either a sewing machine or needle and thread. The video demonstrates hand-sewing.
- Attach the forehead strips.
- Add the remaining felt pieces (P, Q, R) to form the dog's face.
- Sew the face details together.
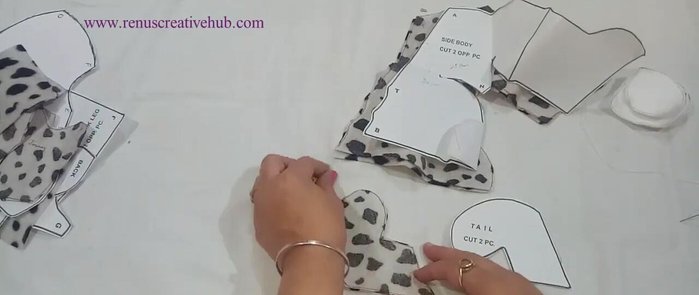
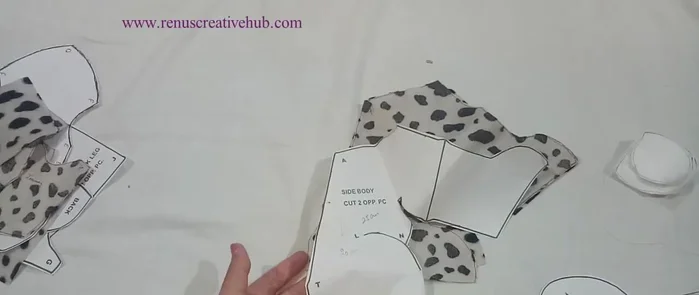
Assemble the Dog's Head Create the Dog's Body
- Prepare the body by cutting and joining two felt pieces, leaving the top open for stuffing.
- Sew the body pieces together, leaving an opening for stuffing.
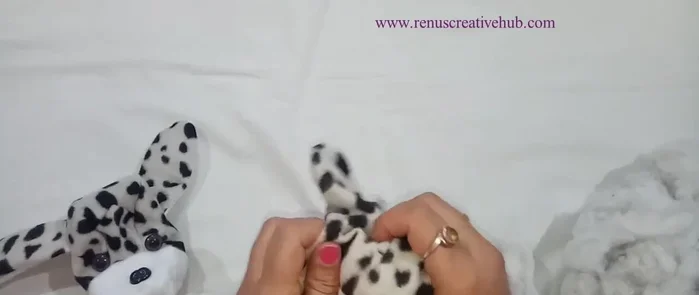
Create the Dog's Body Attach Head to Body
- Attach the head to the body.
- Sew the body and head together, ensuring the seam is secure.
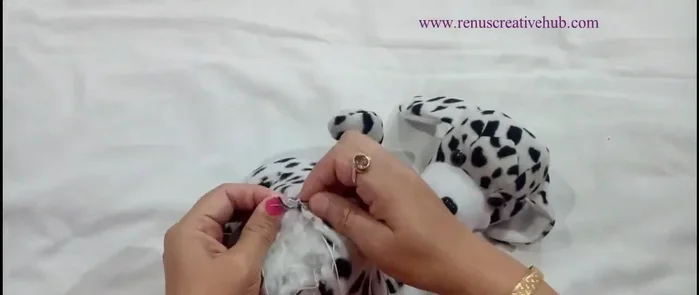
Attach Head to Body Stuff and Finish
- Stuff the toy with fiberfill (optional).
- Close the openings with hand-stitching.
- Add finishing touches and decorative stitches.
Stuff and Finish
Read more: How to Make a Tiny Loom Band Animal Toy (Rainbow Dog Tutorial)
Tips
- Use pins to hold the felt pieces together before sewing for easier stitching.
- A sewing machine makes the process faster, but hand-sewing is perfectly acceptable.
- Take your time and ensure all seams are secure for a durable toy.