Are you ready to add a touch of whimsical charm to your home décor, or perhaps create a unique and heartwarming gift? Then get ready to embark on a delightful quilting journey with this Floppy Deer Cat quilt tutorial! This adorable design, featuring a playful deer cat motif, is surprisingly simple to create, even for beginner quilters. Its charming aesthetic is perfectly suited for children's rooms, nurseries, or anywhere you want to inject a dose of playful personality. Forget complicated patterns and frustrating techniques; this project emphasizes easy-to-follow instructions and manageable steps, making it a perfect weekend crafting project.
Prepare to be amazed by how quickly you can bring this endearing creature to life in fabric form! This step-by-step guide will walk you through each stage of the process, from cutting the fabric to the final quilting and binding, ensuring a beautiful and professional finish. Let’s dive into the fun and create your own delightful Floppy Deer Cat quilt!
Preparation and Safety Guidelines
- Fabric (various colors and patterns)
- Sewing machine
- Scissors
- Iron
- Purple turning tool (optional)
- Pins
- Always use a sharp rotary cutter and cutting mat to prevent injury and ensure clean cuts. Improper cutting tools can lead to accidents.
- When using a sewing machine, keep fingers clear of the needle at all times. Use a seam ripper carefully to avoid pricking yourself.
- Supervise children closely if they are assisting with any part of the project. Small pieces pose a choking hazard.
Step-by-Step Instructions
Prepare Fabric
- Pre-cut fabric pieces according to provided measurements (displayed on screen).
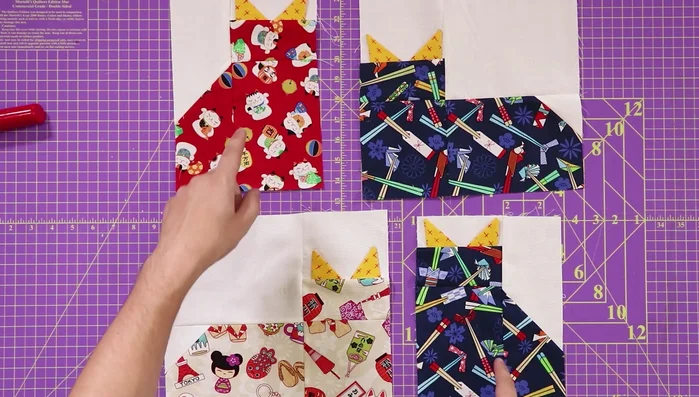
Create a Single Cat (Standing)
- Fold a small square piece in half, sew a 1/4 inch seam down each side, turn right side out.
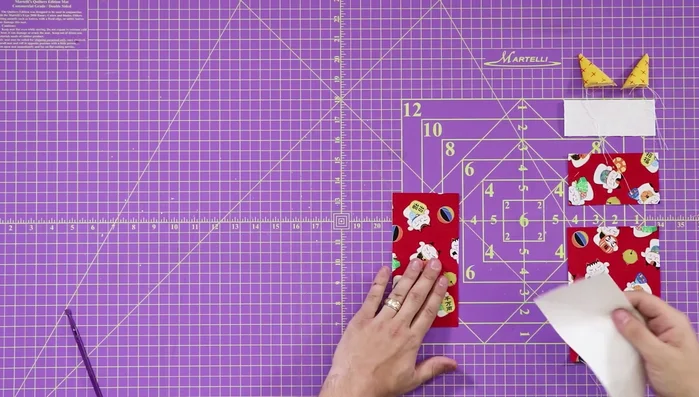
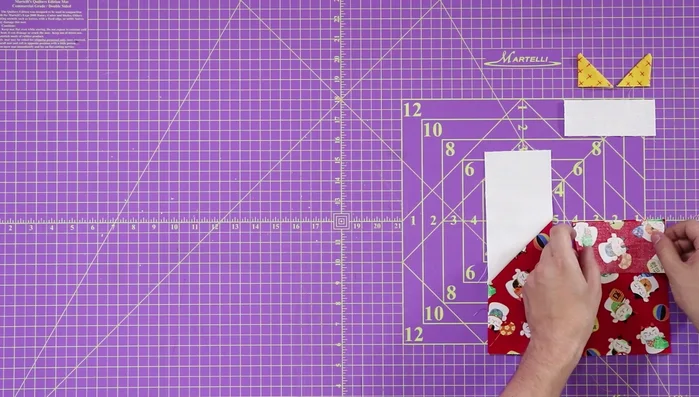
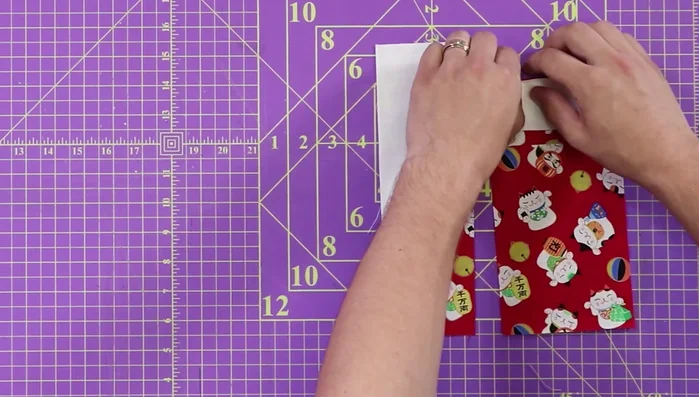
- Sew a white and printed fabric strip together corner-to-corner, creating a bias strip. Trim 1/4 inch from seam and press flat.
- Sew the bias strip to the top of the main body piece using a 1/4 inch seam. Press seam open.
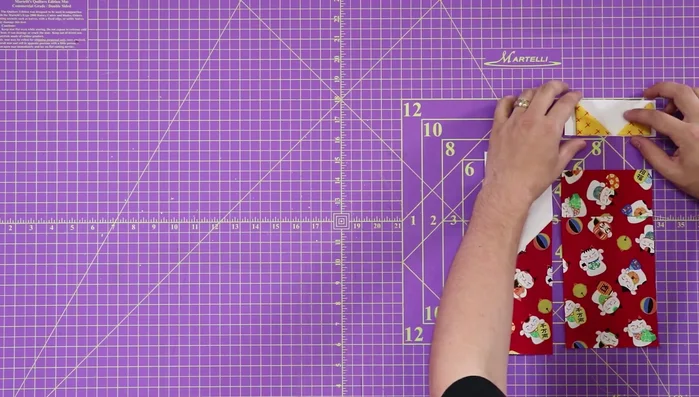
- Tack the ears to the top white portion of the cat's face with an 1/8 inch seam.

Create a Single Cat (Standing) - Sew the ear/face assembly to the main cat body using a 1/4 inch seam. Press seam open.
Create a Single Cat (Standing) Create Multiple Cats
- Repeat steps 2-6 to create multiple cats (both left and right facing).
Assemble Quilt Blocks
- Arrange four cats (two laying down, two standing, facing each other) and sew 2.5 inch sashing strips between them.
Assemble Quilt Blocks Assemble Quilt Rows
- Sew quilt blocks together to create rows (either vertically or horizontally).
Add Sashing Between Rows
- Add sashing between the rows.
Add Border (Optional)
- Add a border (optional).

Read more: No-Sew DIY Pet Tank Top: Easy Leggings Upcycle!
Tips
- Don't clip the corners of the ears if you want rounder ears.
- Use a purple turning tool or similar to turn the ear pieces right side out.
- To create a left- or right-facing cat, change the sewing direction of the bias strip (cat's face).
- Pay attention to seam alignment when assembling the quilt blocks and rows to ensure a neat finish.