Spoiling your feline friend doesn't require expensive store-bought treats. In fact, creating delicious and healthy snacks from your own kitchen is easier than you might think! Cats are notoriously picky eaters, but this simple tuna and flour recipe is almost guaranteed to be a hit. It utilizes readily available ingredients, requiring minimal cooking time and effort, making it the perfect project for even the busiest cat-owner. The best part? You'll know exactly what's going into your kitty's treats, ensuring they're getting wholesome and nutritious snacks.
This recipe focuses on a balanced combination of protein-rich tuna and simple flour, providing a tasty and satisfying treat without any unnecessary additives or preservatives. Forget the long shopping lists and complicated instructions; this straightforward recipe allows you to whip up a batch of homemade cat treats in minutes. Ready to get started on these irresistible tuna and flour delights? Let's dive into the step-by-step instructions!
Preparation and Safety Guidelines
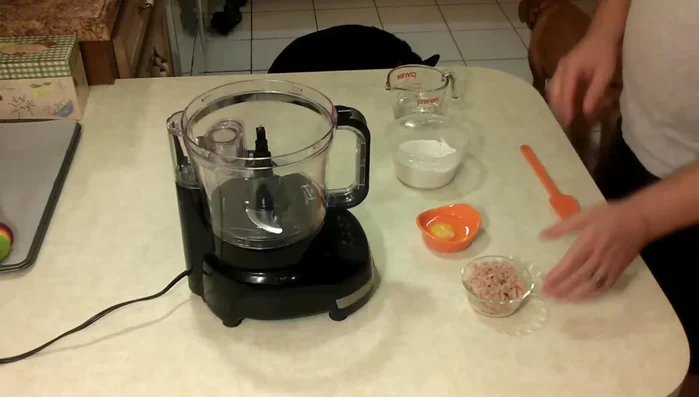
- One can of tuna
- One egg
- One and a quarter cups of flour
- Half a cup of water
- Rolling pin
- Cookie sheet lined with parchment paper
- Food processor
- Treat corer or bottle cap
- Always use canned tuna packed in water, not oil. Oil can cause digestive upset in cats.
- Only give your cat a small amount of these treats. Too much tuna can lead to mercury poisoning over time and an unbalanced diet.
- Introduce new treats gradually to monitor for any allergic reactions or digestive issues. If your cat shows any signs of illness after eating these treats, stop feeding them and consult your veterinarian.
Step-by-Step Instructions
Prepare the Dough
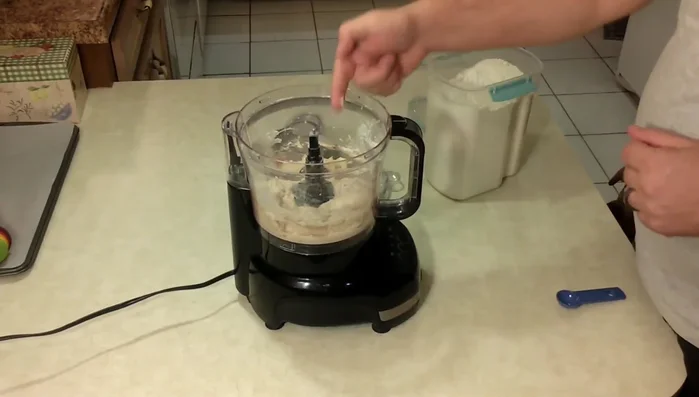
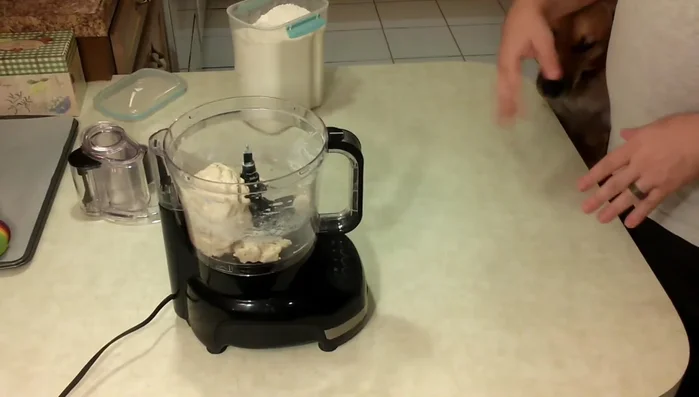
- Mix tuna, flour, and water in the food processor.
- If the dough is too sticky, add a little more flour; if too dry, add a little more water.

Prepare the Dough Preheat Oven & Prepare Baking Surface
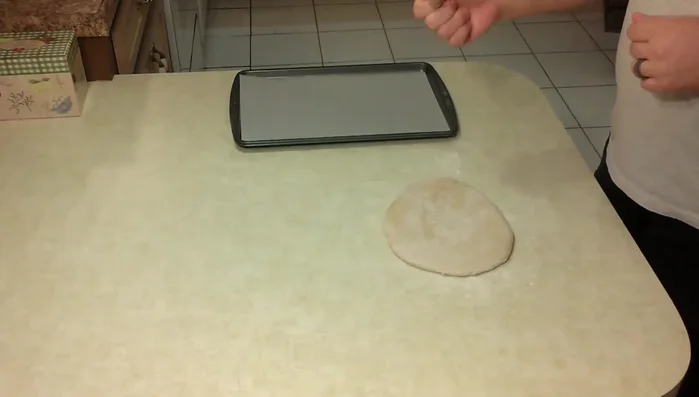
- Lightly dust your work surface with flour. Roll out the dough to approximately 3/8 inch thick.
- Preheat oven to 350 degrees.
Preheat Oven & Prepare Baking Surface Shape & Place Treats
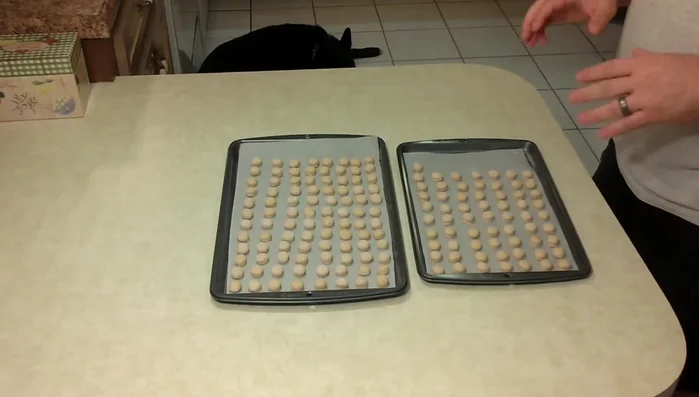
- Cut out treats using a treat corer or bottle cap and place them on the cookie sheet.
Shape & Place Treats Bake the Treats
- Bake at 350 degrees for 15-20 minutes. Don't overbake.
Bake the Treats Cool & Serve
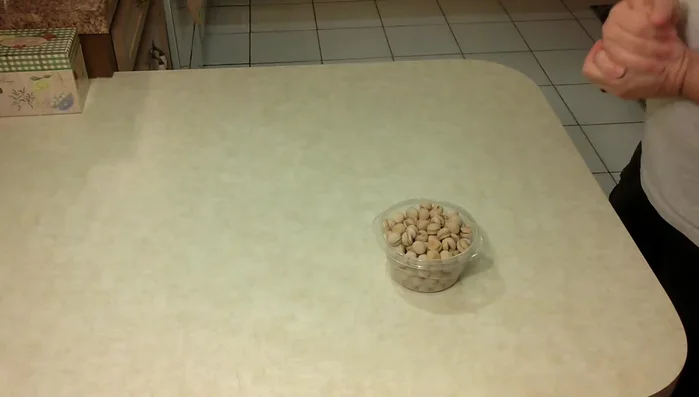
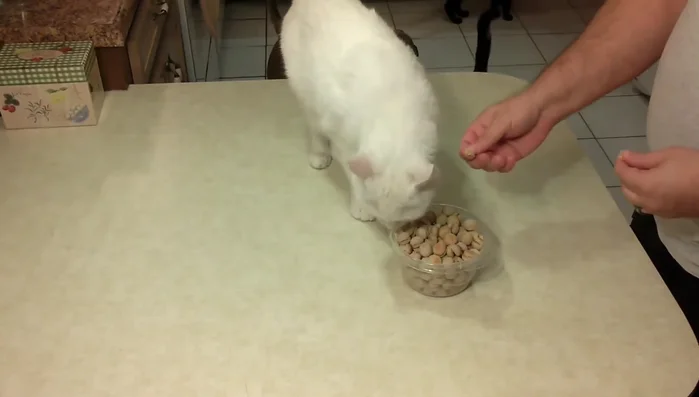
- Let the treats cool completely.
- Serve and enjoy!
Cool & Serve

Read more: Homemade Chicken Broth for Healthy Cats: Boost Immunity & Recovery
Tips
- Add flour gradually to the dough to avoid making it too dry.
- Use an adjustable rolling pin to ensure consistent thickness.
- Don't overbake the treats; otherwise, they will be too hard for the cats.