Does your feline friend deserve a little something extra special? Then get ready to unleash your inner crafter with this delightful DIY project! We’re going to build a miniature catnip box, the purrfectly sized present for your beloved kitty. This isn't your average store-bought toy; we're talking about a charming, handcrafted treasure that will provide hours of entertainment and endless opportunities for adorable batting and rolling. Forget expensive pet store alternatives, this project is budget-friendly, utilizing materials you likely already have at home or can easily source. It's a fun and rewarding activity for both you and your furry companion.
Forget complicated instructions and frustrating assembly. This tutorial focuses on simplicity and ease, ensuring even beginner crafters can create a beautiful and functional catnip box in no time at all. Let's dive into the step-by-step process and transform ordinary materials into an extraordinary catnip-filled paradise. So, grab your crafting supplies and prepare to be amazed by how simple it is to make your cat the happiest kitty on the block!
Preparation and Safety Guidelines
- Sculpy clay
- Fabric paint
- Pom poms
- Tweezers
- Self-seal bags
- Packing tape
- Cardboard paper
- Stapler
- Dowel
- Colored feathers
- Green moss (for catnip)
- Fabric scraps
- Glue gun (optional)
- Needle and thread (optional)
- Keep the finished catnip box out of reach of children and pets who shouldn't ingest catnip. Catnip can be mildly toxic if consumed in large quantities.
- Use non-toxic glue and paints suitable for crafting and pet safety. Ensure all materials are completely dry before allowing your cat access to the box.
- Supervise your cat when they are playing with the catnip box. Remove the box if your cat shows signs of distress or excessive excitement.
Step-by-Step Instructions
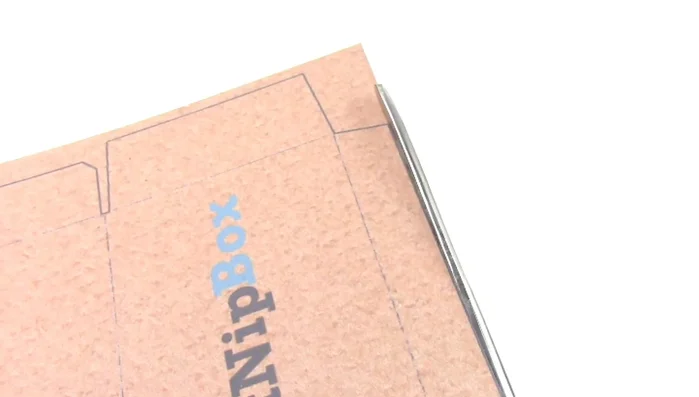
Prepare the Box
- Cut out the box template and fold along the black lines.
- Glue the ends of the box together.

Prepare the Box Make Catnip Snacks
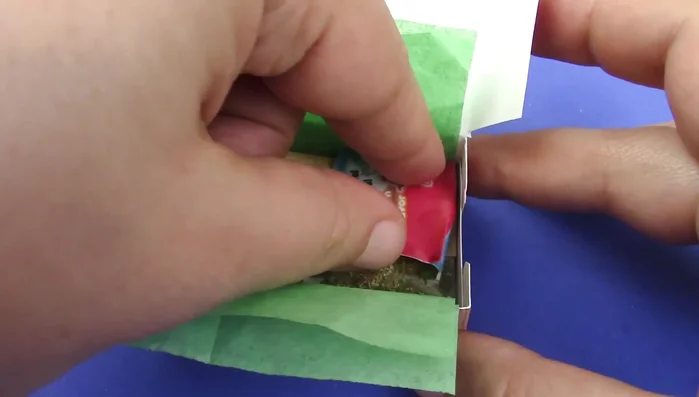
- Create catnip snack packages using self-seal bags, tape, and decorative paper. Cut out the snack shapes and seal the bags.
Make Catnip Snacks Decorate the Box
- Add fabric paint to pom-poms to create decorative elements for the box.
Decorate the Box Make Squishy Catnip Toys
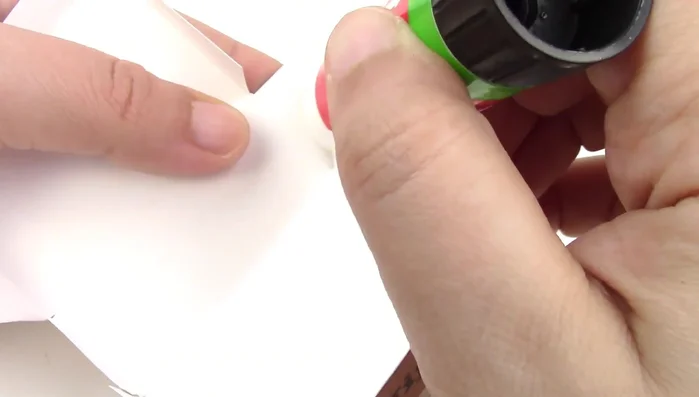
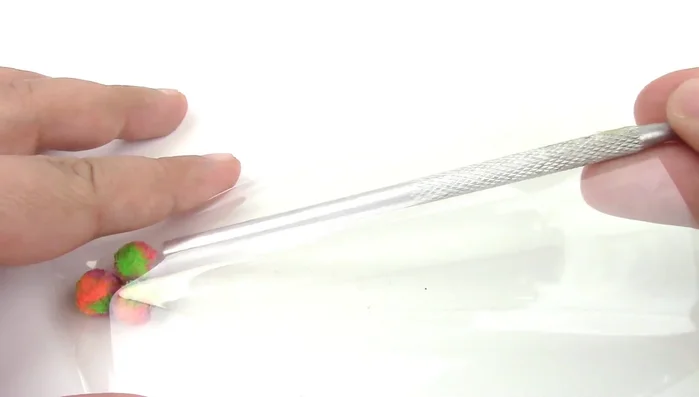
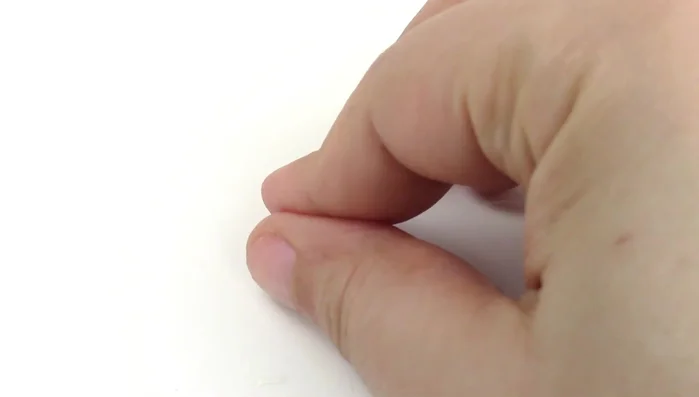
- Make small, squishy catnip toys using self-seal bags and small balls. Seal the bags with packing tape.
Make Squishy Catnip Toys Make Toy Labels
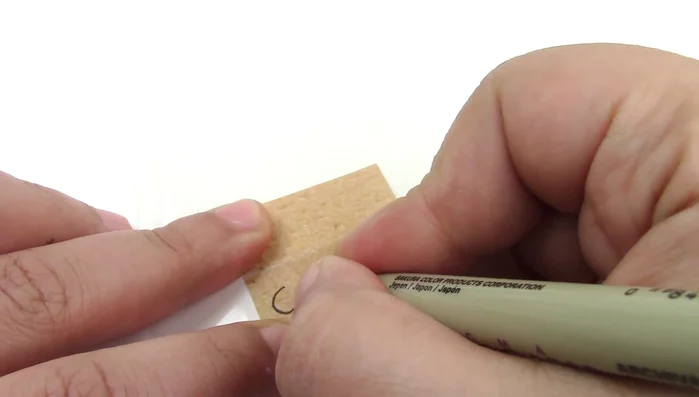
- Create labels for the catnip toys using cardboard paper. Seal with glue or a stapler.
Make Toy Labels Make the Stick Toy
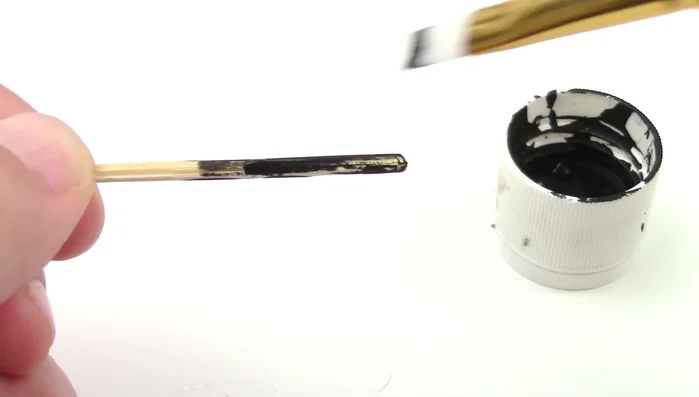
- Make a cat toy stick by painting a dowel black.
Make the Stick Toy Make the Mouse Toy
- Create a miniature mouse toy using polymer clay. Bake for 20 minutes at 275°F. Add details and attach feathers to the back.
Make the Mouse Toy Make Extra Catnip Pouch
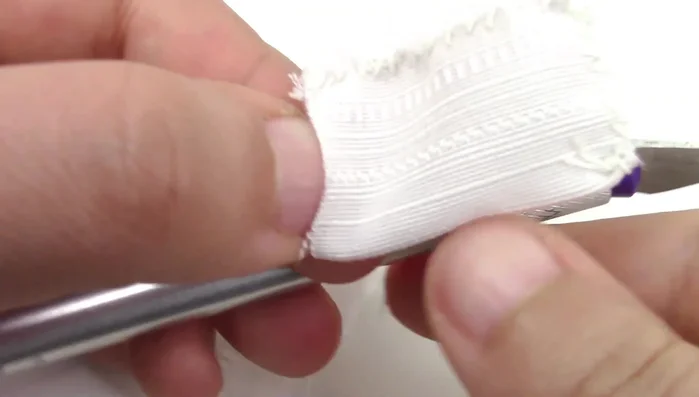
- Create a small fabric pouch for extra catnip using fabric scraps and sewing or a glue gun.
Make Extra Catnip Pouch Assemble the Catnip Box
- Assemble all the elements inside the miniature box.
Assemble the Catnip Box

Read more: No-Sew Sock Cat Tutorial: Adorable DIY Project
Tips
- Use Sculpy clay for durability and easy shaping.
- Fabric paint allows the pom-poms to retain their squishiness.
- Adding the ball first before cutting the self-seal bag helps create the shape for the toy.
- Use thin strips of packing tape to create an almost seamless closure for the catnip toys.
- Glue or sewing methods can be used for the fabric catnip pouch depending on skill level.