Does your feline friend deserve a fun, new toy, but you're short on time and crafting skills? Then look no further! This simple, no-sew tutorial will guide you through creating an adorable and engaging catnip ball in minutes. Forget expensive store-bought toys; we're unleashing your inner DIY master with readily available materials to whip up a purr-fectly playful present for your beloved kitty. This project requires minimal effort and no sewing machine, making it perfect for even the most novice crafters.
Forget complicated patterns and frustrating knots! This easy-to-follow tutorial uses readily accessible items you probably already have around the house. Prepare to be amazed at how quickly you can transform ordinary materials into an irresistible toy your cat will adore. Ready to get started on making this delightful catnip ball? Let's dive into the step-by-step instructions below!
Preparation and Safety Guidelines
- Fabric
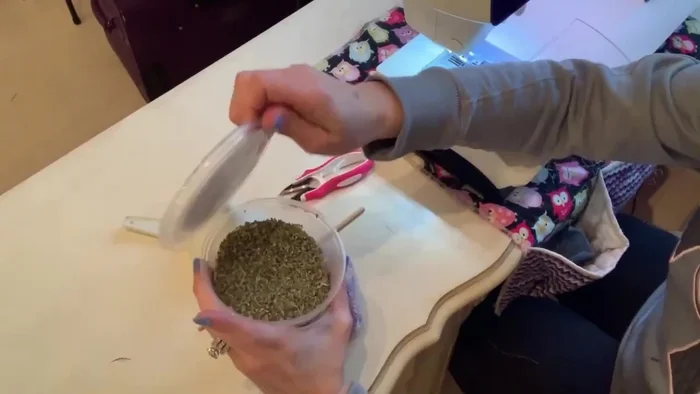
- Catnip
- Polyfill
- Rotary Cutter (or scissors)
- Sewing Machine
- Needle & Thread
- Pattern (downloadable)
- Always supervise your cat when playing with the catnip ball. Remove the toy if it becomes damaged to prevent ingestion of stuffing or string.
- Use only organic catnip of high quality. Avoid using essential oils or other potentially toxic substances.
- Choose materials that are safe for your cat. Avoid small parts that could be a choking hazard.
Step-by-Step Instructions
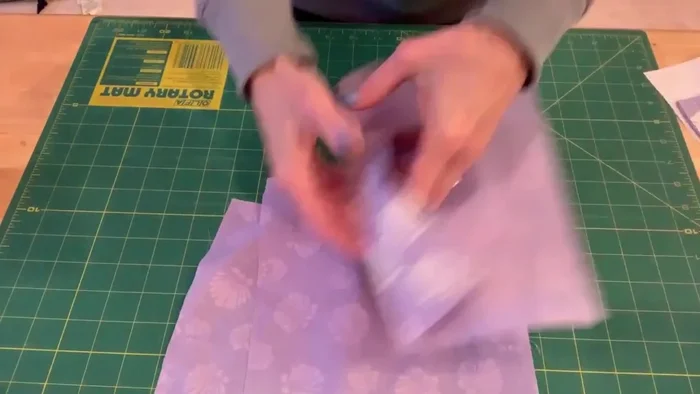
Prepare the Fabric
- Download and print the pattern.
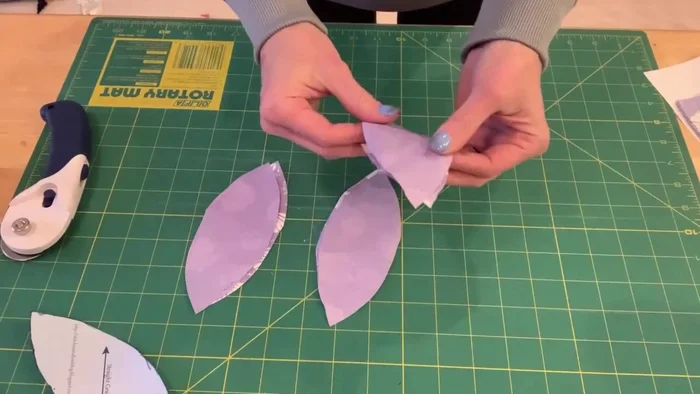
- Cut out six fabric squares using the pattern.

Prepare the Fabric Sew the Sides
- Sew two pieces together, right sides facing, using a 1/4 inch seam allowance. Repeat until you have three pairs of sewn squares.
Sew the Sides Sew the Halves Together
- Sew the three pairs together, matching seams at the top, using a 1/4 inch seam allowance. Sew one side of each pair, leaving the bottom open for turning.
Sew the Halves Together Sew the Final Seam
- Sew the last two open edges together, leaving about a 1-2 inch opening to turn it right side out.
Sew the Final Seam Turn and Shape
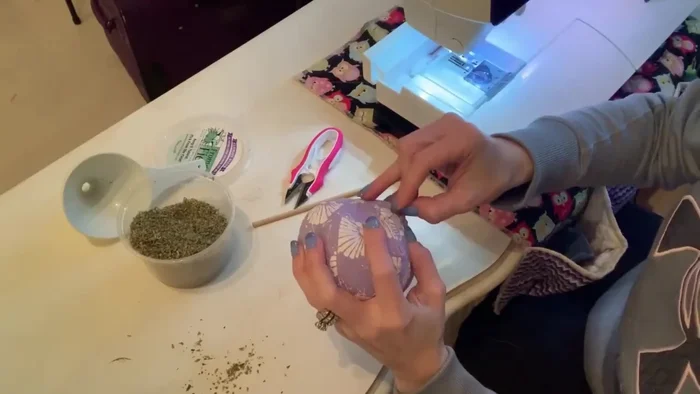
- Clip curves (optional, but helps create a rounder shape) and turn the fabric right side out. Use a poking tool to push out corners.
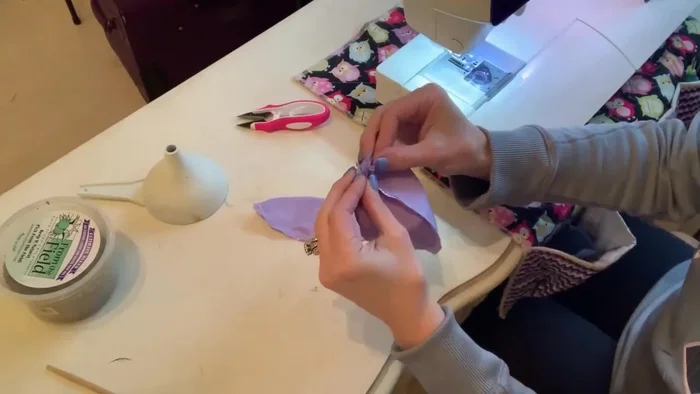
Turn and Shape Stuff the Catnip Ball
- Add catnip and polyfill to the ball. Stuff firmly.
Stuff the Catnip Ball Close the Opening
- Close the opening using a simple hand stitch.
Close the Opening


Read more: No-Sew Sock Cat Tutorial: Adorable DIY Project
Tips
- Use a sharp rotary cutter or scissors for clean cuts.
- If fabric bunches while sewing, put the needle down first before sewing.
- Use a sharp needle for better results. Starting in the middle can help with fabric bunching.
- Don't overfill the ball; leave room for the stuffing. Aim for a firm, not squishy, ball.
- Keep hand stitches small to prevent the cat from getting caught.