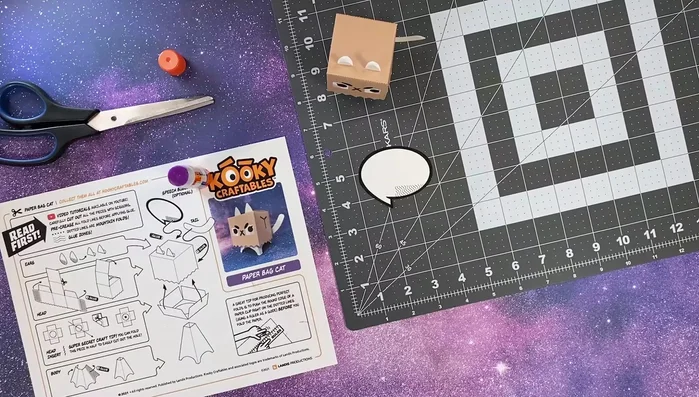
Paper crafts offer a fantastic way to unleash your creativity and produce adorable decorations, all while requiring minimal supplies and effort. This makes them perfect for both seasoned crafters and enthusiastic beginners looking for a fun and rewarding project. Today, we're tackling a particularly charming creation: a cute little paper bag cat! With just a few simple folds and some creative embellishments, you can transform a humble paper bag into a delightful feline friend that’s purr-fect for playtime, gifting, or adding a touch of whimsical charm to your space.
Forget complicated patterns and intricate techniques; this paper bag cat is incredibly easy to make, even for young children. Using readily available materials, you'll be surprised how quickly you can bring this adorable creature to life. Ready to get started on transforming a plain paper bag into a delightful paper cat? Let's dive into the step-by-step instructions below!
Preparation and Safety Guidelines
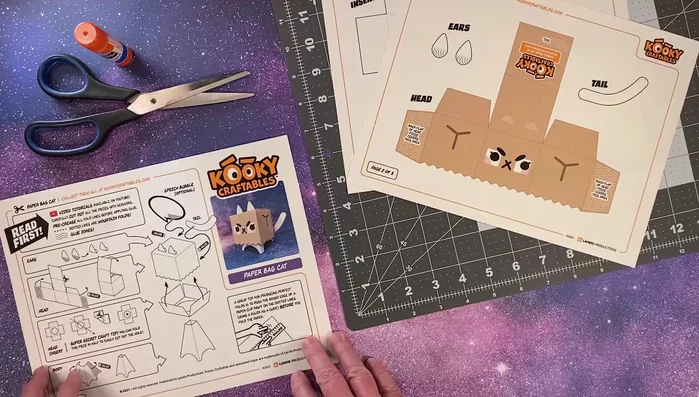
- Scissors
- Ruler
- Paperclip
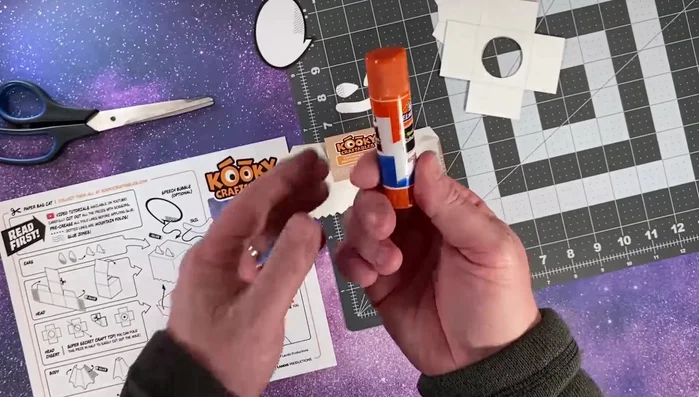
- Glue stick (Elmer's washable recommended)
- 65lb uncoated cardstock (optional, any paper works)
- Adult supervision is recommended, especially for younger children using scissors and glue.
- Use sharp scissors carefully to avoid cuts. Always cut away from yourself.
- Dispose of any sharp objects and scraps safely after crafting.
Step-by-Step Instructions
Preparation
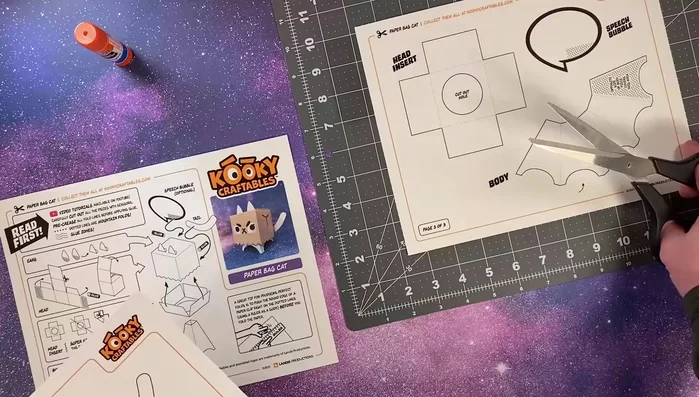
- Print out the free downloadable PDF from kooky craftables.
- Cut the printed sheets into manageable chunks.
- Carefully cut out all the individual pieces using scissors.
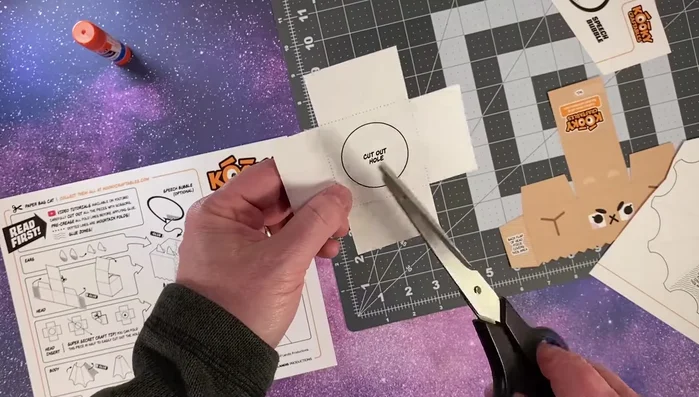
- For pieces with holes (like the head insert), fold in half, cut the half-circle, then unfold for the hole.

Preparation Scoring and Folding
- Make mountain folds along all dotted lines using a ruler and the round edge of a paperclip to create score lines.
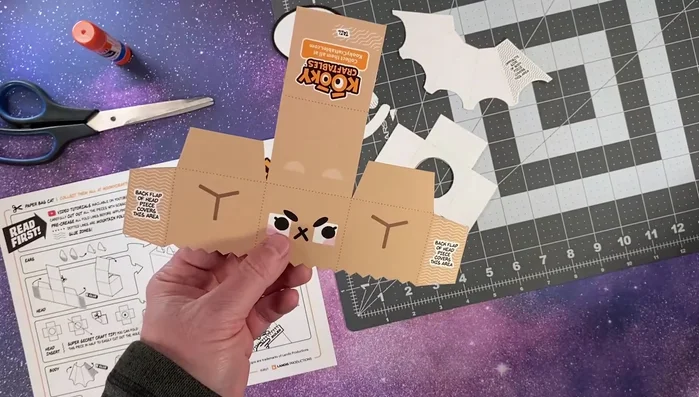
Scoring and Folding Assembling the Head
- Apply glue to the glue tabs (they're designed to be large for easy glue stick application).
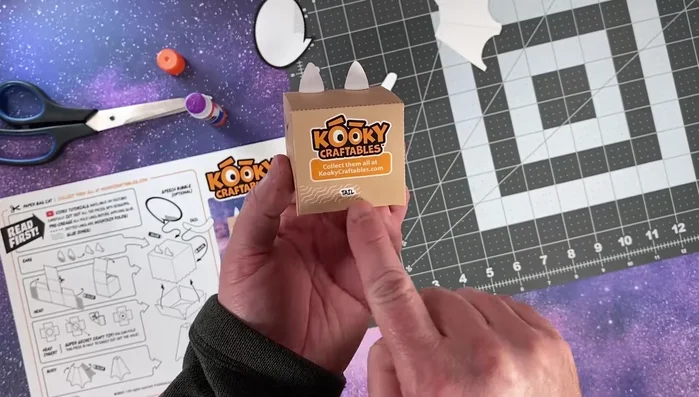
- Form the head and head insert into boxy shapes and slide them together.
- Fold and glue the ears onto the head.
Assembling the Head Assembling the Body
- Fold and glue the body into a square pyramid shape.
Assembling the Body Final Assembly
- Glue the tail to the back of the body.
- Place the head onto the body.
- Add the optional speech bubble for added personality.
Final Assembly


Read more: No-Sew Sock Cat Tutorial: Adorable DIY Project
Tips
- Use 65lb uncoated cardstock for best results, but any paper will work.
- Cut the paper into smaller sections first to make cutting easier.
- Use a ruler and paperclip to create crisp score lines for perfect folds.
- Elmer's washable purple glue stick makes glue application easy to see.