Are you tired of flimsy, unreliable dog leashes that constantly break or snag? Do you crave a durable, customizable leash that reflects your personal style and your dog's energetic spirit? Then look no further! This tutorial will guide you through creating a quick and easy paracord dog leash featuring a secure and stylish frog clip. Paracord, known for its strength and versatility, is the perfect material for crafting a leash that can withstand even the most enthusiastic of canine adventures, ensuring both your safety and your dog's. It's surprisingly simple to make, requiring minimal tools and supplies.
This simple project allows for complete customization, letting you choose the colours and length to match your dog's collar and your own aesthetic preferences. Forget expensive store-bought leashes; you'll be amazed at how quickly and easily you can create a strong, reliable, and attractive leash tailored to your needs. Ready to get started? Let's dive into the step-by-step instructions to make your own paracord dog leash.
Preparation and Safety Guidelines
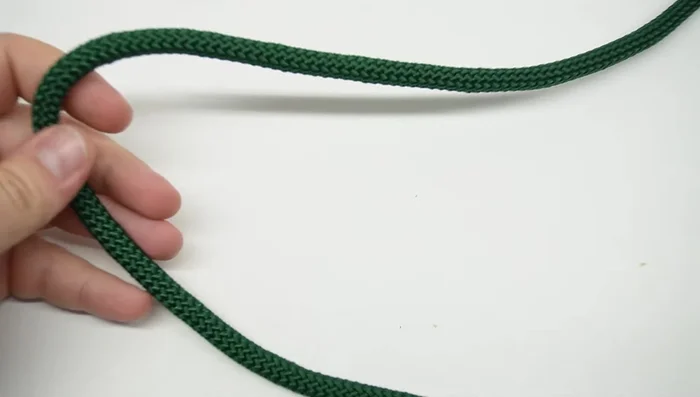
- 3/8 Polypropylene rope (6-7ft)
- Frog Clip
- Paracord (white, 3ft)
- Lighter
- Smoothing Tool
- Pliers
- Always supervise your dog while using this leash. Paracord, while strong, can be chewed through by determined dogs. Regular inspection for wear and tear is crucial.
- Ensure the frog clip is securely fastened to both the leash and your dog's collar or harness. A poorly attached clip could result in your dog escaping.
- This leash is intended for everyday walks and should not be used for activities involving strong pulling or high-impact forces. Consider a stronger leash for such situations.
Step-by-Step Instructions
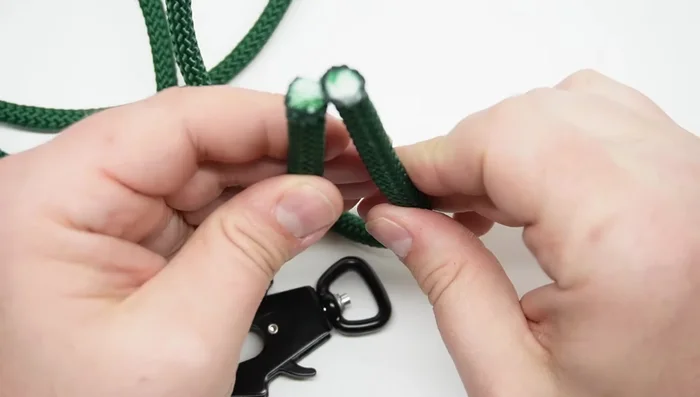
Prepare the Rope
- Melt the ends of the polypropylene rope to prevent fraying.

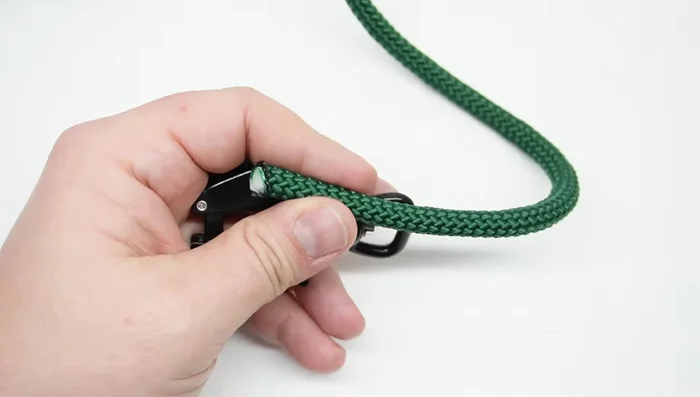
Prepare the Rope Attach Rope to Clip
- Attach the rope to the frog clip using a cow's hitch.
- Add extra rope to the clip for whipping.
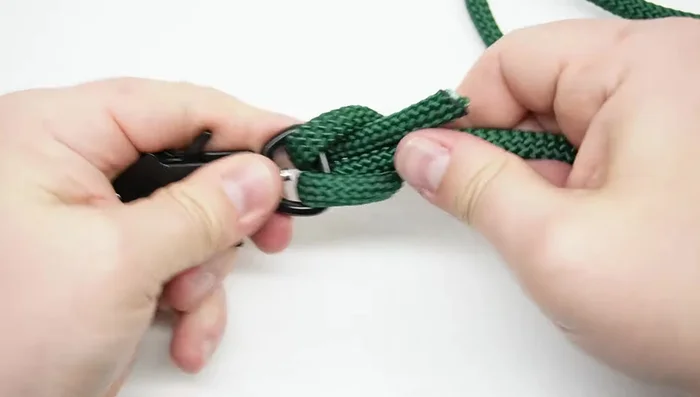
Attach Rope to Clip Whip the Clip
- Whip the rope to the clip using paracord. Create a loop on one end and wrap the paracord around the rope, securing it with a locking method. Pull tight and cut/seal the excess paracord.
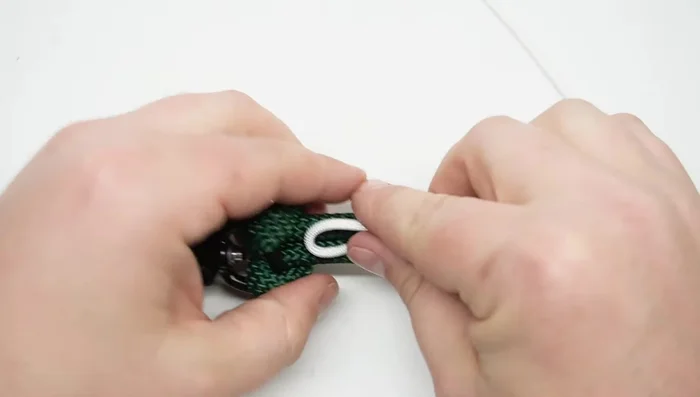
Whip the Clip Create the Handle
- Create the handle by repeating the whipping technique but instead of attaching it to the clip, create a loop. Aim for 9 wraps of paracord for the handle.
Create the Handle Seal the Ends
- Seal the ends of the paracord on both the clip and handle sections using a lighter and smoothing tool.
Seal the Ends

Read more: DIY Studded Dog Collar with Reflective Piping: A Comprehensive Guide
Tips
- Use a smoothing tool to fuse the melted paracord ends to the rope for a secure finish.
- When whipping, keep tension on the paracord to prevent twisting and ensure a tight wrap. Work the cord around your fingers to tighten it further
- For the handle, leave enough space for a comfortable grip. Aim for a size where your whole hand can fit through.