Have you ever dreamt of creating something utterly charming and utterly unique? Today, we're diving into the world of whimsical crafting with a project that's sure to melt hearts: an adorable puppy ribbon sculpture! This delightful project is perfect for ribbon enthusiasts, beginner crafters, or anyone looking for a fun and rewarding afternoon activity. Imagine the adorable little puppy you'll create, its floppy ears and playful expression captured entirely in vibrant, textured ribbon. No special tools or extensive experience are needed; just a little patience and a whole lot of creativity.
This step-by-step guide will take you through each stage of crafting your own endearing ribbon puppy, from preparing the materials to adding the final touches. With clear instructions and helpful images, you'll be surprised at how easily this sweet sculpture comes to life. So gather your supplies and prepare to unleash your inner artist as we embark on this fun and fulfilling crafting journey together!
Preparation and Safety Guidelines
- 38-inch grosgrain ribbon (9mm)
- Four 3-inch ribbon pieces (two different colors)
- Two 2 1/2-inch ribbon pieces
- Two 2-inch ribbon pieces
- Hot glue gun
- Lighter
- Google eyes
- Small black pom-pom
- Small simple bow
- Scrap of red or pink ribbon
- Tweezers (optional)
- Scissors
- Alligator clip
- Always supervise young children around ribbon and crafting materials to prevent choking or ingestion hazards.
- Use sharp scissors with caution and keep them away from children's reach. Adult supervision is crucial during cutting.
- Ensure the finished puppy sculpture is securely fastened and won't easily unravel or present a strangulation risk to pets or children.
Step-by-Step Instructions
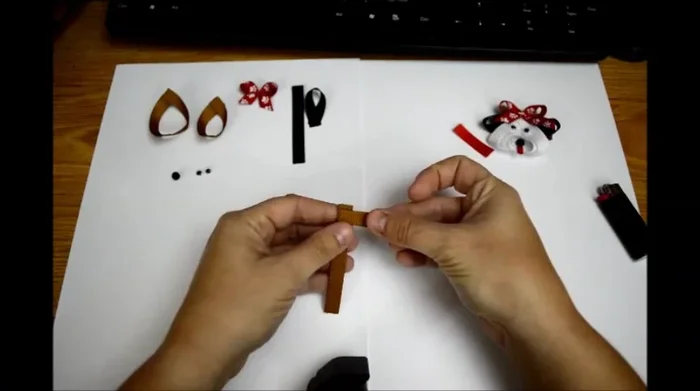
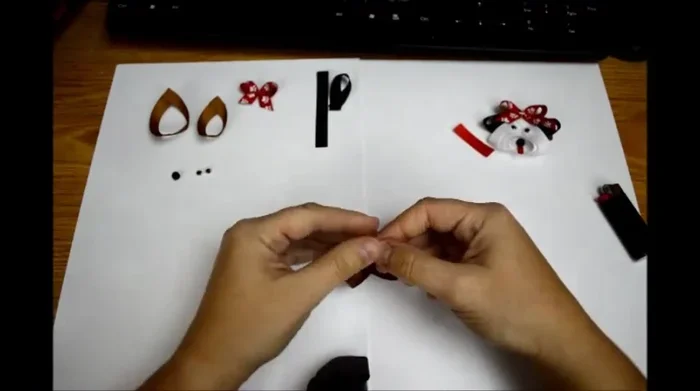
Prepare Ribbon Pieces
- Glue the ends of two same-sized pieces together to form an 'L' shape. Repeat with other pairs.

Prepare Ribbon Pieces Create the Puppy Body
- Glue the largest pieces (3-inch) together, then nest the 2 1/2-inch and 2-inch pieces in the center, ensuring points line up.
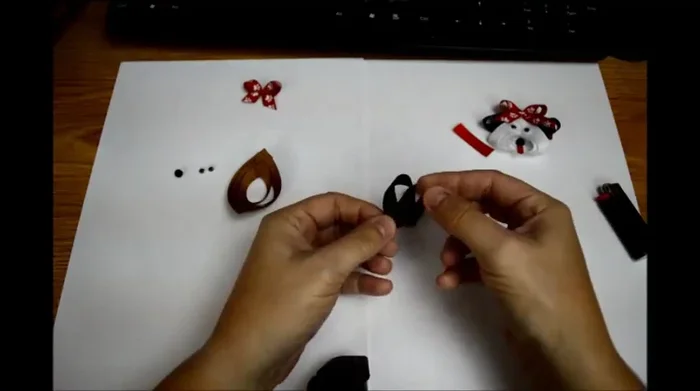
Create the Puppy Body Make the Ears
- Create an awareness fold with two 3-inch pieces, shaping them like ears and gluing them down.
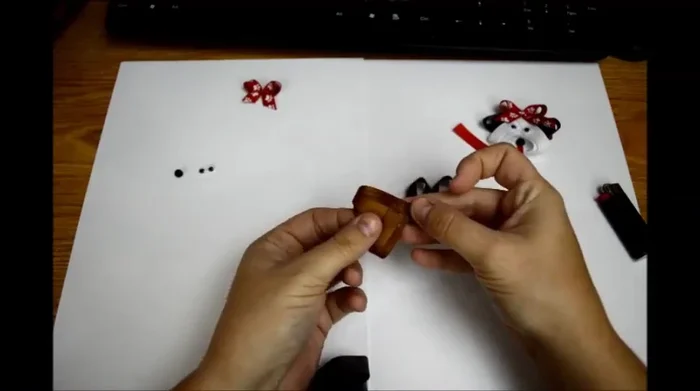
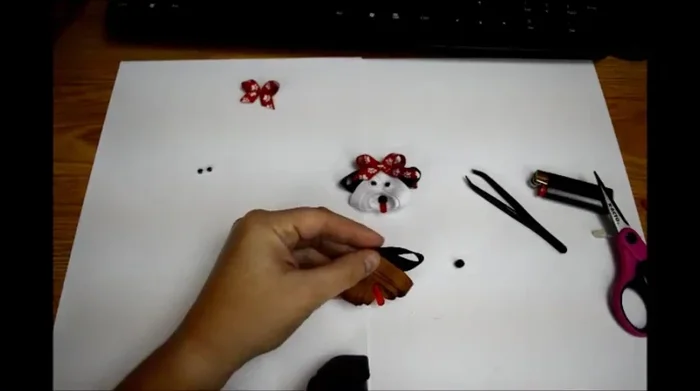
Make the Ears Assemble the Head
- Hold the body with the curve upward, fold over, and glue the point to the center of the body. This creates the space for the face.
Assemble the Head Attach the Ears
- Glue the ears to the back of the head, adjusting their position for desired look.
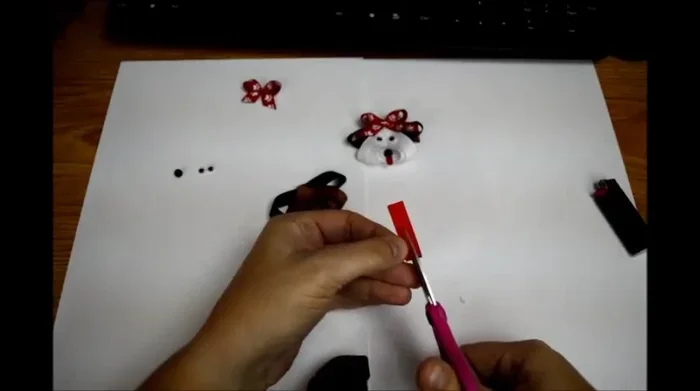
Attach the Ears Create and Attach the Tongue
- Cut a thin strip of red ribbon, heat seal the edges, and round the bottom. Glue it under the mouth.
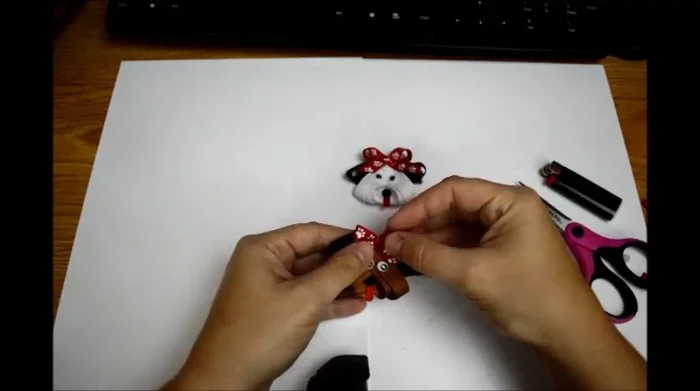
Create and Attach the Tongue Add Facial Features
- Glue a small black pom-pom to the center of the face as a nose. Attach google eyes.
Add Facial Features Add a Bow (Optional)
- Attach a small bow to the top of the head for a more feminine touch.
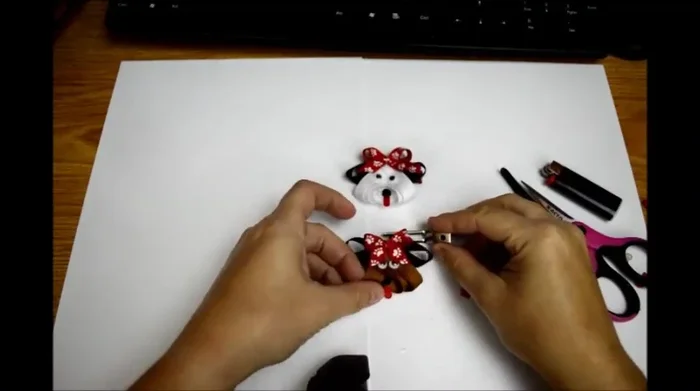
Add a Bow (Optional) Attach Alligator Clip
- Secure a partially lined alligator clip to the back for easy attachment.
Attach Alligator Clip

Read more: DIY Studded Dog Collar with Reflective Piping: A Comprehensive Guide
Tips
- Heat seal ribbon edges to prevent fraying.
- Use tweezers to precisely position small details like eyes and nose.
- Adjust glue placement to achieve desired droopiness of the face.