Indulge your sweet tooth without the guilt! This recipe delivers a delicious and surprisingly healthy chocolate crunch bar, packed with the nutritional goodness of quinoa. Forget those sugary, processed snacks loaded with artificial ingredients; this recipe offers a wholesome alternative that satisfies your cravings while nourishing your body. We’re talking a delightful blend of crunchy quinoa, rich dark chocolate, and subtly sweet additions that create a truly irresistible treat. This recipe is perfect for a quick and healthy snack, a satisfying dessert, or even a thoughtful homemade gift.
Quinoa, a complete protein, adds a satisfying texture and a boost of fiber and nutrients, making this more than just a candy bar. Ready to transform your snacking habits and experience the joy of a truly guilt-free indulgence? Let's dive into the step-by-step process of creating your own batch of these heavenly Quinoa-Based Chocolate Crunch Bars.
Preparation and Safety Guidelines
- Pan
- Whisk
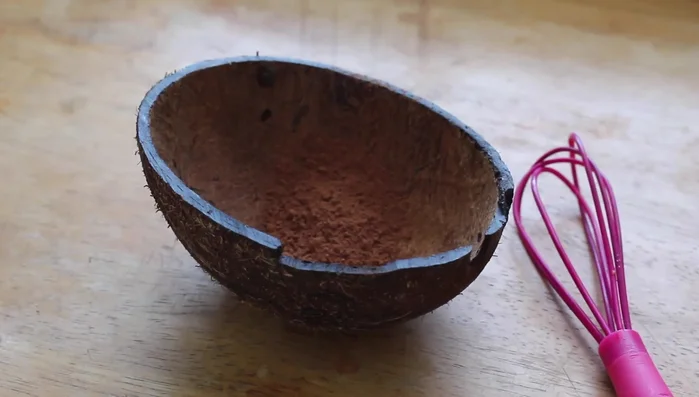
- Molds
- Ensure quinoa is thoroughly cooked before adding it to the mixture. Undercooked quinoa can have a gritty texture and may not bind properly in the bar.
- If using a nut butter other than peanut butter, ensure it's at room temperature for easy mixing. Cold nut butters can be difficult to incorporate smoothly.
- Store the bars in an airtight container in the refrigerator to maintain freshness and prevent them from becoming stale. They should stay fresh for up to a week.
Step-by-Step Instructions
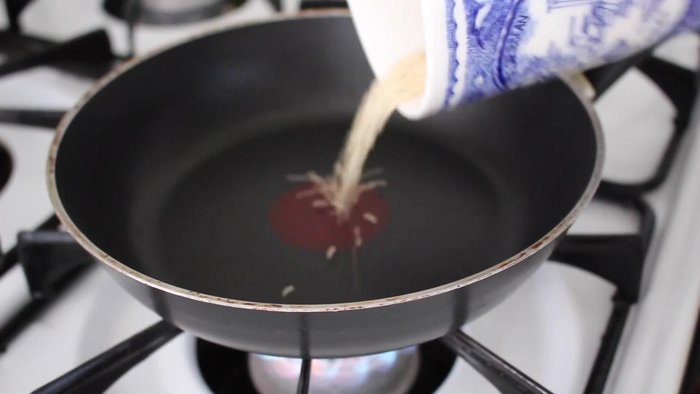
Toast the Quinoa
- Heat up your pan and add rinsed and dried quinoa. Toast the quinoa until it pops like popcorn, then remove from heat and let it cool.

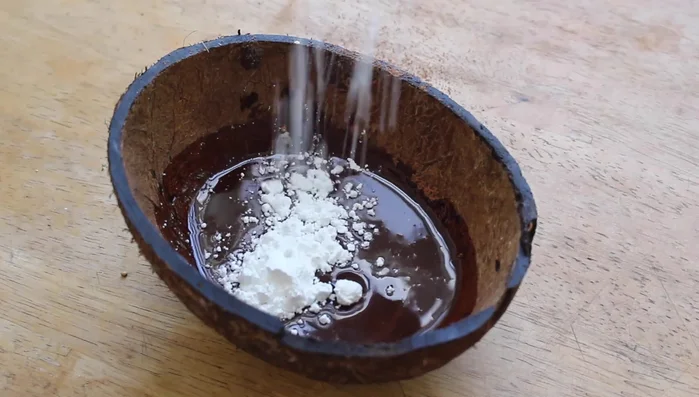
Toast the Quinoa Prepare the Chocolate Base
- Add 2 tbsp unsweetened cacao or cocoa powder, 2 tbsp melted unrefined coconut oil, a pinch of sea salt, and your preferred sweetener (powdered sugar used in the video) to the cooled quinoa.
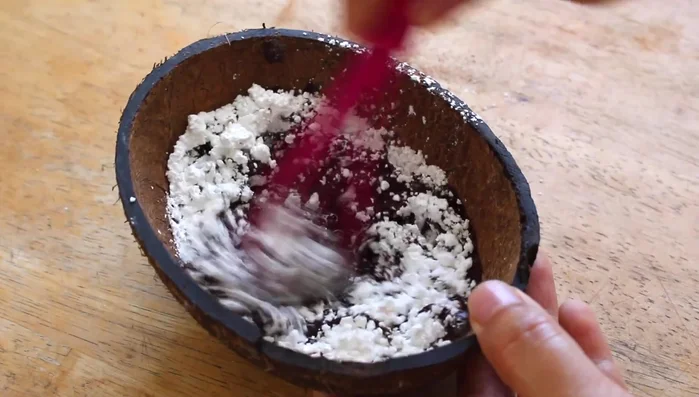
Prepare the Chocolate Base Mix the Ingredients
- Whisk until smooth.
- Add in the puffed quinoa and mix well.
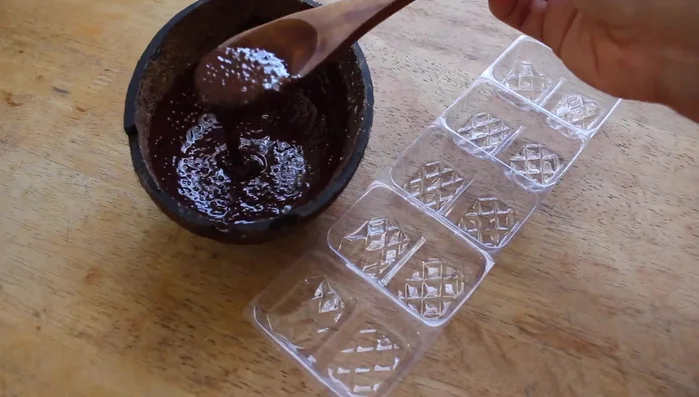
Mix the Ingredients Fill and Harden
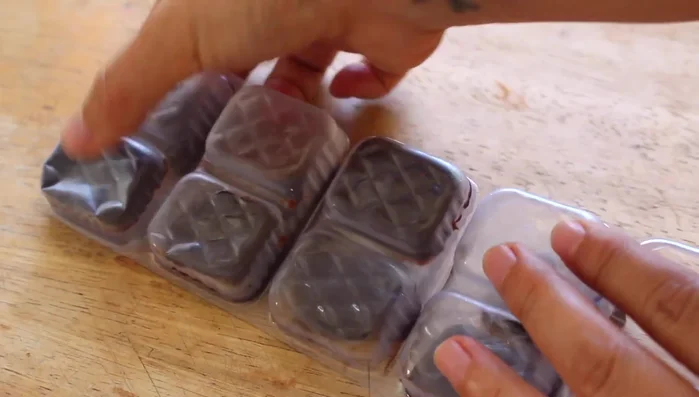
- Fill your desired molds with the mixture.
- Refrigerate for about 15 minutes to harden.
Fill and Harden Enjoy!
- Remove from molds and enjoy!
Enjoy!

Read more: Homemade Chicken Broth for Healthy Cats: Boost Immunity & Recovery
Tips
- N/A