Have you ever dreamed of bringing your favorite socks back to life? Imagine a world brimming with quirky, lovable characters crafted from the humble sock – a world where mismatched pairs find their perfect purpose as delightful sock puppets! This ultimate guide will transform your old, discarded socks into adorable, fluffy friends, ready for countless hours of imaginative play. Forget expensive toys; with just a few simple materials and a dash of creativity, you can create a cast of charming characters that are uniquely yours.
This guide will walk you through each step, from selecting the perfect sock to adding the finishing touches that bring your puppet to life. Prepare to unleash your inner artist and discover the joy of creating something special with your own two hands. Get ready to dive into the detailed, step-by-step process, and soon you'll be proudly showcasing your brand-new, handmade sock puppet!
Preparation and Safety Guidelines
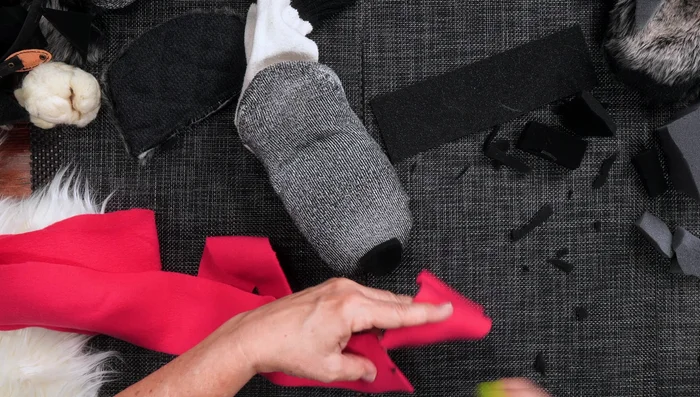
- Hot glue gun
- Assorted fabrics
- Men's large woolen sock
- Googly eyes or buttons
- Piece of felt
- Scissors
- Assorted jewelry or belts
- Adult supervision is required, especially for younger children using scissors and needles.
- Always use clean, unused socks to avoid potential hygiene issues.
- Be mindful of small parts that could pose a choking hazard for young children once the puppet is complete.
Step-by-Step Instructions
Prepare the Sock Base
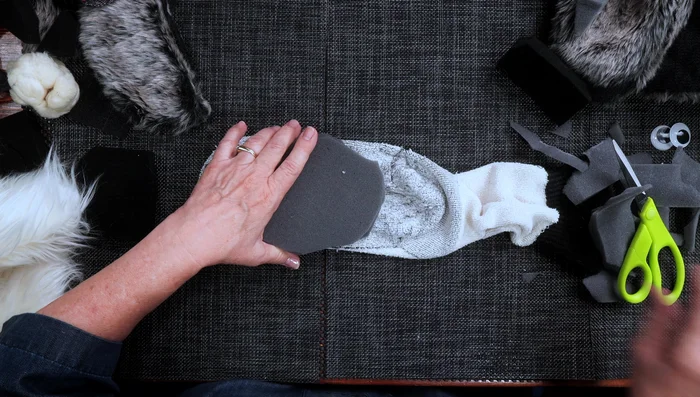
- Start with a sock. Lay it flat with the heel facing up.
- Decide which side of the sock fabric you want to show. Attach foam pieces to the inside of the sock to create the mouth.

Prepare the Sock Base Create the Mouth
- Cut out two pieces of foam for the upper and lower jaw. Experiment with shapes until satisfied.
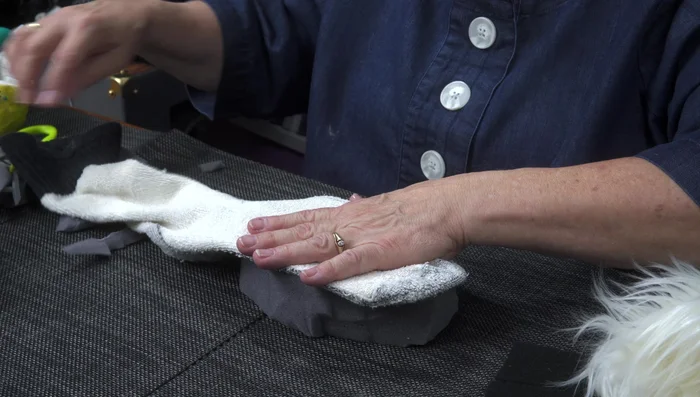
- Apply hot glue to the inside of the sock and attach the foam pieces, ensuring your hand can fit between them.
- Flip the sock right side out. The foam should create a 3D mouth shape.
Create the Mouth Shape the Head
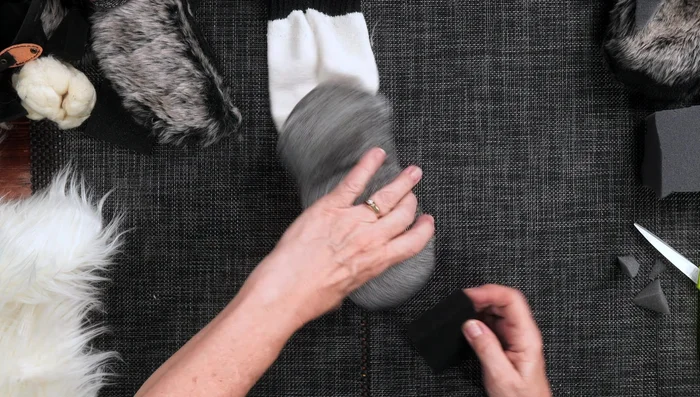
- Add additional foam pieces to shape the head, creating a forehead and nose area.
- Add small pieces of foam under the fur to create a more dimensional head.
Shape the Head Add Facial Features
- Attach a nose piece to the face.
- Create a tongue from felt, and glue it into place.
Add Facial Features Apply the Fur
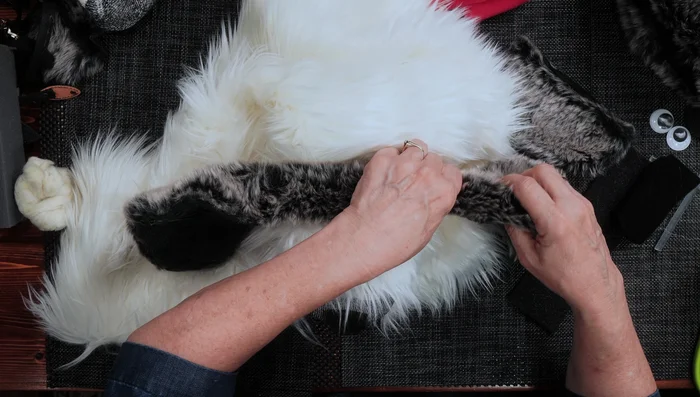
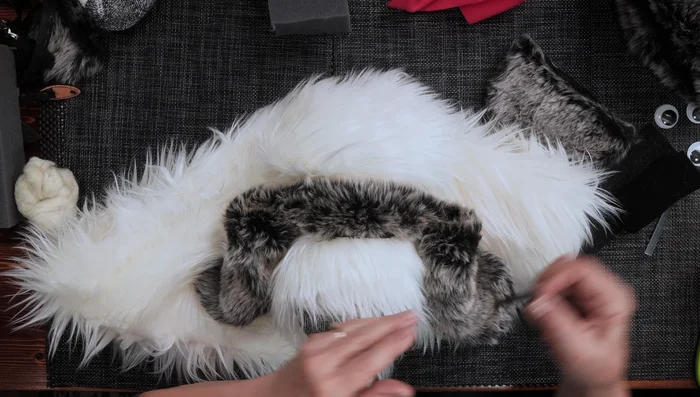
- Cover the head with fur fabric, gluing it around the nose and down to the neck.
Apply the Fur Create and Attach Ears
- Use pieces from an old hat to create ears, gluing them to the top of the head and shaping them as desired.
Create and Attach Ears Add Eyes and Final Touches
- Attach googly eyes or buttons.
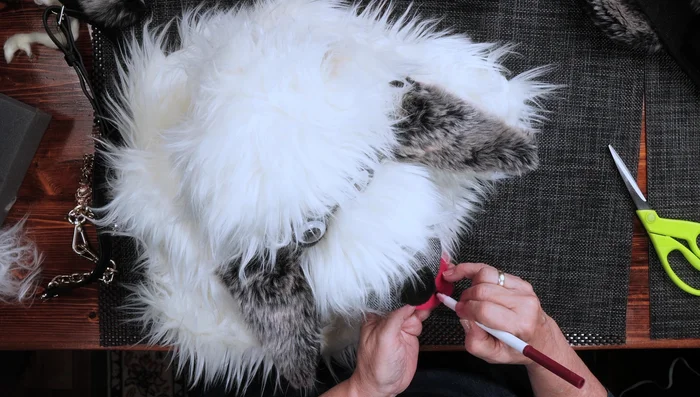
- Add extra fur to the top of the head and around the eyes and ears for a fuller look.
- Add a collar made from old belts or other materials.
- Use a marker to add details, such as a line on the tongue.
Add Eyes and Final Touches


Read more: How to Make a Tiny Loom Band Animal Toy (Rainbow Dog Tutorial)
Tips
- Don't be afraid to experiment with foam shapes and fabric placement. The sock's fabric will help squish and conform to the foam.
- Use plenty of hot glue to secure the fabric and foam pieces. The fur will help disguise any imperfections.
- Take your time and let each layer of glue dry before adding more. This will ensure a strong and secure puppet.