Winter nights call for cozy comfort, and what better way to achieve that than with adorable, upcycled pajamas? This project transforms old, loved (but perhaps slightly worn) stuffed animals into charming and unique sleepwear for your little one – or even yourself! Forget mass-produced, impersonal clothing; let's embrace sustainability and creativity by giving those cherished plush toys a second life in a heartwarming, personalized way. We'll be breathing new life into those forgotten friends, crafting cozy pajamas that are as individual as the stuffed animal at their heart.
This guide will show you how to lovingly upcycle your child's favorite stuffed animals into wonderfully warm and whimsical pajamas, perfect for snuggling up on chilly evenings. Ready to transform old toys into treasured garments? Let’s dive into the step-by-step instructions and create these one-of-a-kind, DIY upcycled stuffed animal pajamas!
Preparation and Safety Guidelines
- Pins
- Scissors
- Upcycled fabrics (e.g., old t-shirts, pajama scraps)
- Ribbon
- Fabric paint (optional)
- Pajama patterns (printable versions linked in video description)
- Always supervise young children during the crafting process, especially when using needles or scissors.
- Ensure all stuffing materials are clean and free from potential hazards. Avoid using materials that could pose a choking risk, especially for younger children.
- Thoroughly check the seams of the upcycled pajamas before allowing a child to wear them to prevent any potential tearing or unraveling.
Step-by-Step Instructions
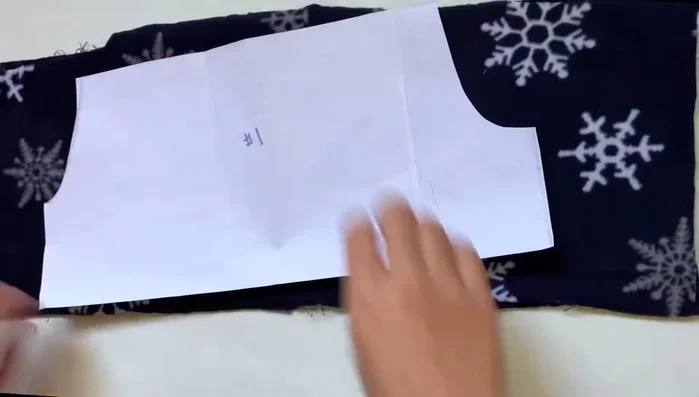
Prepare Pants Pattern
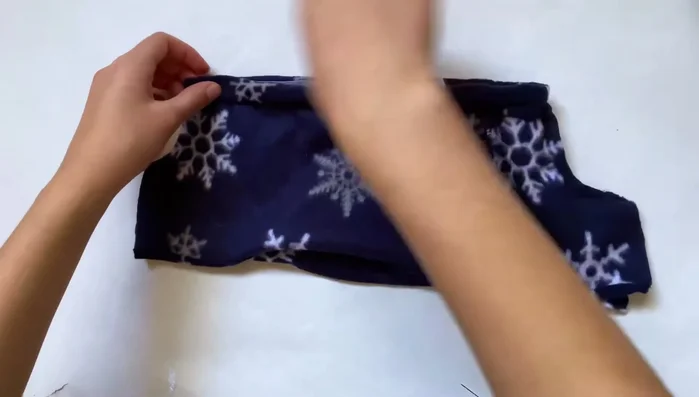
- Using snowflake fabric, cut two mirrored rectangles based on your pattern.

Prepare Pants Pattern Construct Pants
- Fold and stitch the bottom edge of each pants piece to prevent fraying.
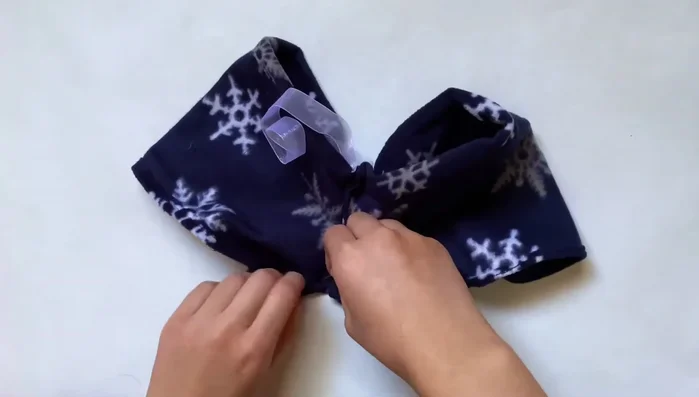
- Pin and stitch the curved edges of the two pants pieces together, leaving one side open for ribbon.
- Make small cuts at the top edge of each pants leg for ribbon insertion.
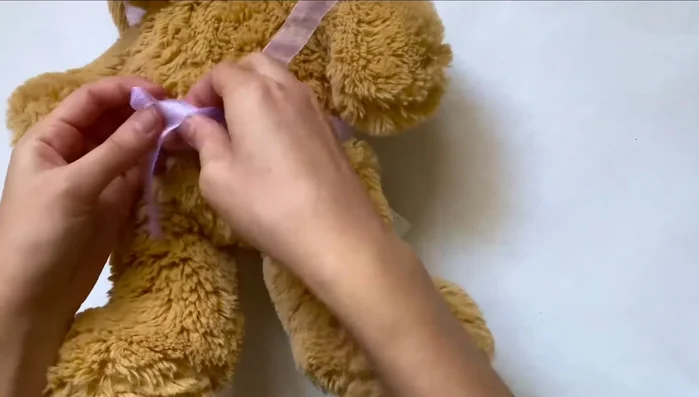
- Measure ribbon length by wrapping around your stuffed animal, tie a bow, and attach to openings with safety pins.
Construct Pants - Close the top edge of the pants and stitch, keeping the ribbon in place.
- Pin and sew the remaining open side of the pants closed.
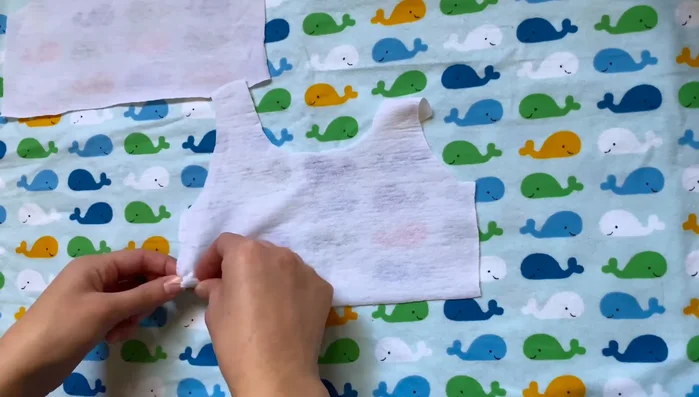
Construct Pants Prepare Shirt Pattern
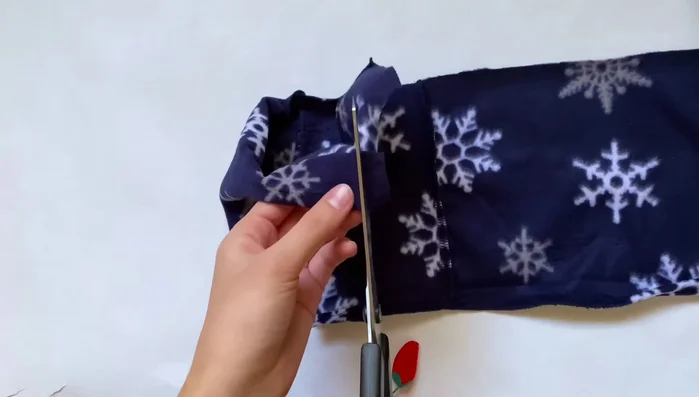
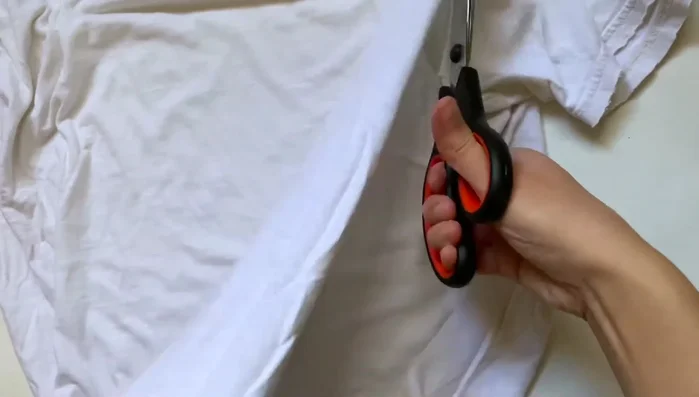
- Cut out the front, back, and two sleeves from the old t-shirt material, using your patterns.
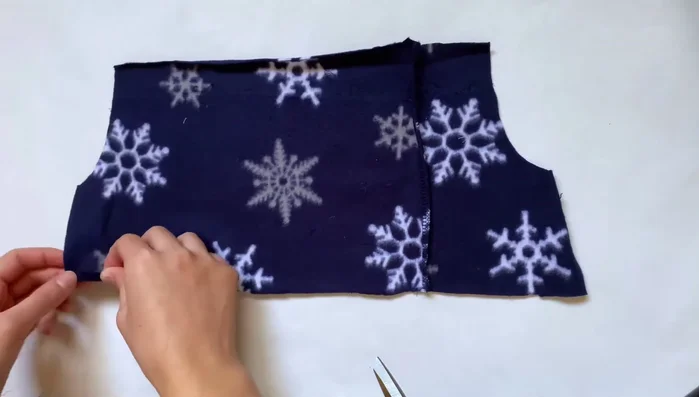
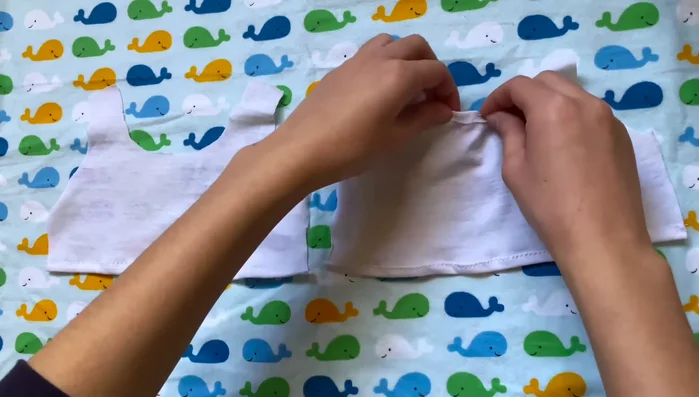
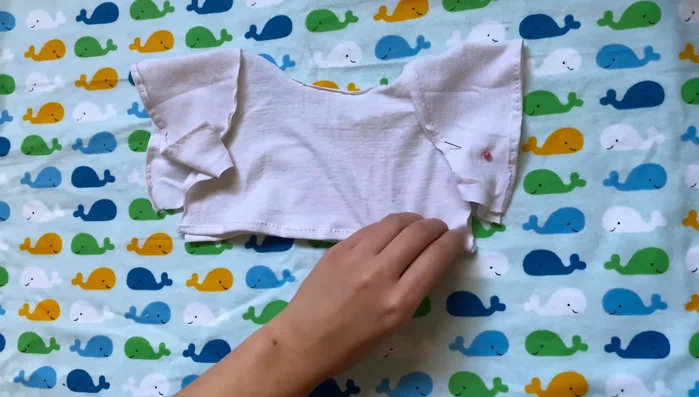
Prepare Shirt Pattern Construct Shirt
- Hem the bottom of the shirt front and back pieces.
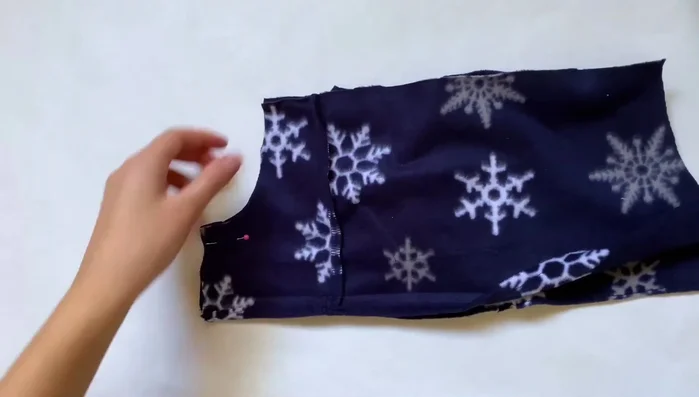
- Fold and stitch the neckline edges.
- Pin and stitch the sleeves to the armholes of the shirt.
- Sew the side seams of the shirt, attaching sleeves along the bottom seams of the shirt.
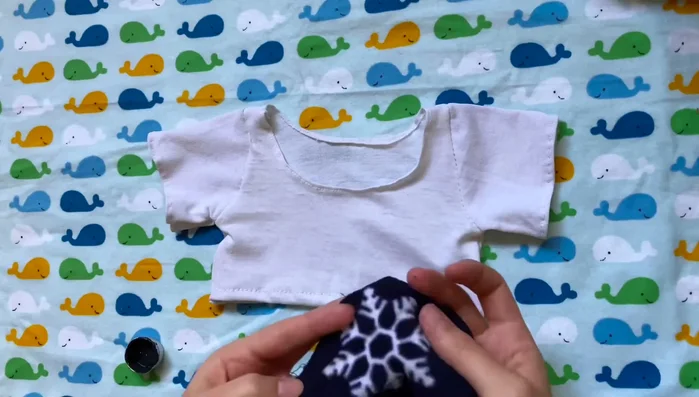
Construct Shirt Decorate (Optional)
- Paint a design on the shirt (e.g., snowflake) to complement the pants. Let dry completely.
Decorate (Optional)
Read more: No-Sew DIY Pet Tank Top: Easy Leggings Upcycle!
Tips
- Use upcycled fabrics for a sustainable and cost-effective project.
- Ribbon is used instead of elastic for a more comfortable and adjustable fit.
- Use a smaller stitch for neater sewing around curves.
- Use cardboard to prevent paint from bleeding through the shirt.