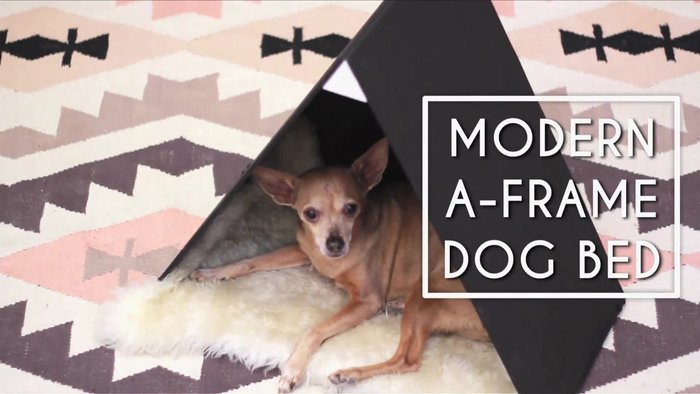
Give your furry friend the ultimate modern retreat with this DIY A-frame pet cabin! Forget flimsy plastic houses – this stylish and durable structure is a perfect blend of form and function, designed to provide your pet with a cozy and safe haven, all while adding a touch of unique charm to your outdoor space. Imagine the envious glances from neighborhood pets as your pampered pup enjoys their architecturally-sound abode. Building it yourself allows for complete customization, ensuring a perfect fit for your pet's size and your garden's aesthetic.
This guide provides a comprehensive, step-by-step approach to constructing your own stunning A-frame pet cabin, from gathering materials to the final touches. We'll walk you through each stage, complete with clear instructions and helpful images, so even beginners can confidently tackle this rewarding project. Let's get started on building your pet’s dream home!
Preparation and Safety Guidelines
- wood
- paint
- small roller
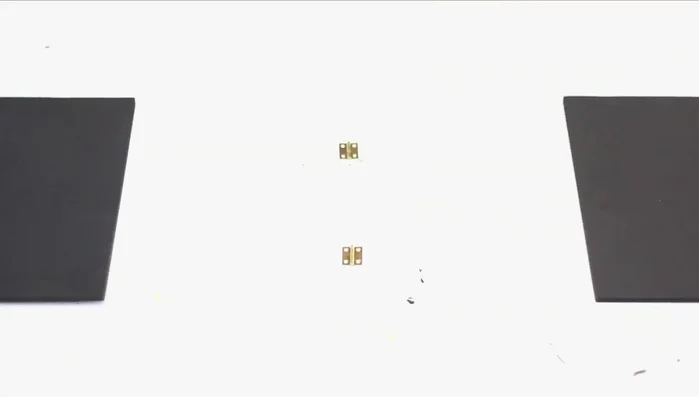
- hinges
- screws
- nails
- triangles
- felt pads
- brackets or hinges
- wood glue
- organic fume-free paint or sealant
- cozy blanket or shearling
- Always ensure proper ventilation to prevent overheating and moisture buildup inside the cabin. Use breathable materials and consider adding vents.
- Use pet-safe materials and finishes. Avoid paints, stains, or sealants containing toxins that could be harmful if ingested or inhaled by your pet.
- Securely fasten all components to prevent the structure from collapsing or parts from becoming hazards. Use appropriate screws, nails, and adhesives for the chosen materials.
Step-by-Step Instructions
Prepare the Materials
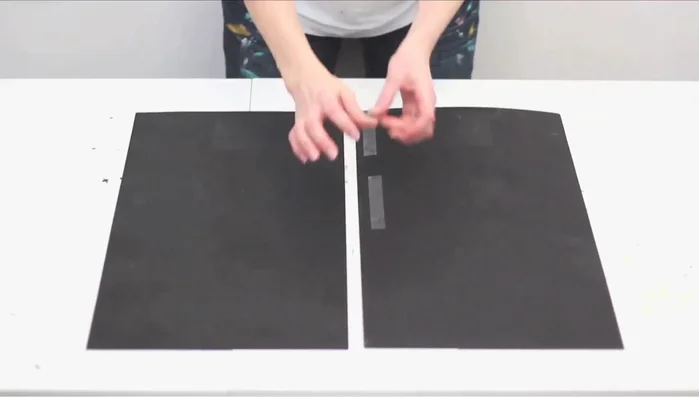
- Prepare the wood panels. Paint the panels to your desired color using a small roller for even coats.

Prepare the Materials Assemble the A-Frame Roof
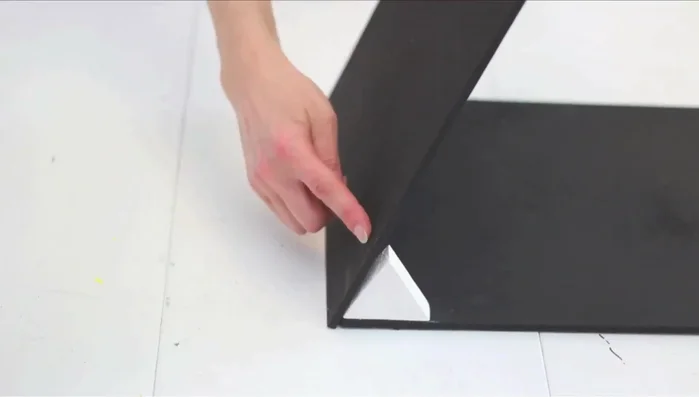
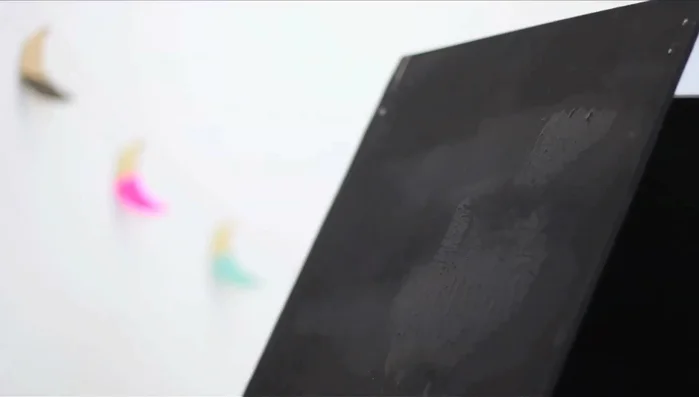
- Attach the hinges to the wood, ensuring screws won't go through. Cut two triangles.
- Assemble the A-frame roof. Place triangles on the outer edges of the first roof board, add the second roof board, and nail them together. Flip and repeat for secure fastening. A friend can help hold pieces.
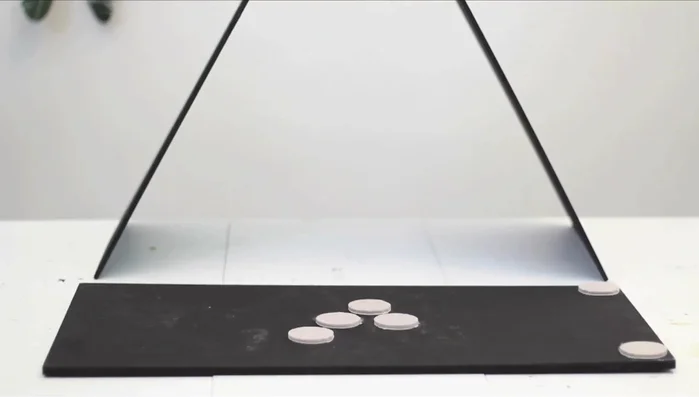
Assemble the A-Frame Roof Attach the Baseboard
- Attach the baseboard. Add felt pads to protect the floor. Flip and place the A-frame on top, connecting it with brackets or hinges. Position hinges to hide the knuckle and achieve the desired angle.
Attach the Baseboard Create and Attach the Back Panel
- Create and attach the back panel. Affix two thin boards, place the frame on top, trace and cut the outline. Add the back panel using wood glue and nails.
Create and Attach the Back Panel Finish and Decorate
- Finish the cabin. Apply a finishing coat of paint, covering hinges. Use organic fume-free paint or add a sealant. Add a cozy blanket or shearling.
Finish and Decorate
Read more: DIY Glamorous Pet Beds from Upcycled Furniture: A Step-by-Step Guide
Tips
- Pre-paint panels to check color choice.
- Use a small roller for even paint application.
- Having a friend assist with assembly is helpful.
- Use wood glue and nails for added security when attaching the back panel (especially if impatient).