Spoiling your furry friend doesn't have to break the bank! A comfortable and cozy dog bed is crucial for your canine companion's well-being, but store-bought options can often carry hefty price tags. This guide provides a simple, cost-effective solution: crafting your own DIY dog bed using readily available materials and minimal crafting expertise. You'll be surprised at how easily you can create a bespoke sleeping space perfectly tailored to your dog's size and preferences, saving money and adding a personal touch.
Forget expensive pet store purchases! This customizable guide will walk you through a straightforward, step-by-step process, allowing you to build a durable and comfortable dog bed using materials you likely already have at home, or can find cheaply at your local thrift store or fabric shop. Get ready to unleash your creativity and give your beloved pet the ultimate sleeping sanctuary without emptying your wallet.
Preparation and Safety Guidelines
- Blanket
- Duct Tape
- Scissors
- Pillow
- Box
- Always supervise your dog with any new bed, especially during initial use, to ensure they don't ingest stuffing or damage the materials. Choose non-toxic materials and avoid anything that could pose a choking hazard.
- Ensure all seams are securely stitched and there are no loose threads or protruding materials that your dog could chew on and swallow. Regularly check the bed for any signs of wear and tear and replace it if necessary.
- Choose a filling material appropriate for your dog's size and weight. Avoid excessively soft fillings for larger dogs to prevent bottoming out and potential joint issues. Consider using a waterproof liner underneath for easy cleaning and protection.
Step-by-Step Instructions
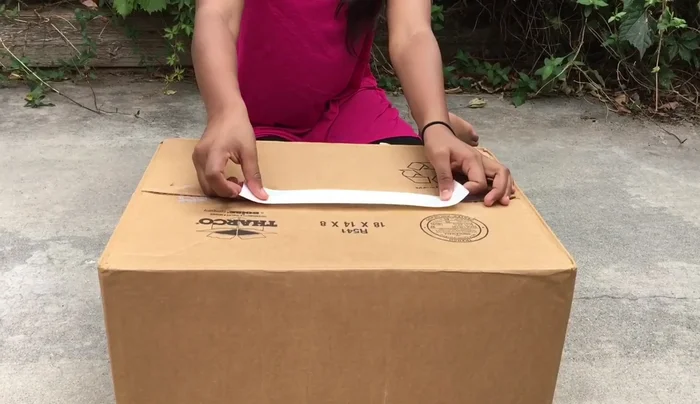
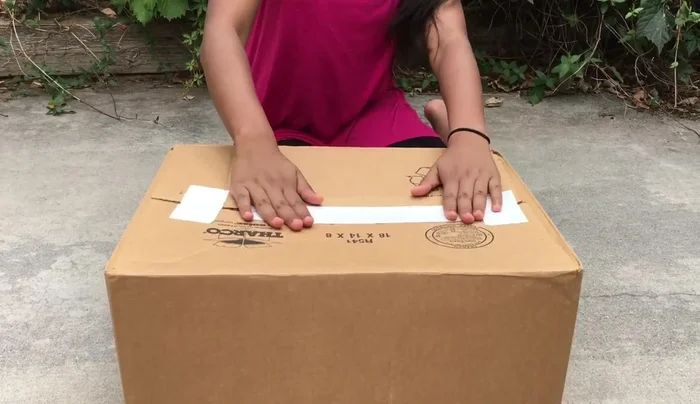
Reinforce the Box
- Reinforce the bottom of the box with duct tape to prevent your pet from falling out.
- Flip the box and repeat step 1 on the other side.

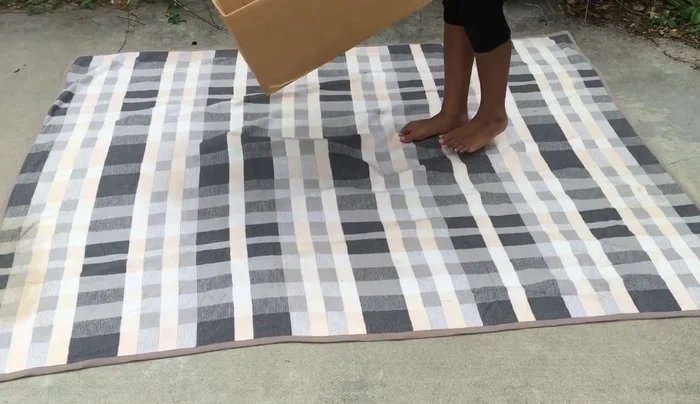
Reinforce the Box Cover the Box with Outer Blanket
- Place the outer blanket on a flat surface and center the box on top. Fold the edges of the blanket inside the box, smoothing out wrinkles to cover the entire box.
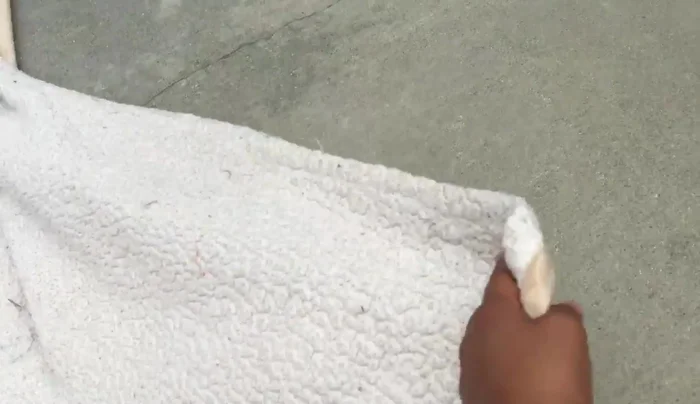
Cover the Box with Outer Blanket Prepare the Inner Blanket and Pillow
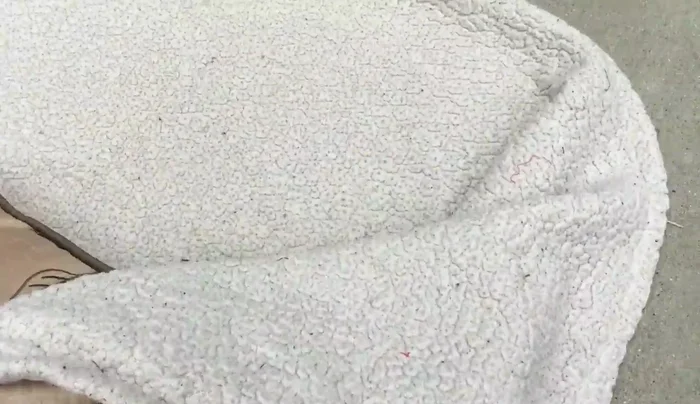
- Lay the inner blanket flat, smooth out wrinkles, and place a pillow in the center.
- Wrap the blanket around the pillow like a burrito.
Prepare the Inner Blanket and Pillow Assemble the Dog Bed
- Place the pillow inside the box, tucking in and smoothing the edges until you achieve your desired look.
Assemble the Dog Bed

Read more: DIY Glamorous Pet Beds from Upcycled Furniture: A Step-by-Step Guide
Tips
- Take your time smoothing out wrinkles and edges to ensure a neat and professional-looking finish.
- This method allows for customization of size and shape depending on the box you choose.