Is your dog's bed looking a little worse for wear? Does the thought of constantly washing a bulky dog bed fill you with dread? Then you're in the right place! Tired of expensive replacements and struggling with messy, unhygienic dog beds? This guide offers a simple, cost-effective, and surprisingly stylish solution: a DIY upcycled dog bed cover. Using materials you likely already have around the house, or can easily source affordably from thrift stores, we’ll transform an old blanket, sheet, or even a piece of fabric into a perfectly sized, washable cover for your furry friend's favorite sleeping spot. This project requires minimal sewing skills and produces a durable, cleanable cover that will keep your dog comfortable and your home fresh.
Forget expensive, non-washable dog beds and embrace the upcycling revolution! This project is not only budget-friendly and environmentally conscious, but it also allows for personalized customization to match your home's décor. Ready to get started creating a cozy and clean haven for your canine companion? Let's dive into the step-by-step instructions to create your very own DIY upcycled dog bed cover.
Preparation and Safety Guidelines
- sewing machine
- thread
- scissors
- measuring tape
- snap fasteners
- Always pre-wash any fabric used before sewing to prevent shrinkage after the dog bed cover is made.
- Ensure all seams are securely stitched and there are no loose threads or areas where your dog could potentially snag or ingest fabric.
- Choose fabrics that are durable, easy to clean, and safe for your dog. Avoid fabrics with small parts that could be choking hazards.
Step-by-Step Instructions
Gather Materials
- Gather fabric from old clothes (dress, pants, shirt).

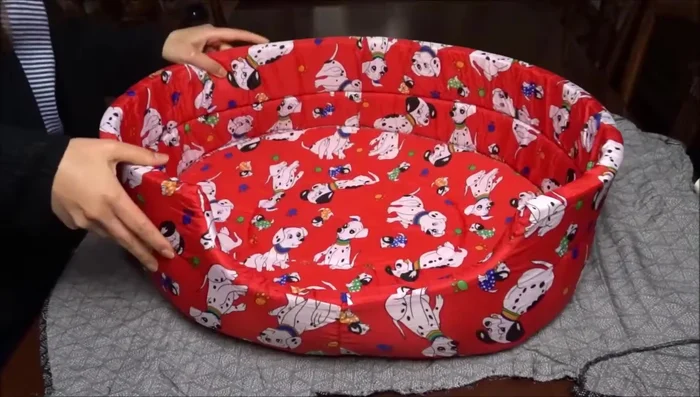
Gather Materials Cut Cover Fabric
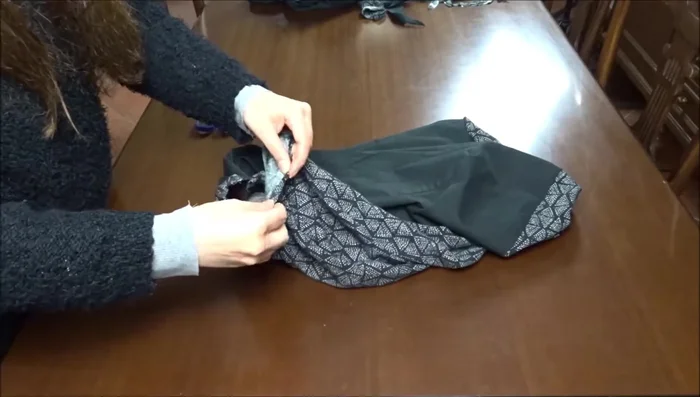
- Use the dog bed's bottom as a pattern to cut the fabric for the top and bottom of the cover.
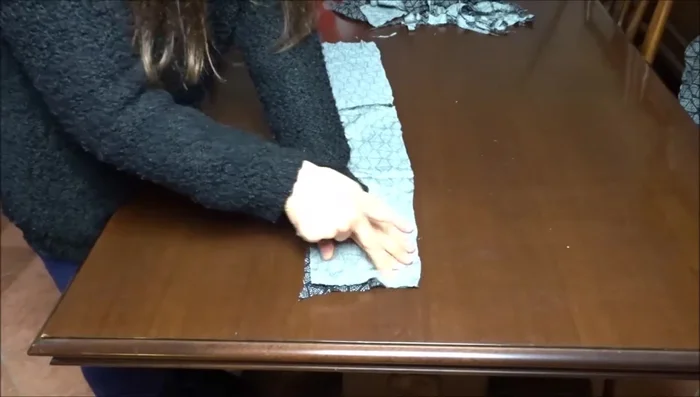
Cut Cover Fabric Create Side Band
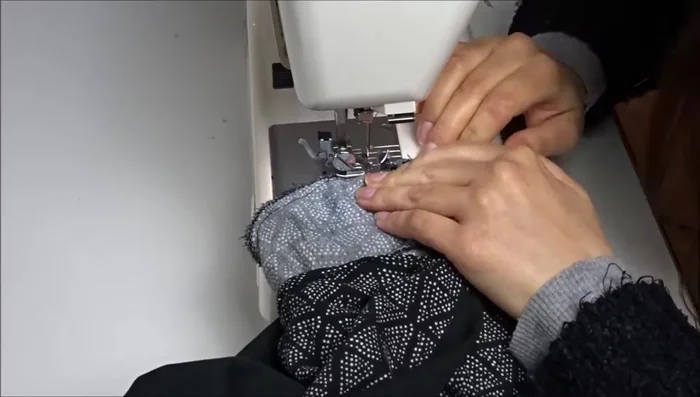
- Create the side band by sewing together two strips of fabric from the dress and shirt sleeves.
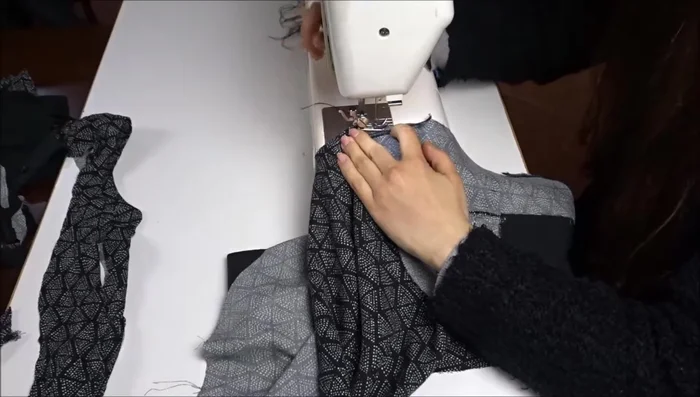
- Sew the two side band strips together to create one long strip. Finish raw edges with a zigzag stitch.
Create Side Band Attach Side Band to Cover
- Attach the side band to the top and bottom parts of the cover, right sides together, leaving a gap for turning and inserting the bed.
Attach Side Band to Cover Sew and Turn Cover
- Sew around the perimeter of the cover, leaving the gap open. Turn right side out.
- Close the gap by sewing one edge to the other.
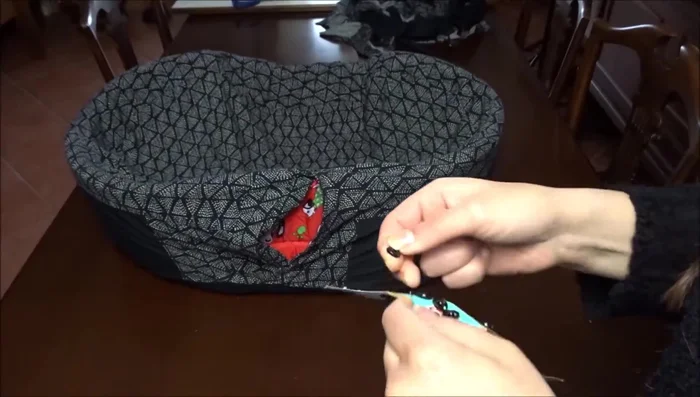
Sew and Turn Cover Attach Fasteners and Insert Bed
- Insert the dog bed into the cover and attach snap fasteners along the opening.
Attach Fasteners and Insert Bed Cut Cushion Fabric
- Cut fabric from the dress and pants to make the cushion's top and bottom.
Sew and Stuff Cushion
- Sew the cushion pieces together, leaving an opening. Turn right side out and insert the filling.
- Close the cushion opening by sewing and folding the edges inside.

Read more: DIY Glamorous Pet Beds from Upcycled Furniture: A Step-by-Step Guide
Tips
- Use a zigzag stitch to finish raw edges and prevent fraying.
- Leave an opening in the cushion to insert the filling more easily.