Our furry friends bring immeasurable joy to our lives, but their enthusiastic cuddles and occasional accidents can take a toll on our furniture. Protecting your beloved sofa from the wear and tear of pet ownership doesn't have to mean sacrificing style or breaking the bank. This DIY project offers a stunning and practical solution: a custom-fit pillow cover designed to safeguard your sofa while adding a touch of personalized charm to your living space. Forget expensive, generic pet covers – with a little creativity and readily available materials, you can create a beautiful and functional protector tailored to your sofa and your pet's unique personality.
This guide will walk you through the simple steps of crafting your own pet sofa protector, transforming a standard pillow cover into a stylish and effective barrier against pet-related messes. From choosing the perfect fabric to adding those finishing touches, we'll equip you with everything you need to create a piece that's both durable and aesthetically pleasing. Ready to get started? Let's dive into the step-by-step instructions!
Preparation and Safety Guidelines
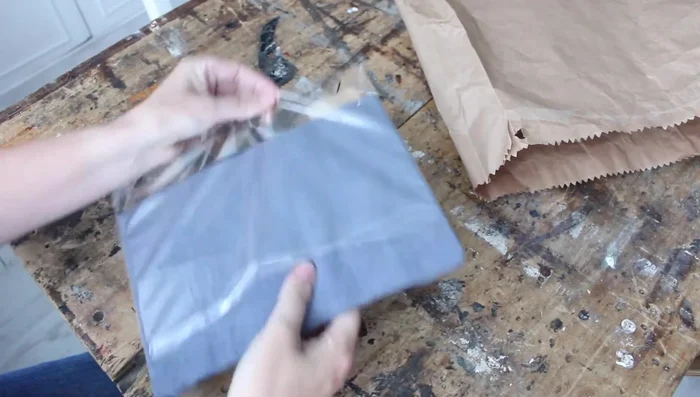
- linen pillowcase
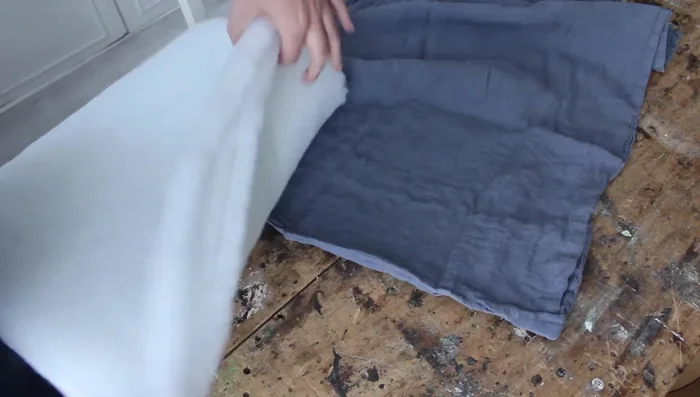
- cotton wadding
- needle
- thread
- embroidery floss
- dressmaker's chalk
- Always supervise your pet when they are on the sofa, even with a protector. Accidental chewing or scratching can still occur.
- Choose fabrics and filling materials that are non-toxic and safe for pets if they ingest small pieces. Avoid using materials that could cause choking hazards.
- Wash the cover regularly according to the care instructions of the fabric used. Regular cleaning helps prevent the build-up of allergens and odors.
Step-by-Step Instructions
Prepare the Pillowcase Base
- Choose a beautiful linen pillowcase as the base. A jeans blue color is used in this example.
- Fill the pillowcase with three layers of thick cotton wadding.

Prepare the Pillowcase Base Close and Secure the Pillowcase
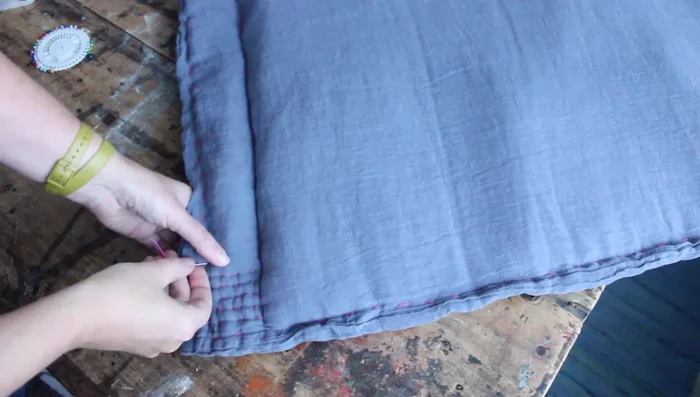
- Close the opening of the pillowcase with a needle and thread using a matching thread. Hand-stitch the opening closed.
Close and Secure the Pillowcase Embroider the Border
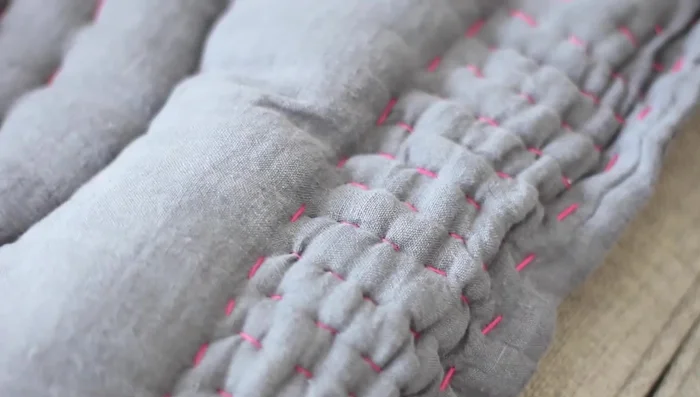
- Use a pink embroidery thread to do running stitch all around the pillowcase. Add decorative stitches to the sides, ensuring the needle goes through all layers for a quilted effect.
Embroider the Border Embroider the Central Circle(s)
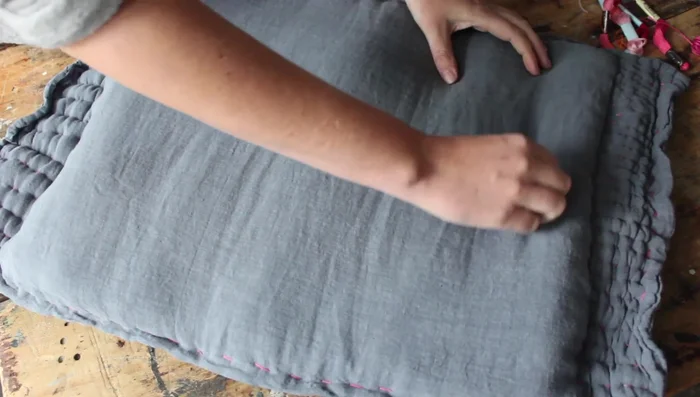
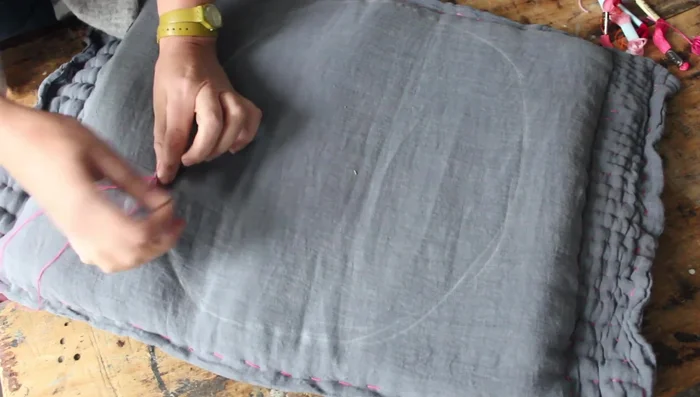
- Use dressmaker's chalk to draw a circle in the middle of the pillowcase.
- Embroider the circle using three strands of embroidery floss, ensuring the needle goes through all layers and pulling it tight for a quilted look. Add more inner circles as desired.
Embroider the Central Circle(s) Add Decorative Touches
- Add any additional decorative elements, such as stripes or knots.
Add Decorative Touches

Read more: DIY Glamorous Pet Beds from Upcycled Furniture: A Step-by-Step Guide
Tips
- Make sure to push your needle through all the layers when stitching to secure the wadding and create a quilted effect.
- Pull the embroidery stitches nice and tight to achieve a neat, quilted look.