Spoil your feline friend with a cozy, handmade cat bed! This crochet cat bed tutorial provides a simple and accessible guide for crafting a snug haven your cat will adore. Whether you're a seasoned crocheter looking for a new project or a beginner eager to try something new, this pattern is designed to be easy to follow, requiring minimal materials and techniques. You'll be surprised at how quickly you can create a beautiful and functional bed, perfectly tailored to your cat's size and your own aesthetic preferences. The charming design allows for customization, enabling you to personalize the bed with your cat’s favourite colours or add playful embellishments.
Forget expensive store-bought beds – let's dive into the step-by-step process of crocheting your own! This easy-to-follow tutorial will guide you through each stage, from gathering your supplies to the final finishing touches, ensuring a successful and rewarding crafting experience. Get ready to unleash your creativity and create the purrfect sleeping spot for your beloved companion.
Preparation and Safety Guidelines
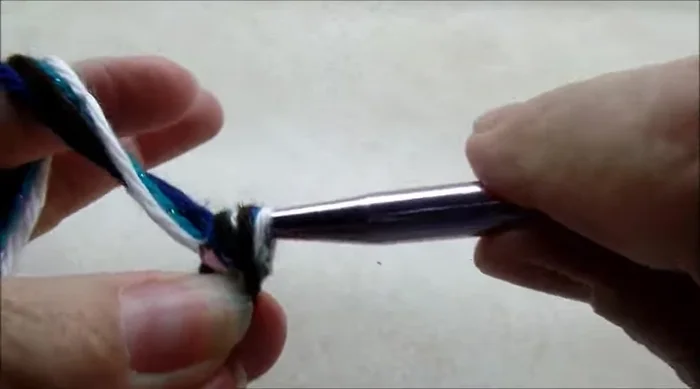
- Scrap yarn (four strands)
- 9 mm (Size N) crochet hook
- Always use yarn and hook sizes appropriate for your chosen pattern. Using the wrong size can lead to a poorly constructed bed that might not be durable or safe for your cat.
- Ensure all loose ends of yarn are securely fastened to prevent your cat from chewing or swallowing them, which can be a choking hazard.
- Regularly inspect the cat bed for any damage or loose stitches. Repair or replace the bed if necessary to maintain its safety and prevent injury to your cat.
Step-by-Step Instructions
Create the Base Circles
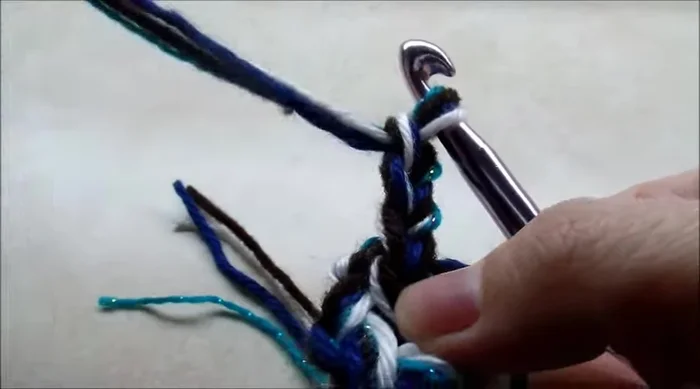
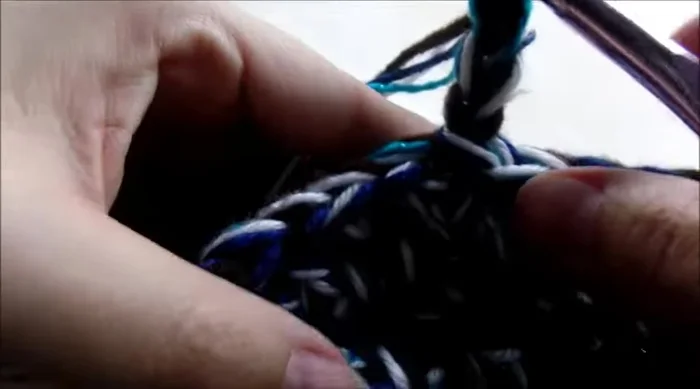
- Chain four, slip stitch into the first chain to form a ring.
- Chain three (counts as a double crochet), then work 11 more double crochets into the ring (total 12 double crochets). Slip stitch to the top of the chain three.
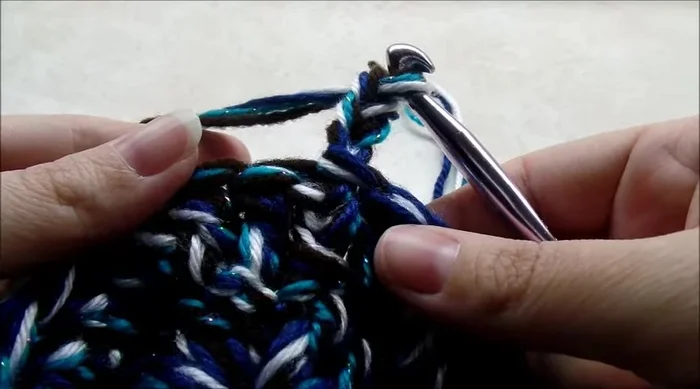
- Chain three (counts as a double crochet). Work two double crochets in each stitch around (total 24 stitches). Slip stitch to the top of the chain three.
- Chain three. *One double crochet in the next stitch, two double crochets in the next stitch*. Repeat from * to * around (total 36 stitches). Slip stitch to the top of the chain three.

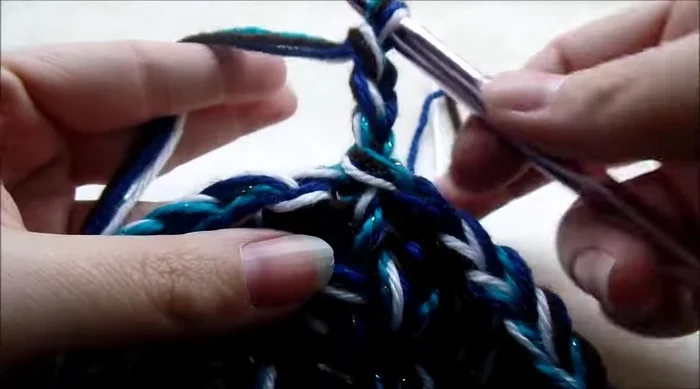
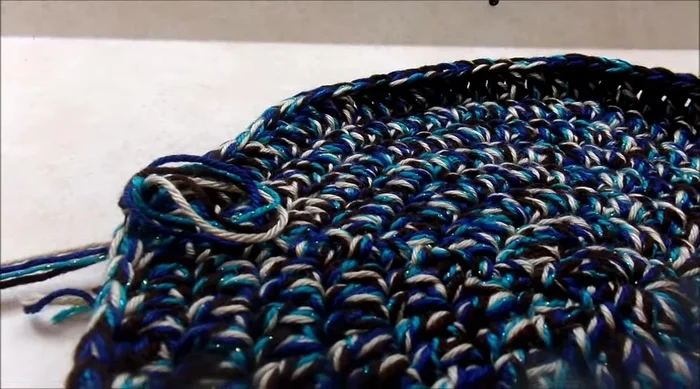
Create the Base Circles - Chain three. *One double crochet, one double crochet, two double crochets in the next stitch*. Repeat from * to * around (total 48 stitches). Slip stitch to the top of the chain three.
- Chain three. *Three double crochets, two double crochets in the next stitch*. Repeat from * to * around (total 72 stitches). Slip stitch to the top of the chain three.
- Chain three. *Four double crochets, two double crochets in the next stitch*. Repeat from * to * around (total 96 stitches). Slip stitch to the top of the chain three. Fasten off.
- Make a second identical piece.
Create the Base Circles Join the Circles
- Using a slip stitch, join the two pieces together, working around the entire perimeter. Fasten off.
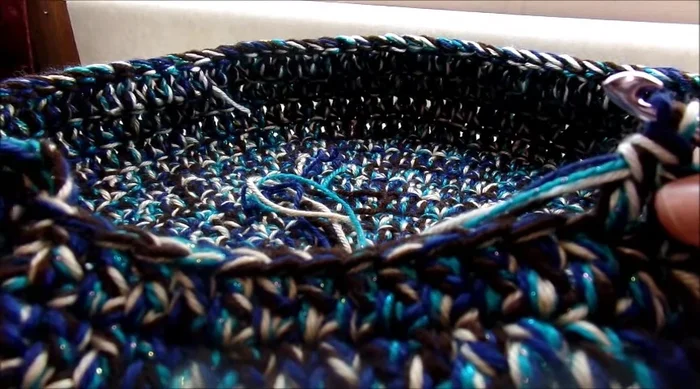
Create the Opening
- Chain three, turn, and single crochet around the perimeter of the opening, working back and forth rows. Leave 12 stitches open. Chain 12 across the gap, slip stitch to join. Then work additional rounds of single crochet around the opening until the desired size is achieved.
Create the Opening Finish the Cat Bed
- Work one final round of single crochet around the opening, adding two double crochets in each corner to neaten. Fasten off and weave in ends.
Read more: DIY Cuddly Cat & Dog Bed: A Super-Warm, Easy Tutorial
Tips
- Use four strands of yarn to make the cat bed stiff enough to stand up.
- Ensure accurate stitch counts in each round for consistent sizing.
- The number of rows for the opening depends on your desired size.