Keep your canine companion cozy and stylish this winter with a handmade crochet dog ear warmer! This adorable accessory not only protects your furry friend's delicate ears from the cold and wind, but also adds a touch of playful personality to their winter wardrobe. Whether you're a seasoned crocheter looking for a quick and fun project or a beginner eager to try something new, this pattern is perfectly adaptable to various skill levels. From choosing the right yarn to mastering the essential stitches, we’ll guide you through every step of the process.
Forget expensive store-bought options; crafting your own dog ear warmer is a rewarding experience that allows for complete customization. Choose your pup's favorite color, experiment with different textures, and even personalize it with a charming embellishment. Ready to get started and create the perfect ear-warming gift for your beloved pet? Let's dive into the step-by-step guide below.
Preparation and Safety Guidelines
- Yarn
- Crochet Hook
- Always supervise your dog while wearing the ear warmer to prevent chewing or swallowing of yarn.
- Ensure the ear warmer is loose enough to avoid restricting blood flow to the ears. Check for any signs of discomfort or irritation.
- Use a soft, non-irritating yarn suitable for pet use. Avoid anything that could snag or pull their fur.
Step-by-Step Instructions
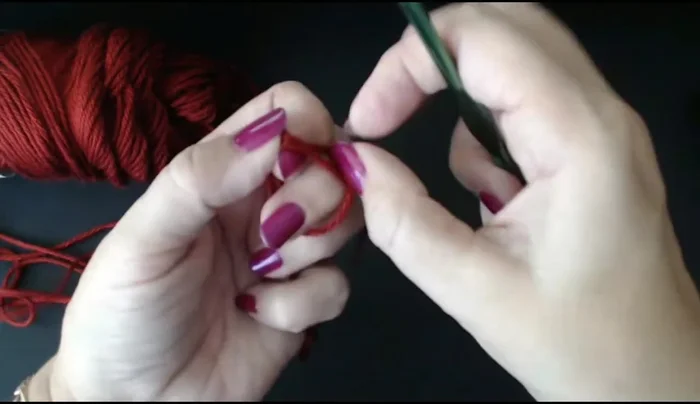
Foundation Chain
- Make a slip knot and chain 46 stitches. This forms the foundation chain for the warmer.

Foundation Chain Initial Row of Treble Crochet
- Treble crochet (or single crochet in US terms) into each stitch across the chain.
Initial Row of Treble Crochet Joining First Row
- Join the end of the row to the beginning with a slip stitch, leaving a tail for later stitching.
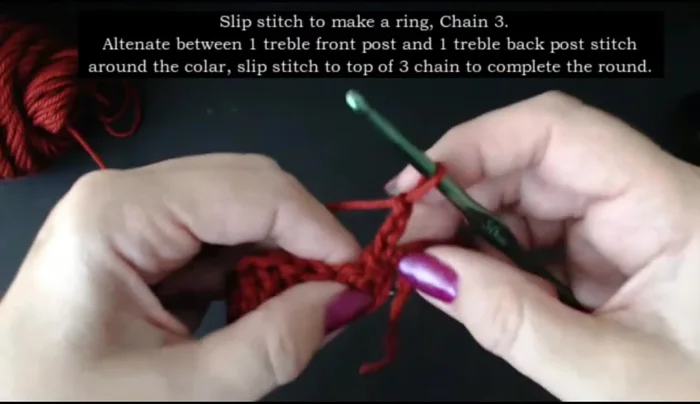
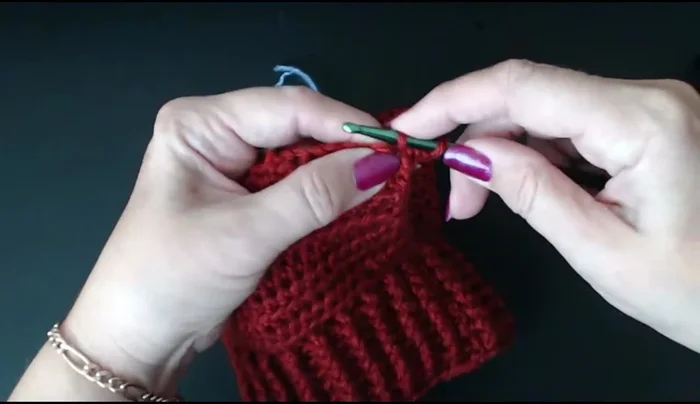
Joining First Row First Row of Ribbed Texture
- Chain 3, then work a row of alternating front and back post treble crochet stitches.
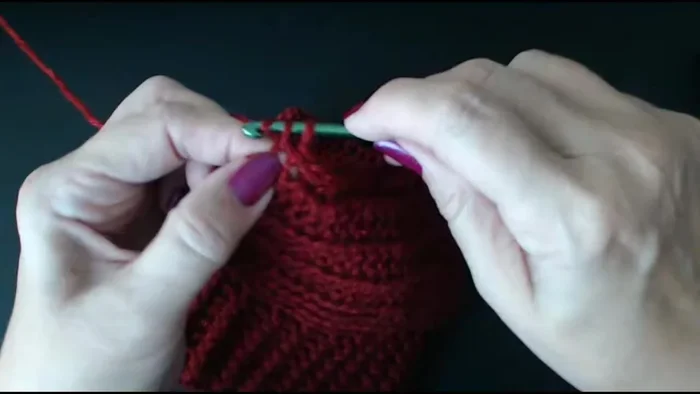
First Row of Ribbed Texture Continue Ribbed Texture
- Continue with alternating front and back post stitches until you reach the beginning chain.
- Chain 3 and continue with the alternating front and back post stitches for several rows. This creates the ribbed texture.
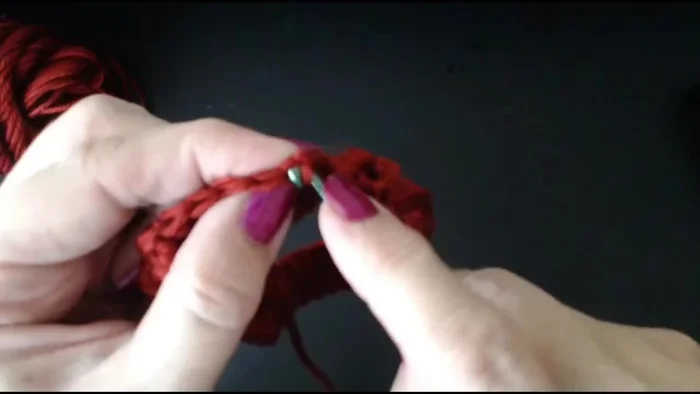
Continue Ribbed Texture Joining Ribbed Rows
- Join the row by slipping the hook through the top of the beginning chain-3, pulling through.
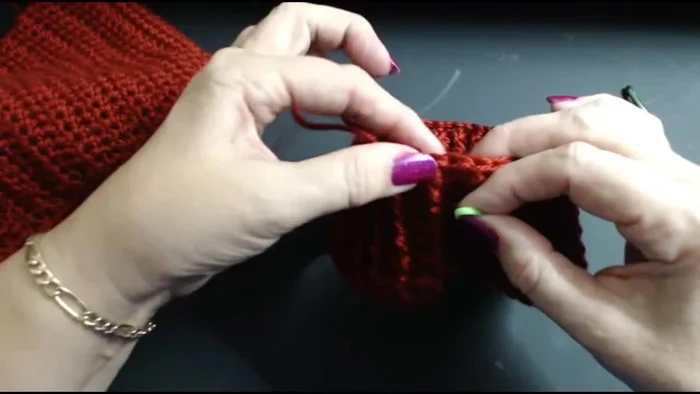
Joining Ribbed Rows Mark Ear Holes
- In the last row, mark 6 stitches for the ear hole on each side. This is crucial for proper ear placement.
Mark Ear Holes Solid Rows Before Ear Holes
- Work two rows of double crochet (or single crochet in US terms) without increasing or decreasing.
Solid Rows Before Ear Holes Create Ear Holes
- Create the ear holes by chaining 2 stitches and working a series of double crochets around the marked stitches.
Create Ear Holes Secure Ear Holes
- Continue working double crochets along the top edge, securing the ear hole openings.
Secure Ear Holes Finishing Edge
- Chain 2, turn, and work single crochets along the edges of the warmer to create a neat finish.
Finishing Edge Close Top Edge
- Stitch the top edge closed. This completes the dog ear warmer.
Close Top Edge


Read more: DIY Dog Sweater: Cozy Knit Creations for Your Pup
Tips
- Measure your dog's neck and adjust the initial chain accordingly. Ensure a snug but not tight fit.
- The ear holes should be positioned lower than most people initially assume; consider the area where the ear attaches to the head, not just the visible flap.
- Use a yarn that is soft and comfortable for your dog, such as Caron Simply Soft.