Spoil your furry friend with the ultimate gift of comfort and style: a custom-fitted flannel pet bed! Forget generic, ill-fitting pet beds that leave your beloved companion uncomfortable. This comprehensive guide empowers you to create a perfectly tailored flannel haven, designed specifically to your pet's unique shape and size, using materials readily available and simple sewing techniques. Imagine the snuggles you'll both enjoy in a cozy, handcrafted bed made with love. The soft, warm texture of flannel is perfect for those chilly nights, offering unparalleled comfort and a sense of security.
This DIY project is surprisingly straightforward, even for beginner sewers. We'll walk you through every step of the process, from measuring your pet to selecting the perfect fabric and adding those finishing touches. Ready to get started on creating the ultimate custom-fit flannel pet bed? Let's dive into the step-by-step instructions below!
Preparation and Safety Guidelines
- Fabric (1 to 1 1/4 yards, depending on size)
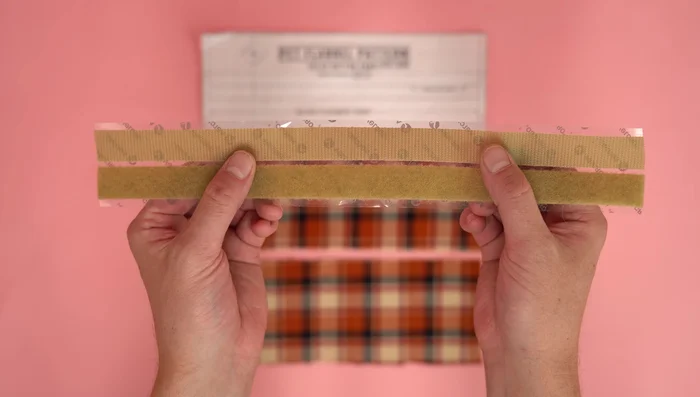
- Velcro (14 inches of 1-inch width)
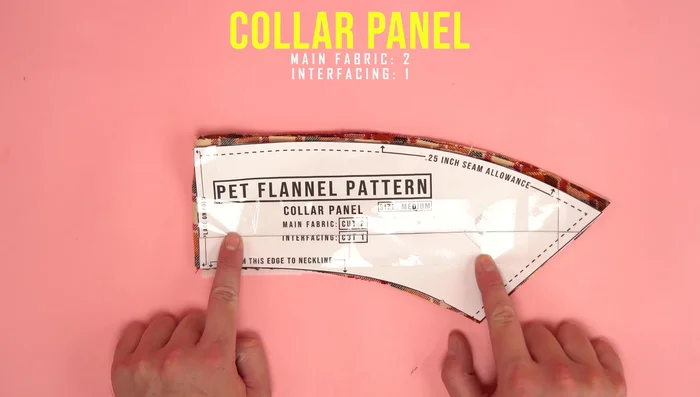
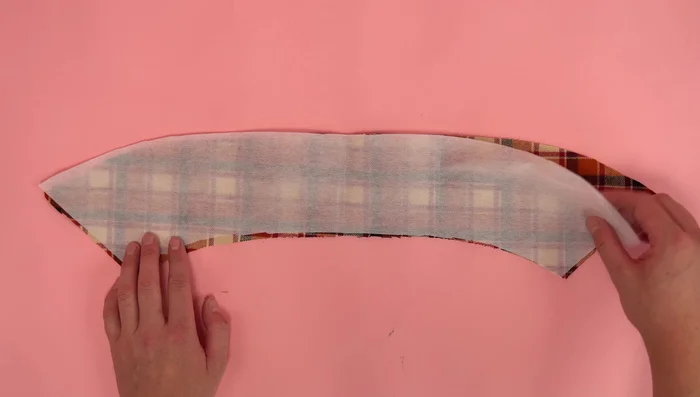
- Lightweight interfacing (1/4 yard, optional)
- Buttons (4-8, optional)
- Printable PDF pattern
- Always supervise your pet while wearing the flannel. Remove it immediately if they show signs of distress, chewing, or getting tangled.
- Ensure all seams are securely stitched and there are no loose threads or small parts that your pet could ingest.
- Choose a soft, non-irritating flannel fabric. Avoid using fabrics with embellishments or dyes that could be harmful if licked or chewed.
Step-by-Step Instructions
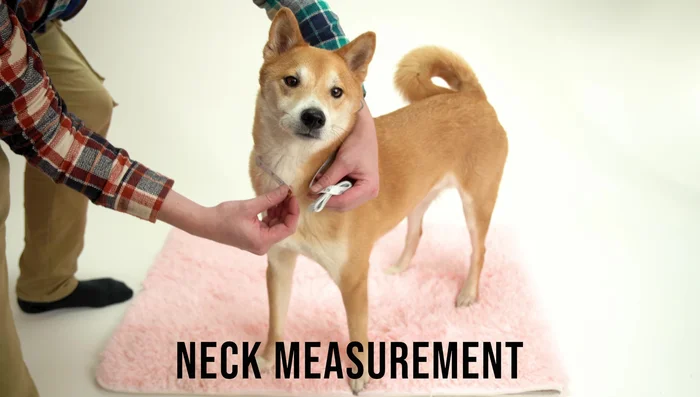
Measure and Plan
- Neck (at the base), Girth (around the chest), Length (base of neck to center of back leg). Add 1 inch to neck and girth measurements for comfort.

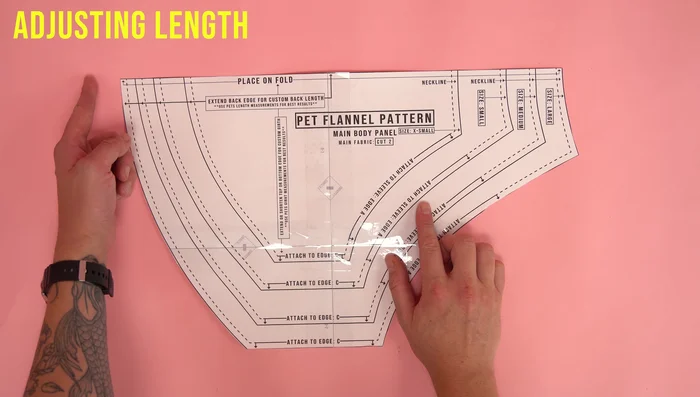
Measure and Plan Choose Pattern Size and Adjust
- Choose a pattern size (small, medium, large). Adjust the length by adding or subtracting to the back edge, maintaining the original curve.
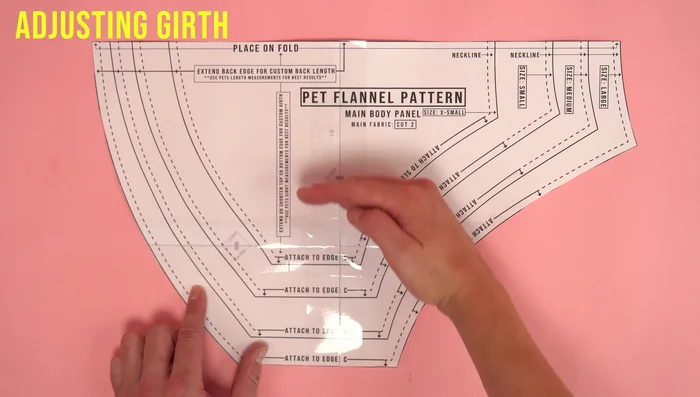
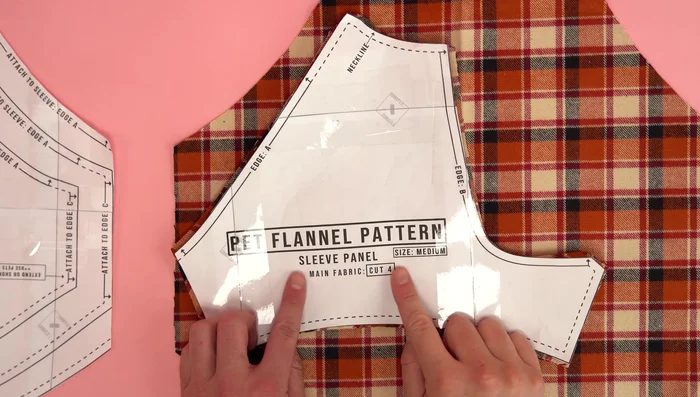
- Cut the entire pattern in your chosen size, then cut only the bottom edge to the smaller size if needed. This reduces girth without affecting other measurements. Adjust sleeve length accordingly.
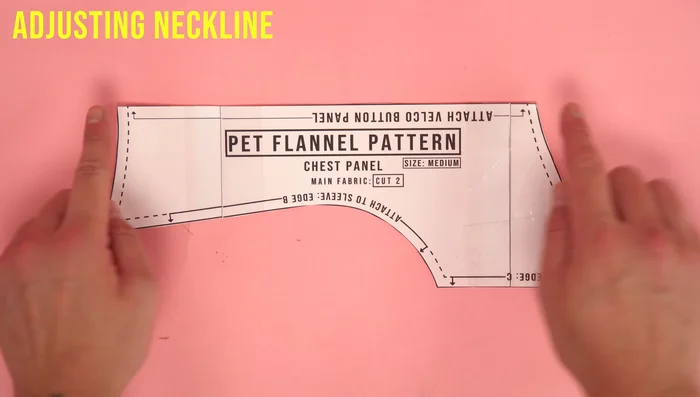
- Adjust the neckline (if necessary) at the velcro edge of the chest panel. Add or subtract as needed.
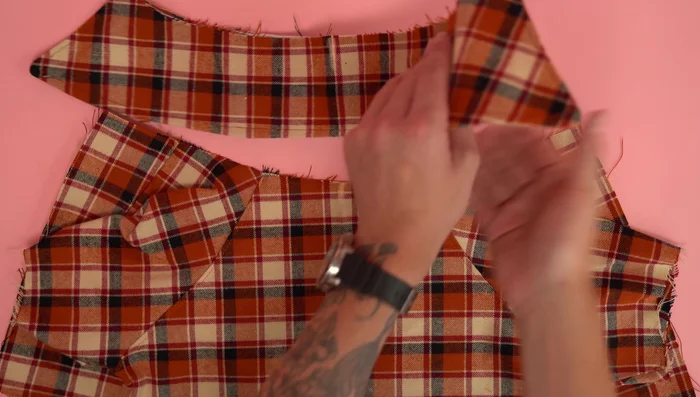
Choose Pattern Size and Adjust Cut Fabric
- chest panels, collar panels (with interfacing if using), velcro panels, sleeve panels, and main body panels.
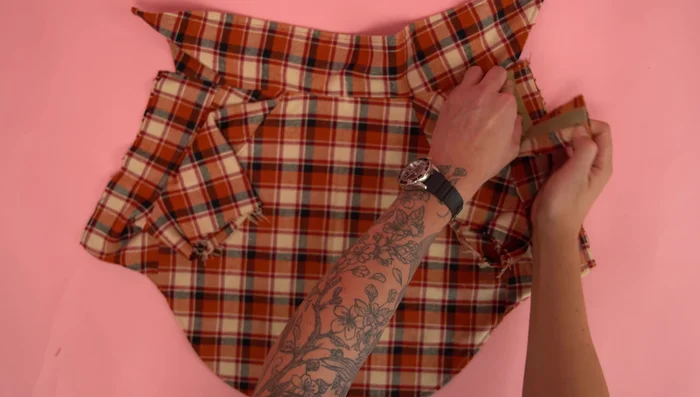
Cut Fabric Assemble Body
- Attach sleeves to main body panel at 1/4 inch seam allowance, topstitch for extra strength. Attach chest panels to the neckline at 1/4 inch seam allowance, topstitch for extra strength. Sew side seams at 1/4 inch seam allowance, topstitch for extra strength. Repeat for second body assembly.
Assemble Body Assemble Collar
- Place interfacing (if using) on the wrong side of one collar panel. Attach second collar panel, right sides together. Stitch, leaving the bottom open. Clip corners, flip right side out, topstitch around the outside edge.
Assemble Collar Assemble Velcro Panels
- Attach velcro strips to velcro panels, stitch down. Fold in half, right sides together, stitch outside edges at 1/4 inch seam allowance. Clip corners, flip right side out, topstitch around the outside edge, leaving the bottom open.
Assemble Velcro Panels Attach Collar to Body
- Center collar and body panels, stitch close to the edge. Attach second body assembly, right sides together, stitch at 1/4 inch seam allowance. Stitch the bottom edge of the collar to the bottom edge of the body panels.
Attach Collar to Body Attach Velcro Panels
- Overlap velcro panels (one with velcro up, one with velcro down), stitch raw edges at 1/4 inch seam allowance. Finish raw edges with a serger or zigzag stitch to prevent fraying.
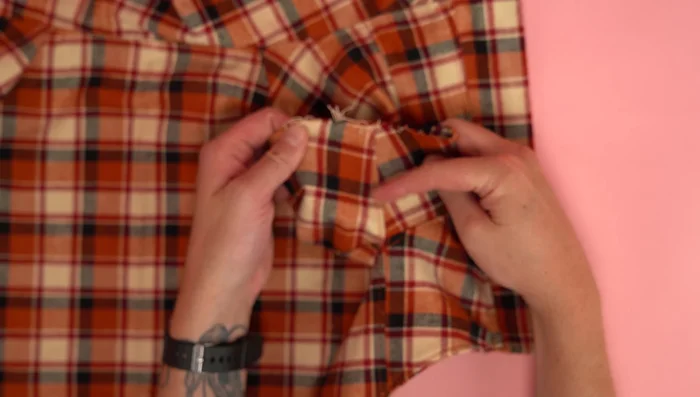
Attach Velcro Panels Finish Sleeves
- Hem sleeves by rolling the outside edge in, pinning, and topstitching close to the edge and again 1/4 inch away.
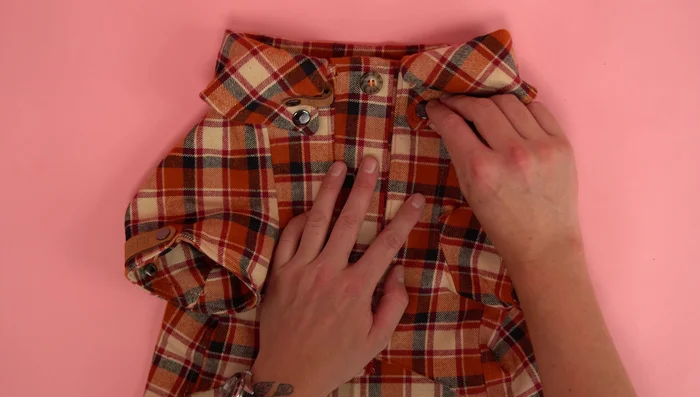
Finish Sleeves Add Details
- Add buttons for decoration, custom branding, and pockets.
Add Details
Read more: DIY Dog Sweater: Cozy Knit Creations for Your Pup
Tips
- Add an extra inch to the neck and girth measurements to ensure a comfortable fit.
- Use an edge presser foot for neat topstitching.
- Clip the corners of the collar and velcro panels to reduce bulk and create a crisp edge.
- Match thread color to fabric color for a professional finish.
- Use a heavier weight needle when sewing through multiple layers.