Is your dog shivering through the chilly months, and are you drowning in a sea of fabric scraps? This tutorial offers the perfect solution: a wonderfully warm, and completely unique, DIY dog coat crafted entirely from your leftover fabrics! Forget expensive pet stores and generic designs – we’ll guide you through the satisfying process of transforming your scrap pile into a cozy, custom-made garment for your beloved canine companion. This project is not only budget-friendly but also environmentally conscious, giving those forgotten fabrics a new lease on life.
We'll cover everything from choosing the right materials and accurately measuring your furry friend to drafting a simple, adaptable pattern and assembling your masterpiece. Get ready to unleash your inner designer and create a truly personalized dog coat. Let's dive into the step-by-step process and start stitching!
Preparation and Safety Guidelines
- Measuring tape
- Pencil
- Paper
- Rotary cutter
- Scissors
- Serger (or sewing machine)
- Fabric (Ripstop nylon & Sherpa fleece)
- Thread (contrast color)
- Microtex needle
- Chalk liner
- Ruler
- Velcro
- Interfacing
- Iron
- Misting bottle
- Bias tape maker (optional)
- Buttonhole chisel
- Always supervise your dog while wearing the coat, especially initially. Ensure the coat fits comfortably and doesn't restrict movement or breathing.
- Use only pet-safe fabrics and threads. Avoid anything with small, detachable parts that could be ingested.
- Before using any fabric scraps, wash and thoroughly dry them to remove any potential irritants or chemicals that could harm your dog's skin.
Step-by-Step Instructions
Measure your Dog
- back length, neck circumference, chest circumference, torso circumference, distance from collar to back of legs, and width across back.
Draft the Pattern
- Draw a rectangle for the back panel (length = back length, depth = half of across-back measurement). Add straps for the torso and front.

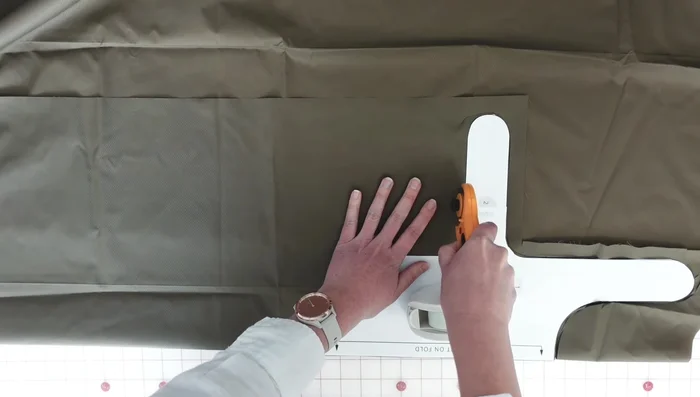
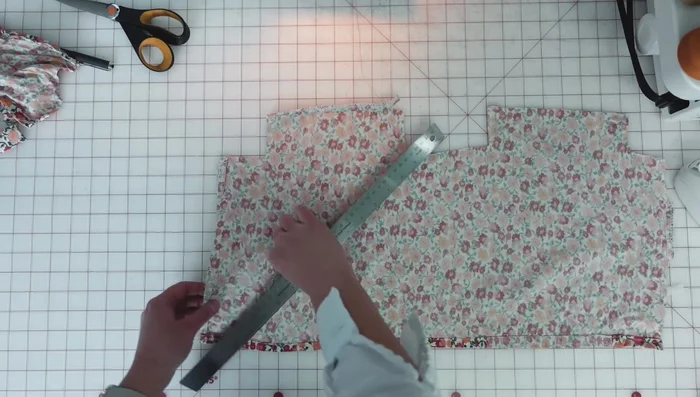
Draft the Pattern Cut the Fabric
- Cut the exterior layer from ripstop nylon on the fold, and the lining layer from sherpa fleece using the exterior layer as a pattern.
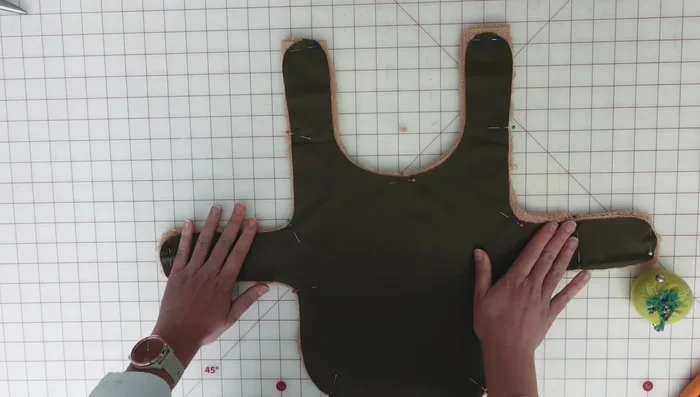
Cut the Fabric Assemble the Coat
- Sew the exterior and lining layers together, right sides facing, leaving a gap for turning.
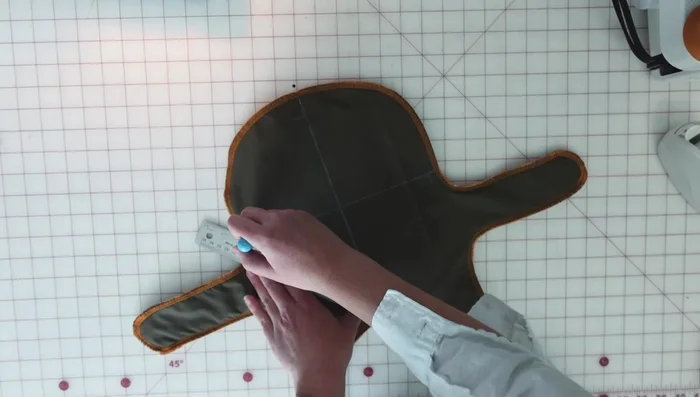
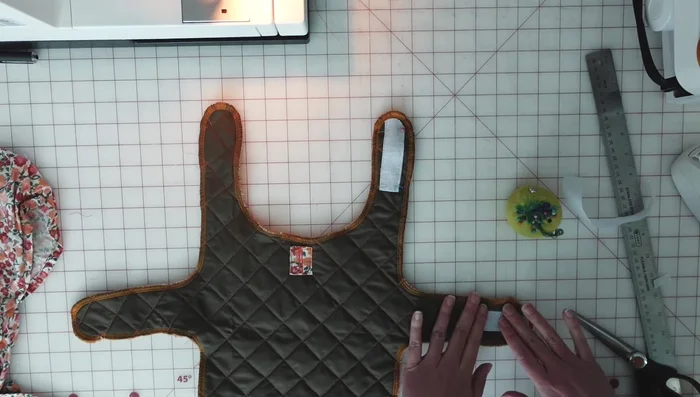
Assemble the Coat Quilt the Layers
- Mark quilting lines at a 45-degree angle and sew them using a contrast thread and microtex needle.
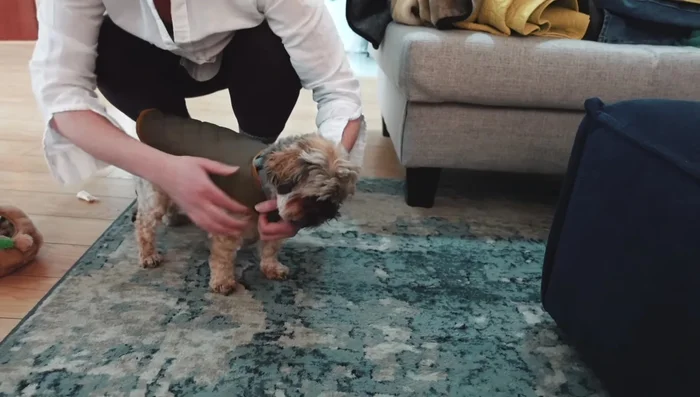
Quilt the Layers Fit and Mark Velcro Placement
- Try the coat on your dog and mark where the velcro will be placed to secure the coat.
Fit and Mark Velcro Placement Add Leash D-ring Buttonhole
- Create a placket from interfaced fabric and sew it to the top center of the coat. Sew a buttonhole for your dog's leash D-ring.
Add Leash D-ring Buttonhole Attach Velcro
- Sew the rough side of velcro to the exterior and the softer side to the interior.
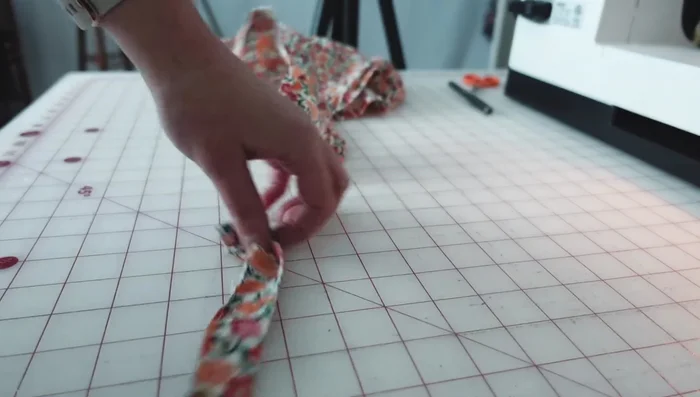
Attach Velcro Create and Attach Bias Binding
- Cut bias strips, join them, press seams open, and attach to the perimeter of the coat.
Create and Attach Bias Binding Finish the Coat
- Cut open the buttonhole, trim any excess fabric, and your coat is done!
Finish the Coat


Read more: DIY Dog Sweater: Cozy Knit Creations for Your Pup
Tips
- Use a rotary cutter for faster and easier fabric cutting.
- A microtex needle prevents fabric from snagging when sewing nylon.
- Gently place your ruler on the plush fabric to mark quilting lines more easily.
- Misting and stretching the bias tape before attaching makes installation smoother.