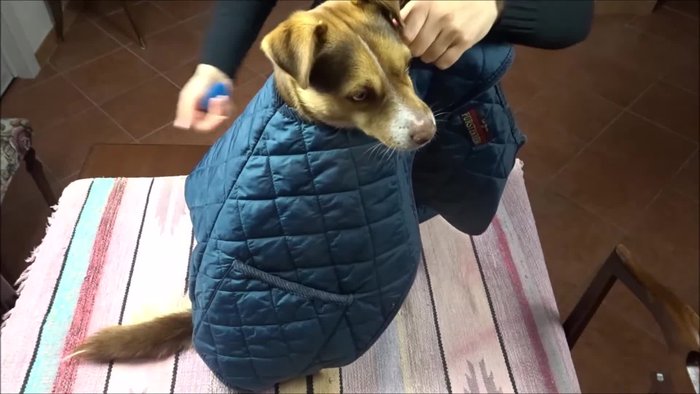
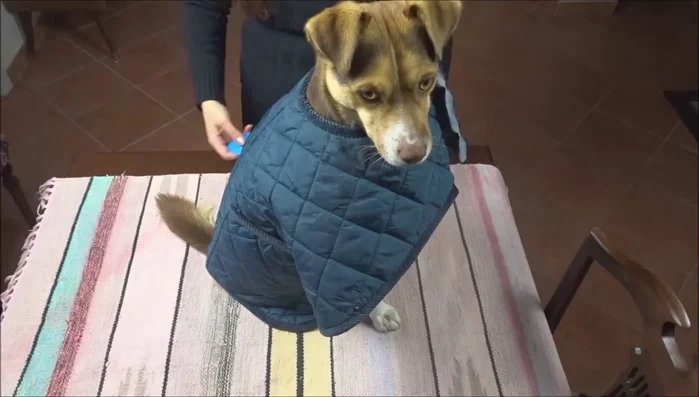
Rainy days shouldn't mean your furry friend has to miss out on walks! A soggy dog is an unhappy dog, and a hefty price tag on commercial raincoats can be equally disheartening. This is where a DIY solution shines: creating a custom-fit, waterproof rain jacket for your canine companion is easier than you might think, saving you money and ensuring your dog stays dry and comfortable, no matter the weather. Forget overpriced store-bought options and embrace the satisfaction of crafting a unique, practical garment tailored to your dog's specific needs and style.
This guide offers a comprehensive, step-by-step process to sew a durable and stylish dog rain jacket, even if you're a beginner sewer. We'll walk you through selecting the right materials, measuring your dog accurately, and constructing a jacket that will keep them warm and dry through even the most torrential downpours. Ready to get started? Let's dive into the detailed instructions below.
Preparation and Safety Guidelines
- Rain jacket material
- Velvet
- Measuring tape
- Scissors
- Sewing machine
- Thread
- Buttons
- Velcro
- Elastic
- Always supervise your dog while wearing the rain jacket, especially initially. Ensure a proper fit to prevent tripping or restricting movement.
- Choose waterproof and breathable fabric. Avoid materials that could irritate your dog's skin. Check for any loose threads or sharp edges before use.
- Never leave your dog unattended while wearing the rain jacket, especially in extreme weather conditions. Remove the jacket if your dog shows signs of discomfort.
Step-by-Step Instructions
Measure and Mark
- Measure your dog and mark the measurements onto the rain jacket material.

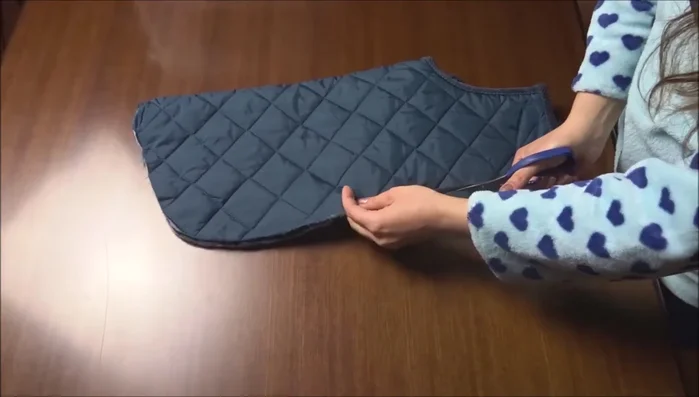
Measure and Mark Cut Vest Pieces
- Cut out the vest pieces, leaving seam allowance.
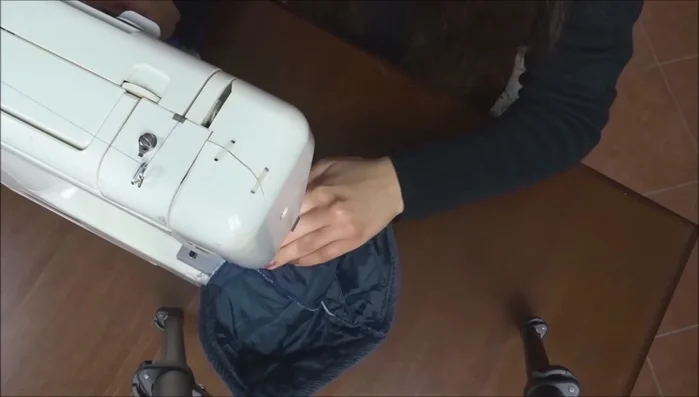
Cut Vest Pieces Sew Pockets
- Sew the pockets onto the jacket.
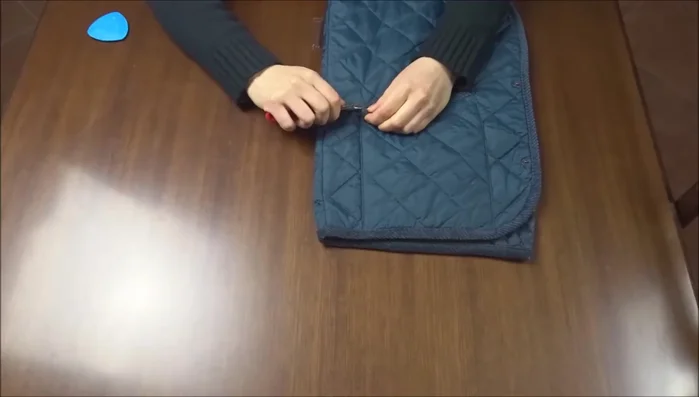
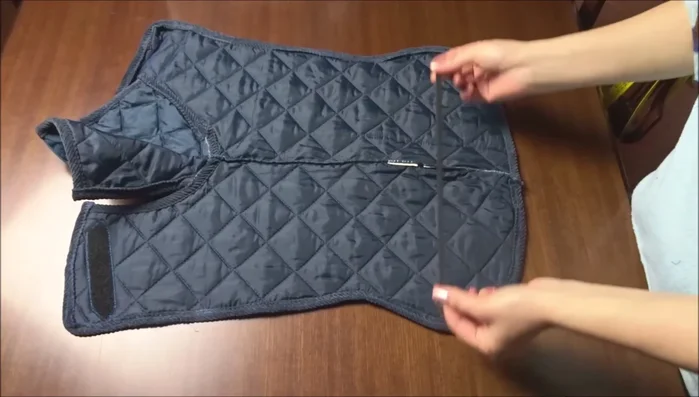
Sew Pockets Finish Jacket Edges
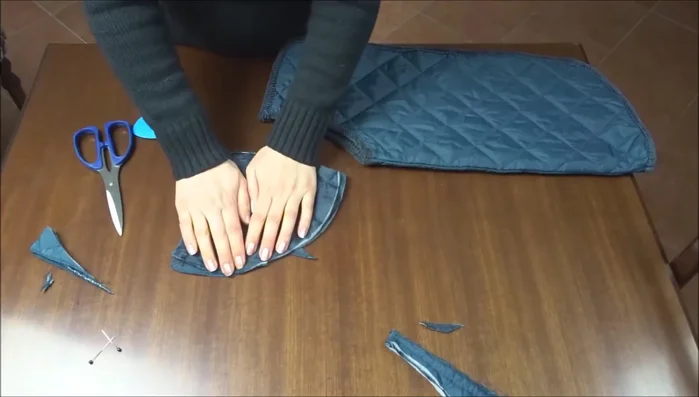
- Cut out the extra fabric and adjust the pattern.
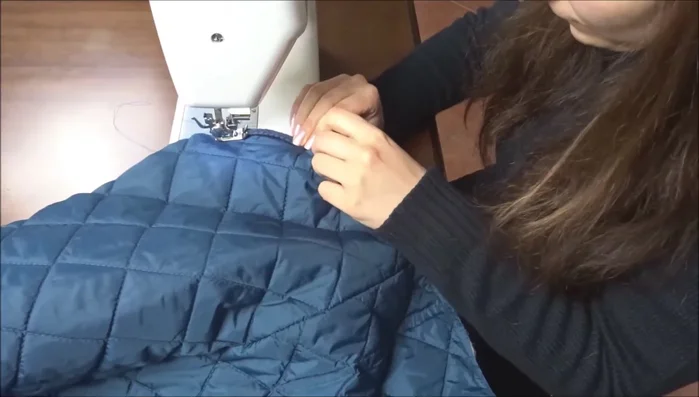
- Sew the velvet edge along the raw edges of the jacket.
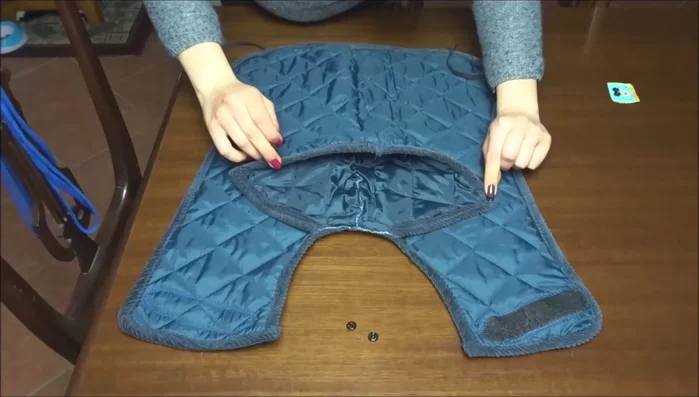
Finish Jacket Edges Create and Sew Hood
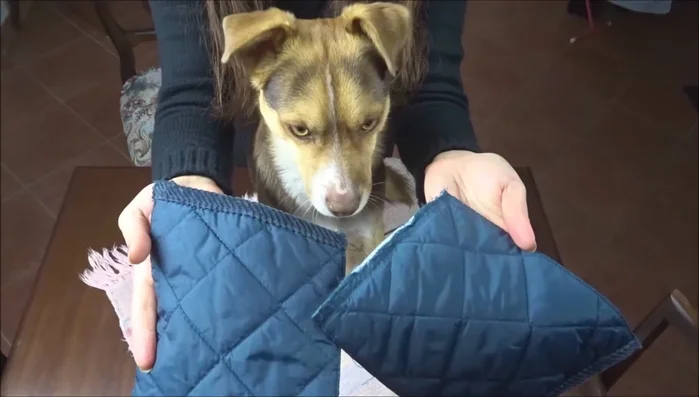
- Create the hood pattern by pinning and marking the fabric directly on your dog's head, ensuring it aligns with the jacket's collar.
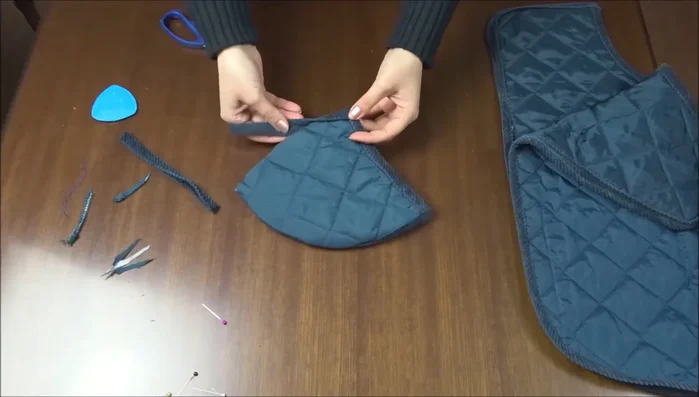
- Sew the two sides of the hood together.
- Sew the velvet edge along the raw edges of the hood.
Create and Sew Hood Attach Hood to Jacket
- Sew the hood to the jacket using a straight stitch.
Attach Hood to Jacket Add Closure
- Sew a simple Velcro closure to the front of the jacket and use a duck stitch.
Add Closure Add Back Stability
- Apply elastic strips to the back of the jacket for stability.
Add Back Stability Attach Button Fasteners
- Attach button fasteners to the hood and collar for adjustable hood positions.
Attach Button Fasteners

Read more: DIY Dog Sweater: Cozy Knit Creations for Your Pup
Tips
- Leave enough seam allowance when cutting the fabric.
- Use a duck stitch for a durable finish.
- Consider the type of harness you use when designing the jacket closure.