Want to give your furry friend a touch of sparkle and shine? Then look no further! This DIY bedazzled pet collar project is the perfect way to add a unique and glamorous accessory to your beloved pet's wardrobe, without breaking the bank. Forget expensive, mass-produced collars; you can create a truly personalized and eye-catching piece that reflects your pet's personality, all while enjoying a fun and creative crafting experience. Imagine the envious glances you'll receive at the dog park or cat café! You'll be amazed at how easy it is to transform a plain collar into a dazzling masterpiece.
This guide offers a simple, step-by-step approach to crafting your own bedazzled pet collar, perfect for beginners and experienced crafters alike. We’ll walk you through each stage of the process, from selecting the right materials to securing the embellishments, ensuring your pet’s new collar is both beautiful and safe. Let's get started and unleash your inner crafting genius!
Preparation and Safety Guidelines
- Puffy paint
- Q-tips
- Rhinestones
- Nylon collar
- Glitter paint
- Supervise your pet closely while they are wearing the bedazzled collar. Loose or detached gems pose a choking hazard.
- Use pet-safe glue and ensure it's completely dry before placing the collar on your pet. Avoid using any materials that could be toxic if ingested.
- Check the collar regularly for any loose or damaged gems or glue. Replace or repair immediately to prevent injury.
Step-by-Step Instructions
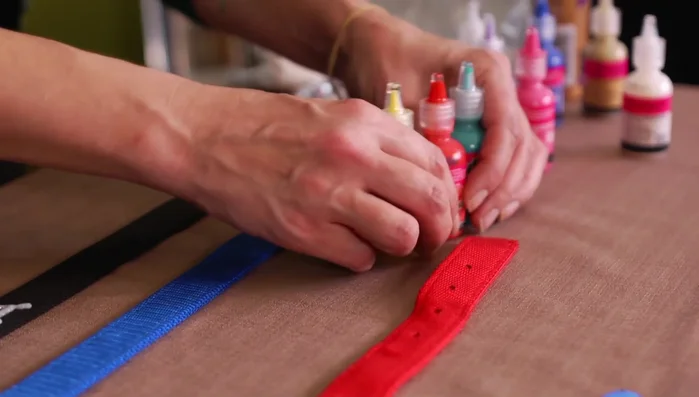
Plan and Prepare
- Determine the center of the collar and plan the placement of your pet's name.

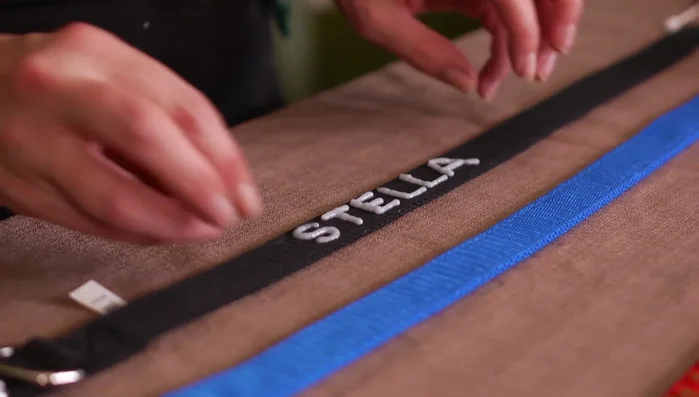
Plan and Prepare Apply Pet's Name
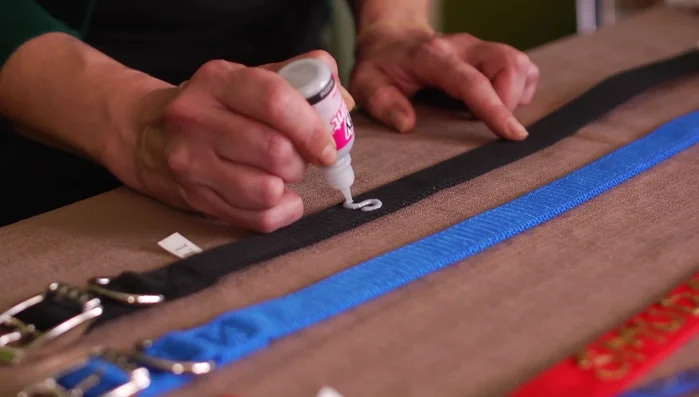
- Write your pet's name using puffy paint. Apply gentle pressure and hold the paint slightly slanted to avoid air bubbles.
Apply Pet's Name Apply Rhinestones
- Embellish the collar with rhinestones. Choose colors that complement the name and collar.
- Use a small dot of glue to secure each rhinestone.
- For a whimsical look, arrange rhinestones asymmetrically.
- Create small circles with rhinestones around the name for a framed effect.
Apply Rhinestones

Read more: DIY Cat Leash: Easy-to-Make Cat Harness for Safe Outdoor Adventures
Tips
- Don't worry about perfect symmetry. A whimsical design is easier and more charming.
- Hold the puffy paint at a slight angle to avoid air bubbles.
- Use a small dot of glue to secure each rhinestone to prevent them from falling off.