Spoil your feline friend with a unique and personalized cat collar, crafted entirely by your own hands! This tutorial will guide you through creating a stylish, customizable collar using the Janome M7 sewing machine's incredible hand stitch style. Forget mass-produced, impersonal accessories; unleash your creativity and design a collar that perfectly reflects your cat's personality and your own sewing flair. We'll explore various fabric choices, embellishment options, and ensure the finished product is both comfortable and secure for your beloved pet. The Janome M7's hand stitch functionality allows for exceptional precision and control, creating a professional-looking finish that you’ll be proud of.
This project is perfect for sewists of all skill levels, from beginners looking for a fun, manageable project to experienced crafters seeking a new creative outlet. The Janome M7's intuitive interface makes the process surprisingly simple, even for those unfamiliar with its features. Ready to get started on crafting the purrfect collar? Let's dive into the step-by-step instructions to create your own DIY customizable cat collar using the Janome M7's hand stitch style.
Preparation and Safety Guidelines
- Heavy weight fabric (twill or denim)
- Chalk marker
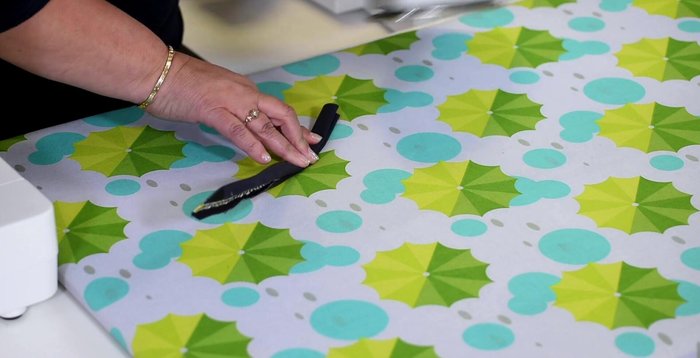
- Rotary cutter
- Small pieces of Velcro
- Ruler
- Quick tearaway interfacing
- Denim needle (size 16)
- Janome M7 sewing machine (or similar)
- 30-weight decorative thread
- Always supervise your cat while wearing the new collar. Ensure the collar buckle is secure but allows for easy release to prevent strangulation.
- Use only strong, durable materials rated for pet use. Avoid anything that could fray, break, or be ingested by your cat.
- Regularly check the collar for wear and tear. Replace it immediately if any damage is found to prevent injury.
Step-by-Step Instructions
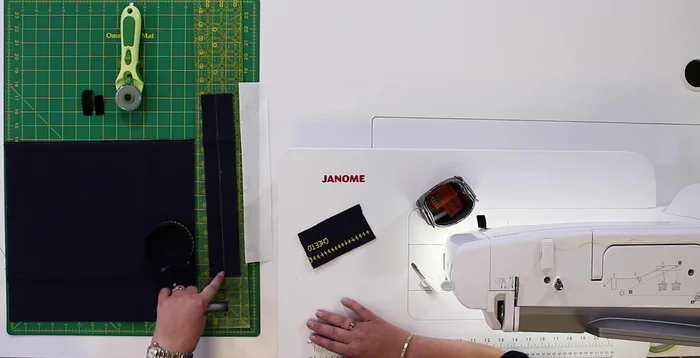
Prepare Fabric and Interfacing
- Cut a 13.5" x 2.25" piece of twill or denim, and a 13.5" x 2" piece of interfacing.
- Mark center lines on fabric.

Prepare Fabric and Interfacing Determine Name Placement and Stitch Sample
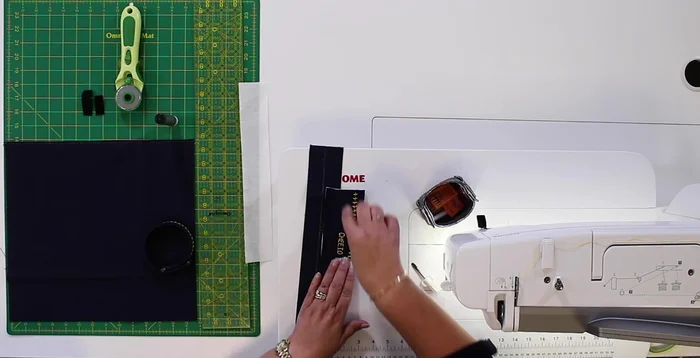
- Create a sample stitch to determine name width.
- Fold fabric in half, finger press to find center. Mark name placement based on sample.
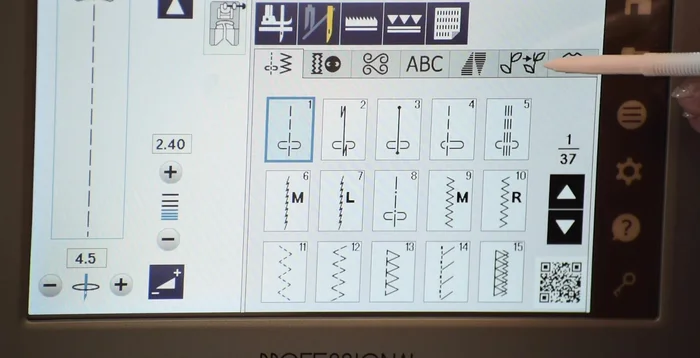
Determine Name Placement and Stitch Sample Stitch Decorative Elements
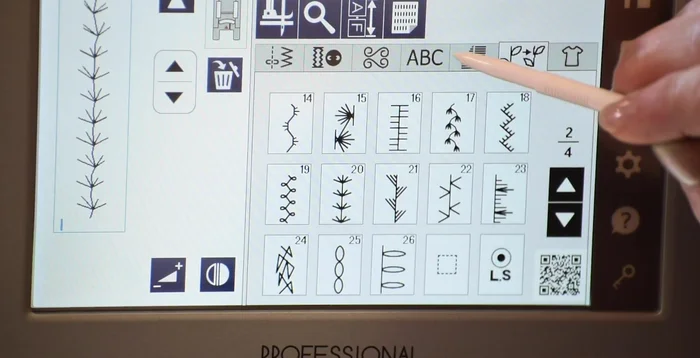
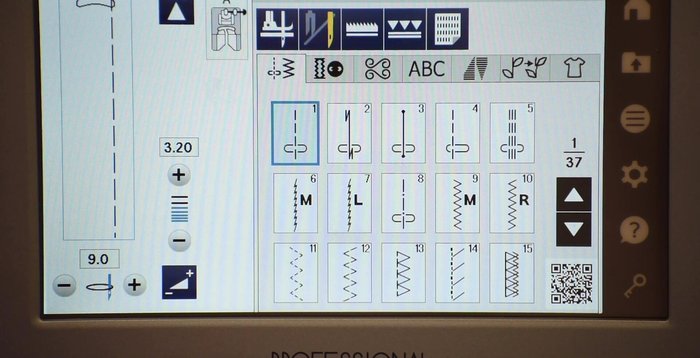
- Select hand stitch style on Janome M7 (stitch #20).
- Stitch the decorative stitch along the center line, pausing before the name placement.
- Repeat step 5 to stitch decorative stitches after the name.
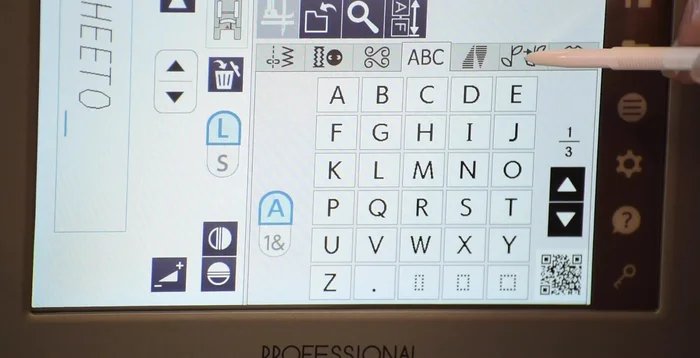
Stitch Decorative Elements Add Personalized Name
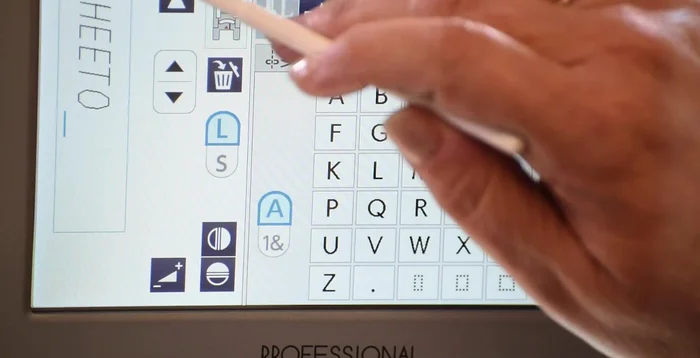
- Select lettering function, type the name (or phone number).
- Stitch the name.
Add Personalized Name Fold and Prepare for Seaming
- Press the raw edges down 1/4 inch. Use pins or clips if needed.
- Fold collar in half (wrong sides together).
Fold and Prepare for Seaming Close Collar and Finish Edges
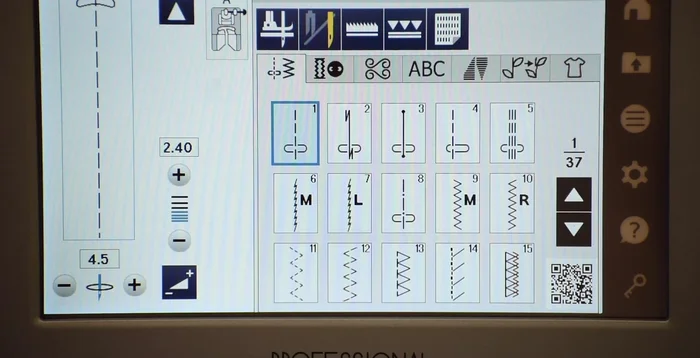
- far right, stitch width 9.0, stitch length 3.2). Use A foot.
- center, stitch length 3.2) 1/8 inch from each edge.
- Fray edges using an old needle.
Close Collar and Finish Edges Attach Velcro and Final Adjustments
- Try collar on cat. Trim if needed.
- Stitch hook side velcro to the front edge, using auto pivot function.
- Stitch loop side velcro to the back edge.
Read more: DIY Cat Leash: Easy-to-Make Cat Harness for Safe Outdoor Adventures
Tips
- Use a sample fabric to test the stitch width for the name before stitching on the actual collar.
- Use the Janome M7's auto-pivot function for easier corner stitching.